Define And Save Recipes
Now that you've got the variables for your recipes, you need to tell HELIO that these variables make up a recipe type.
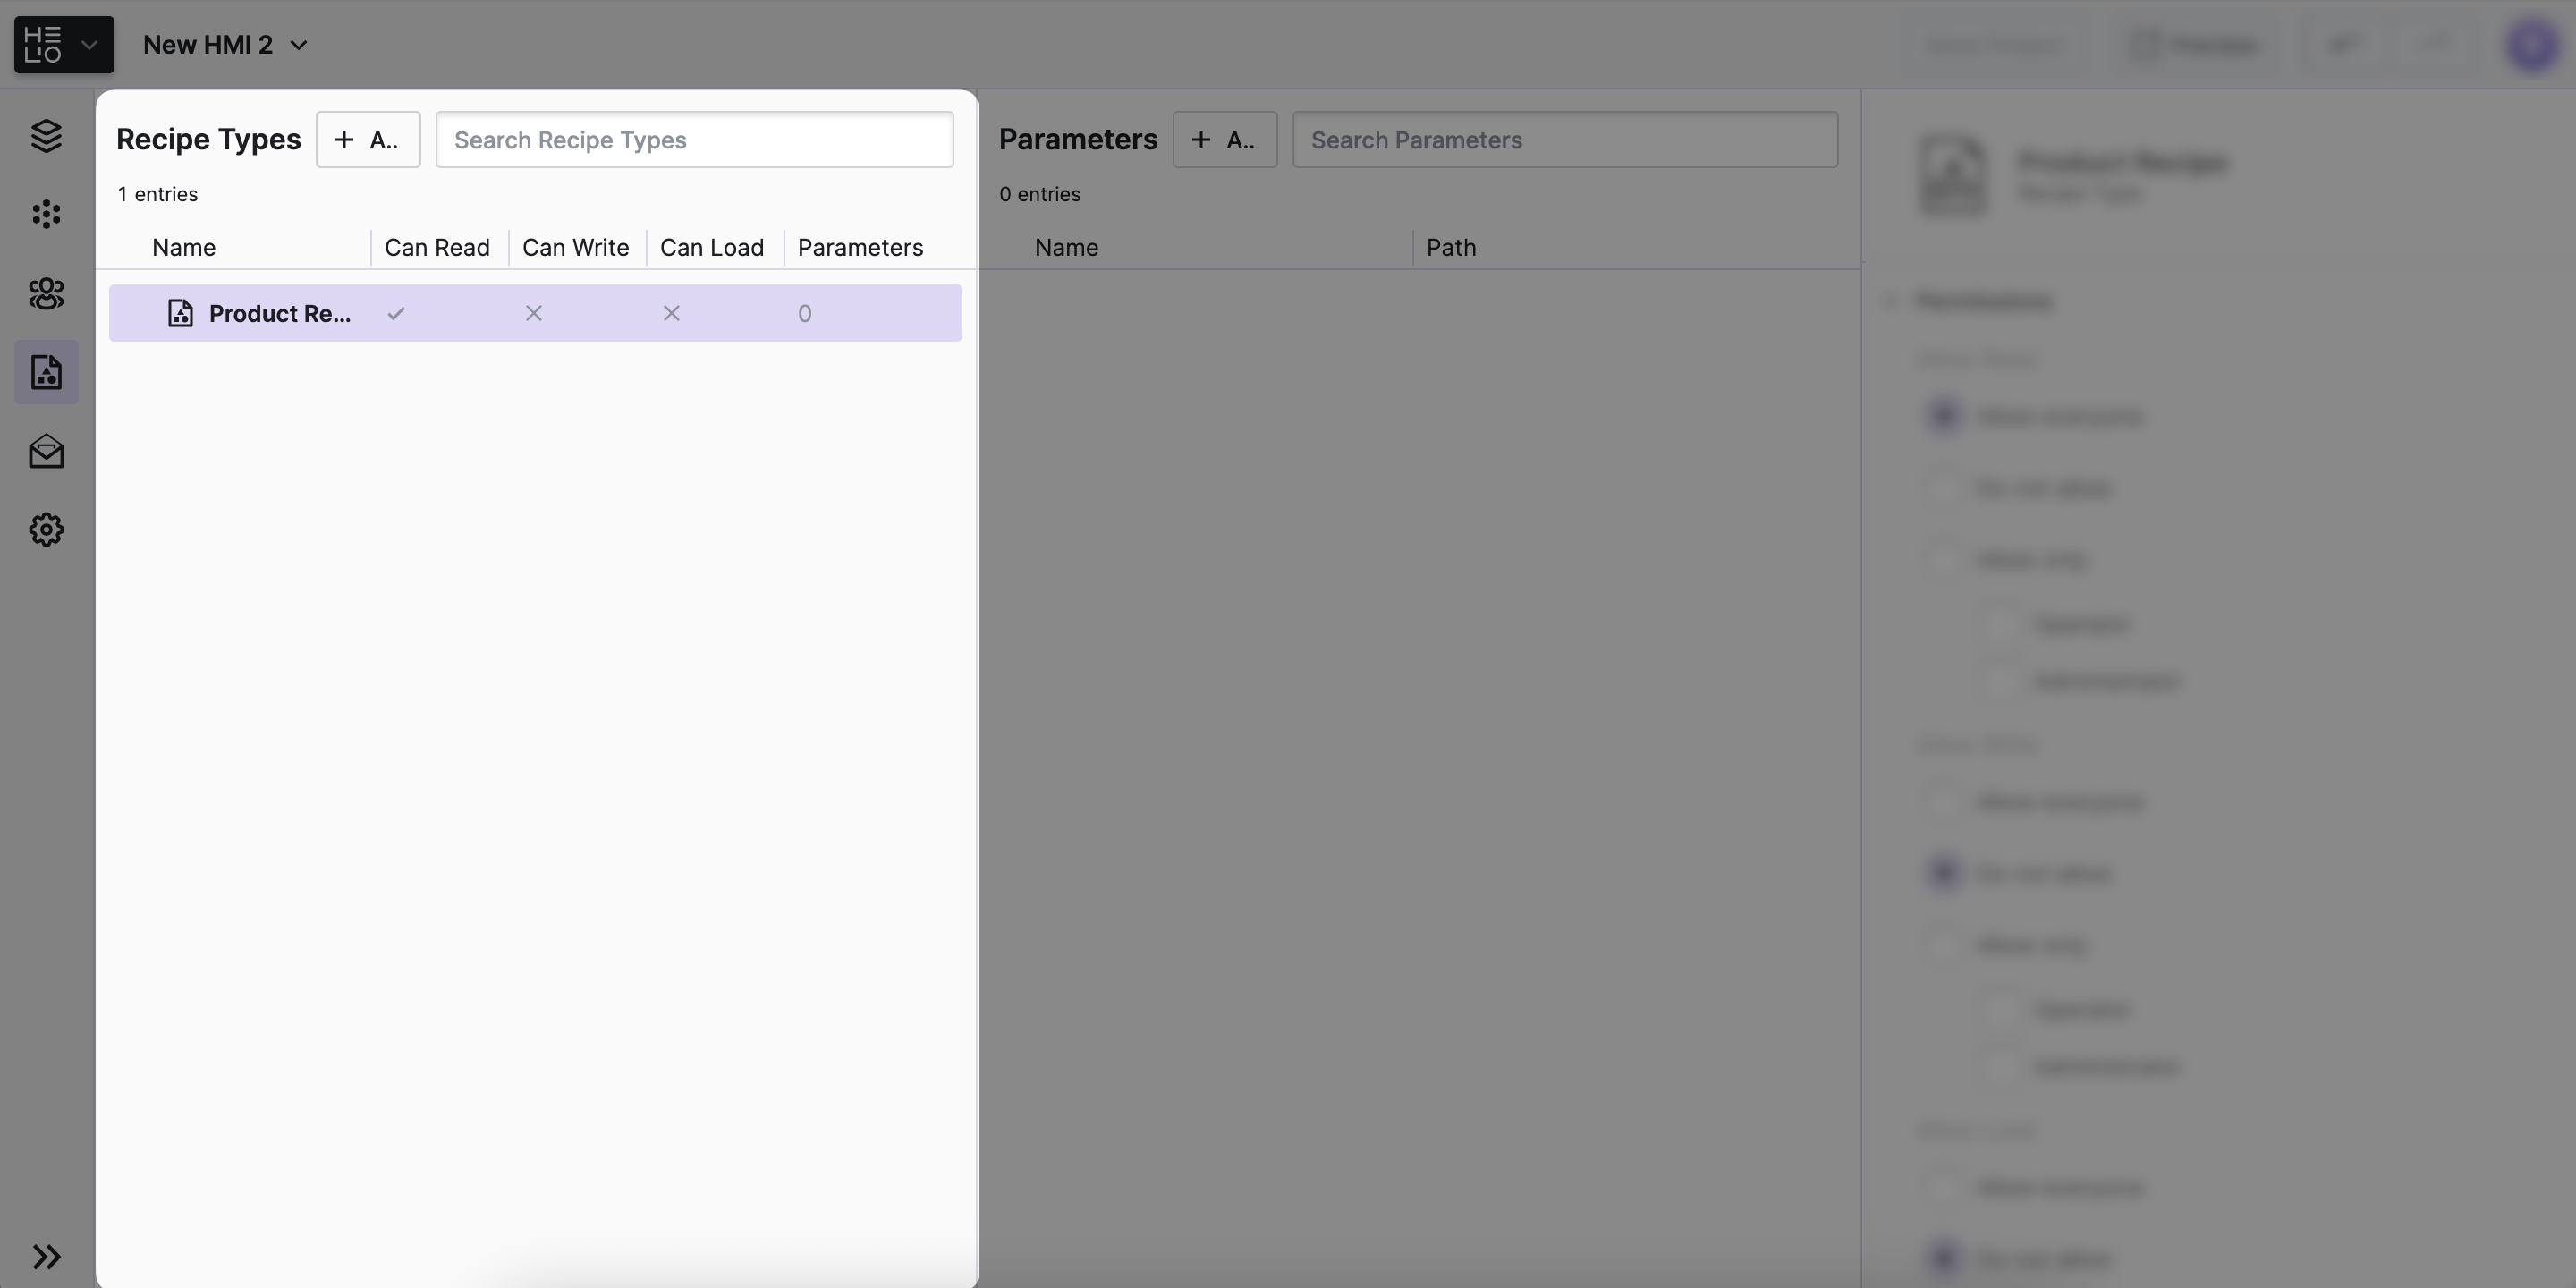
1. Define a Recipe Type
- Add a Recipe Type
Navigate to the Recipes View and:
- Click the
+button next to theRecipe Typesheader on the left. - Name the recipe type
Product Recipe.
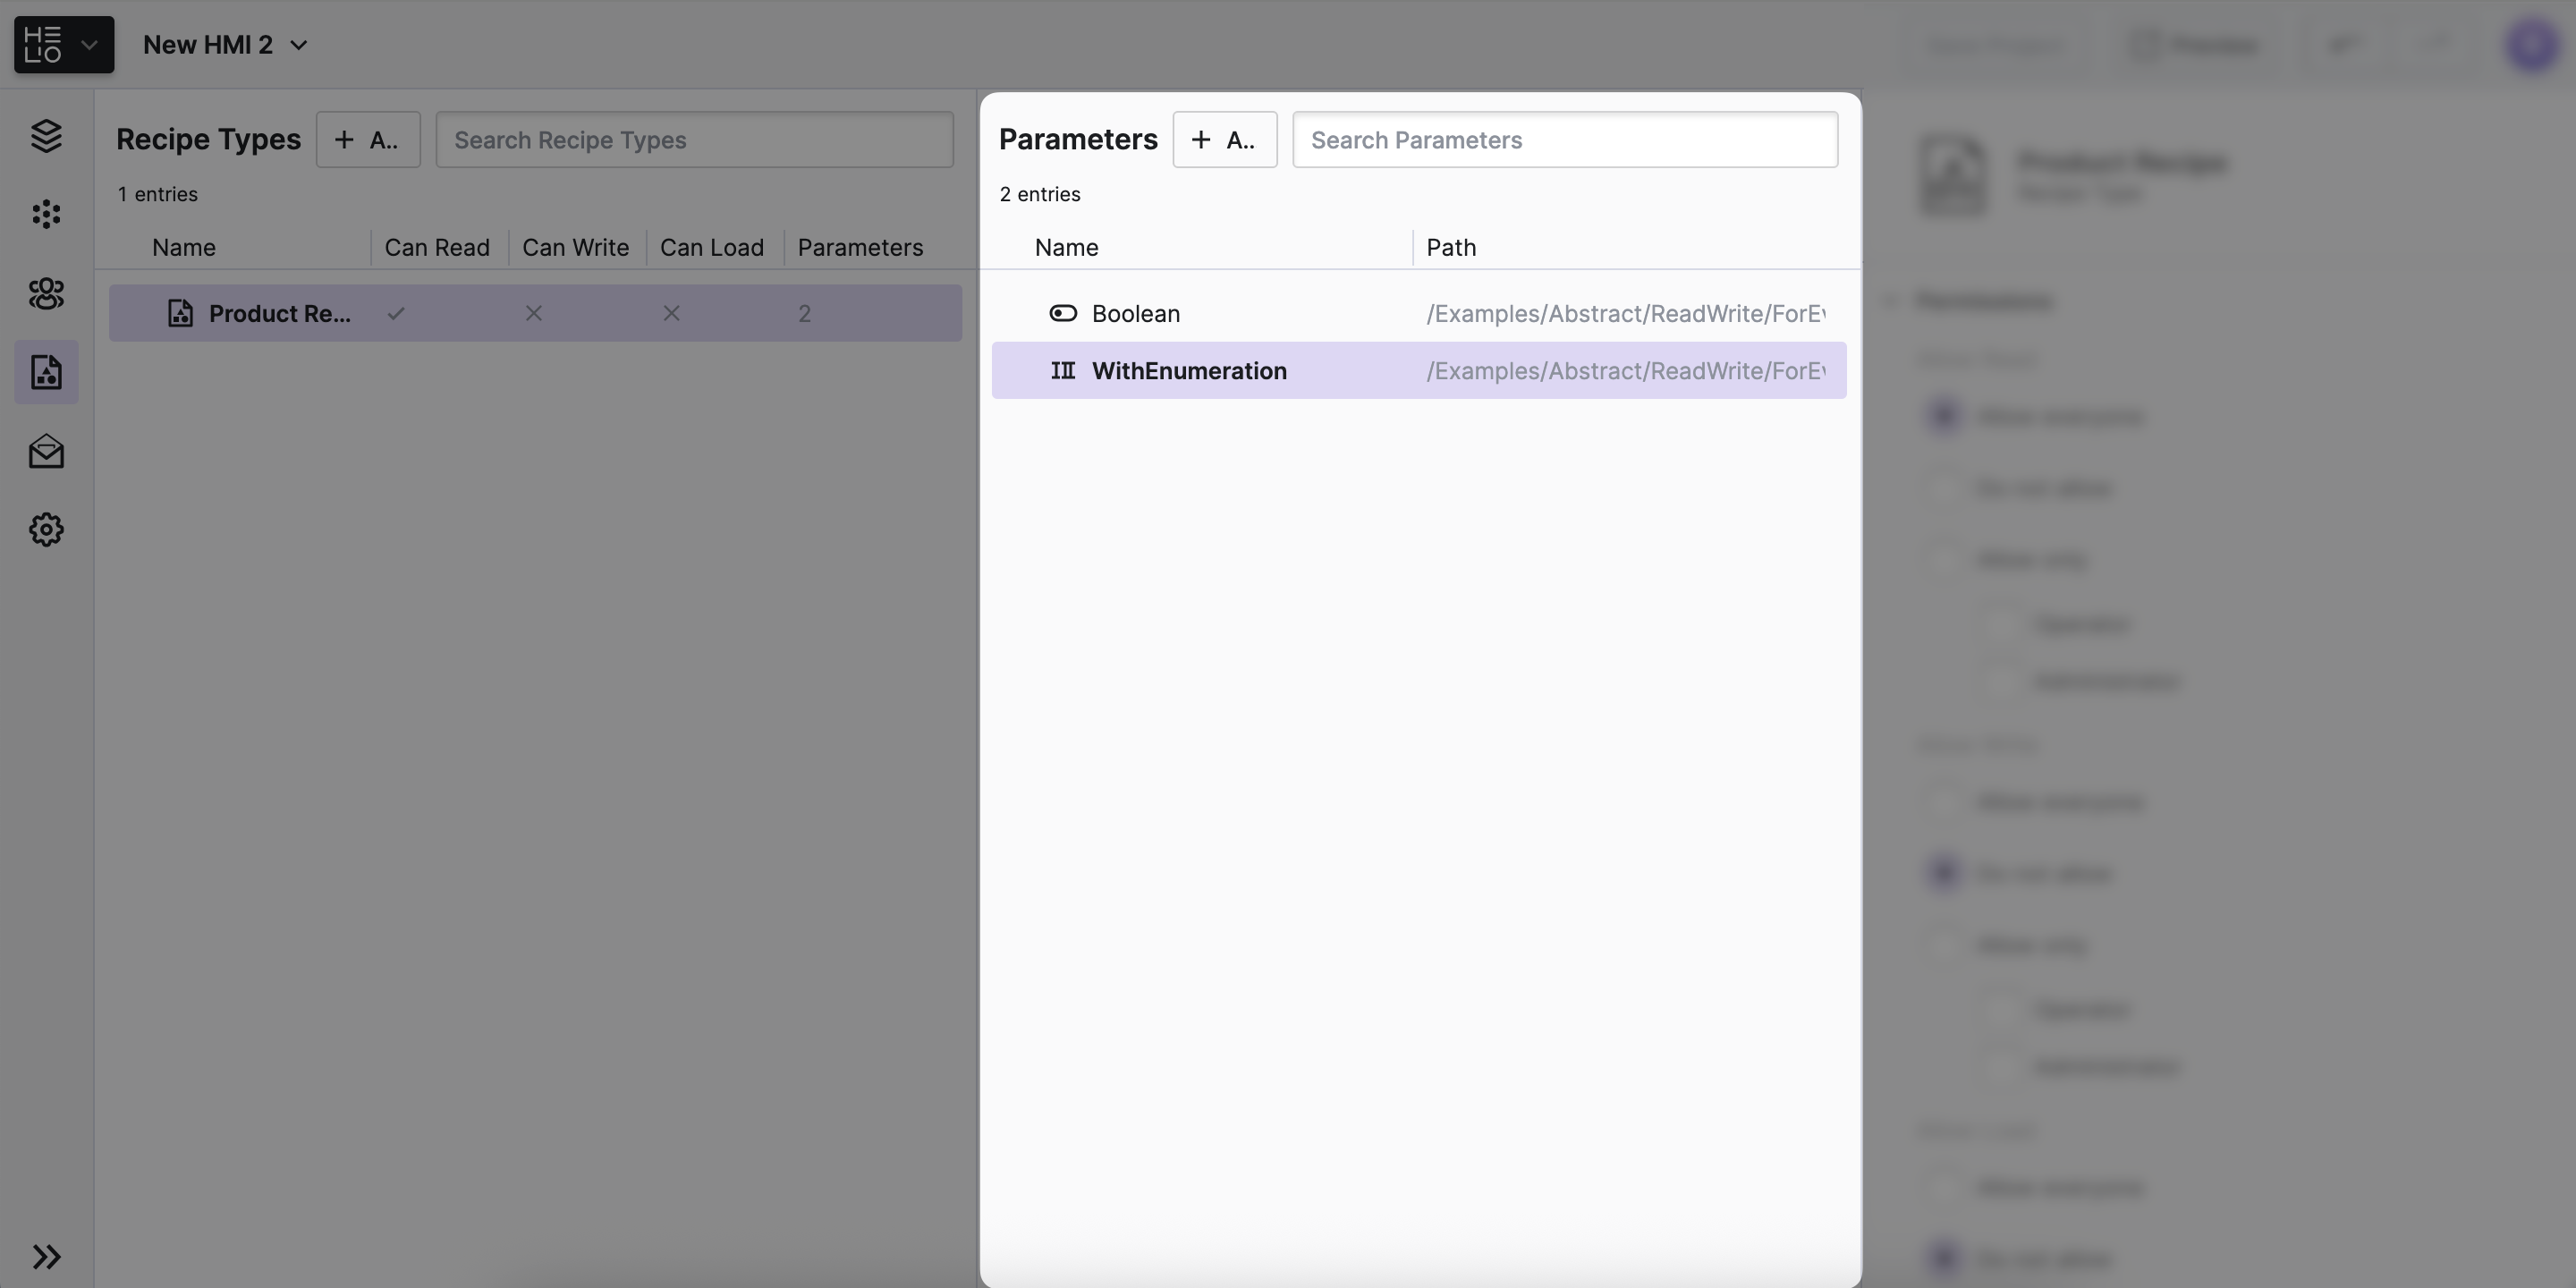
- Add Parameters
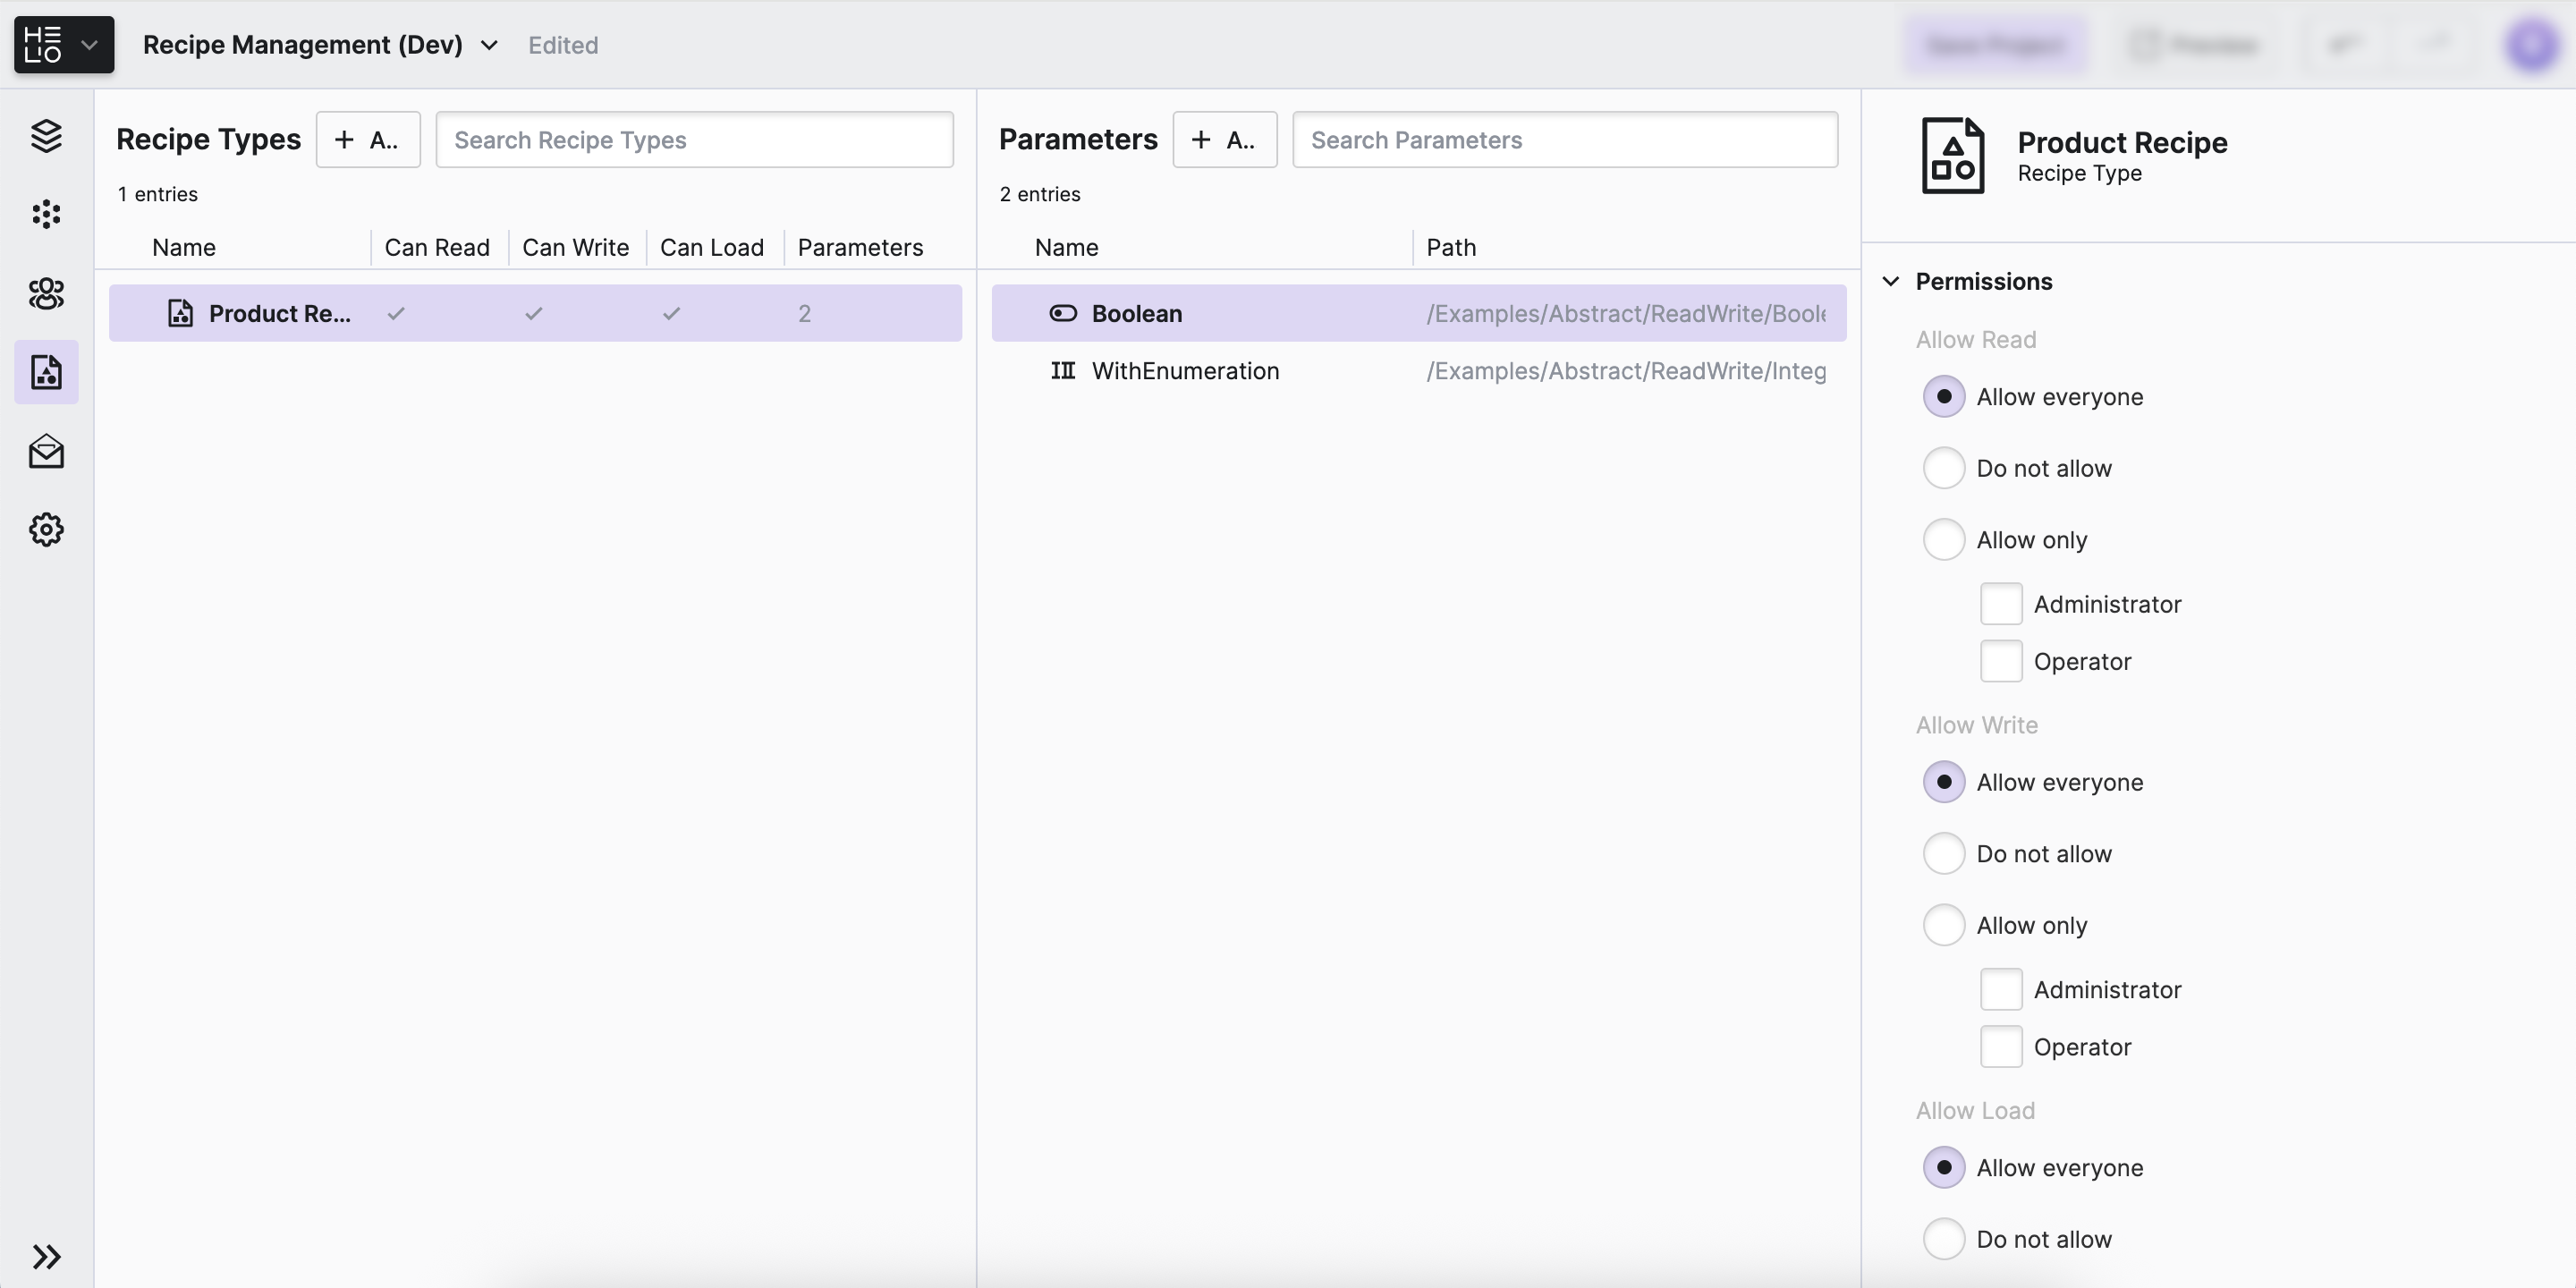
- Set Permissions
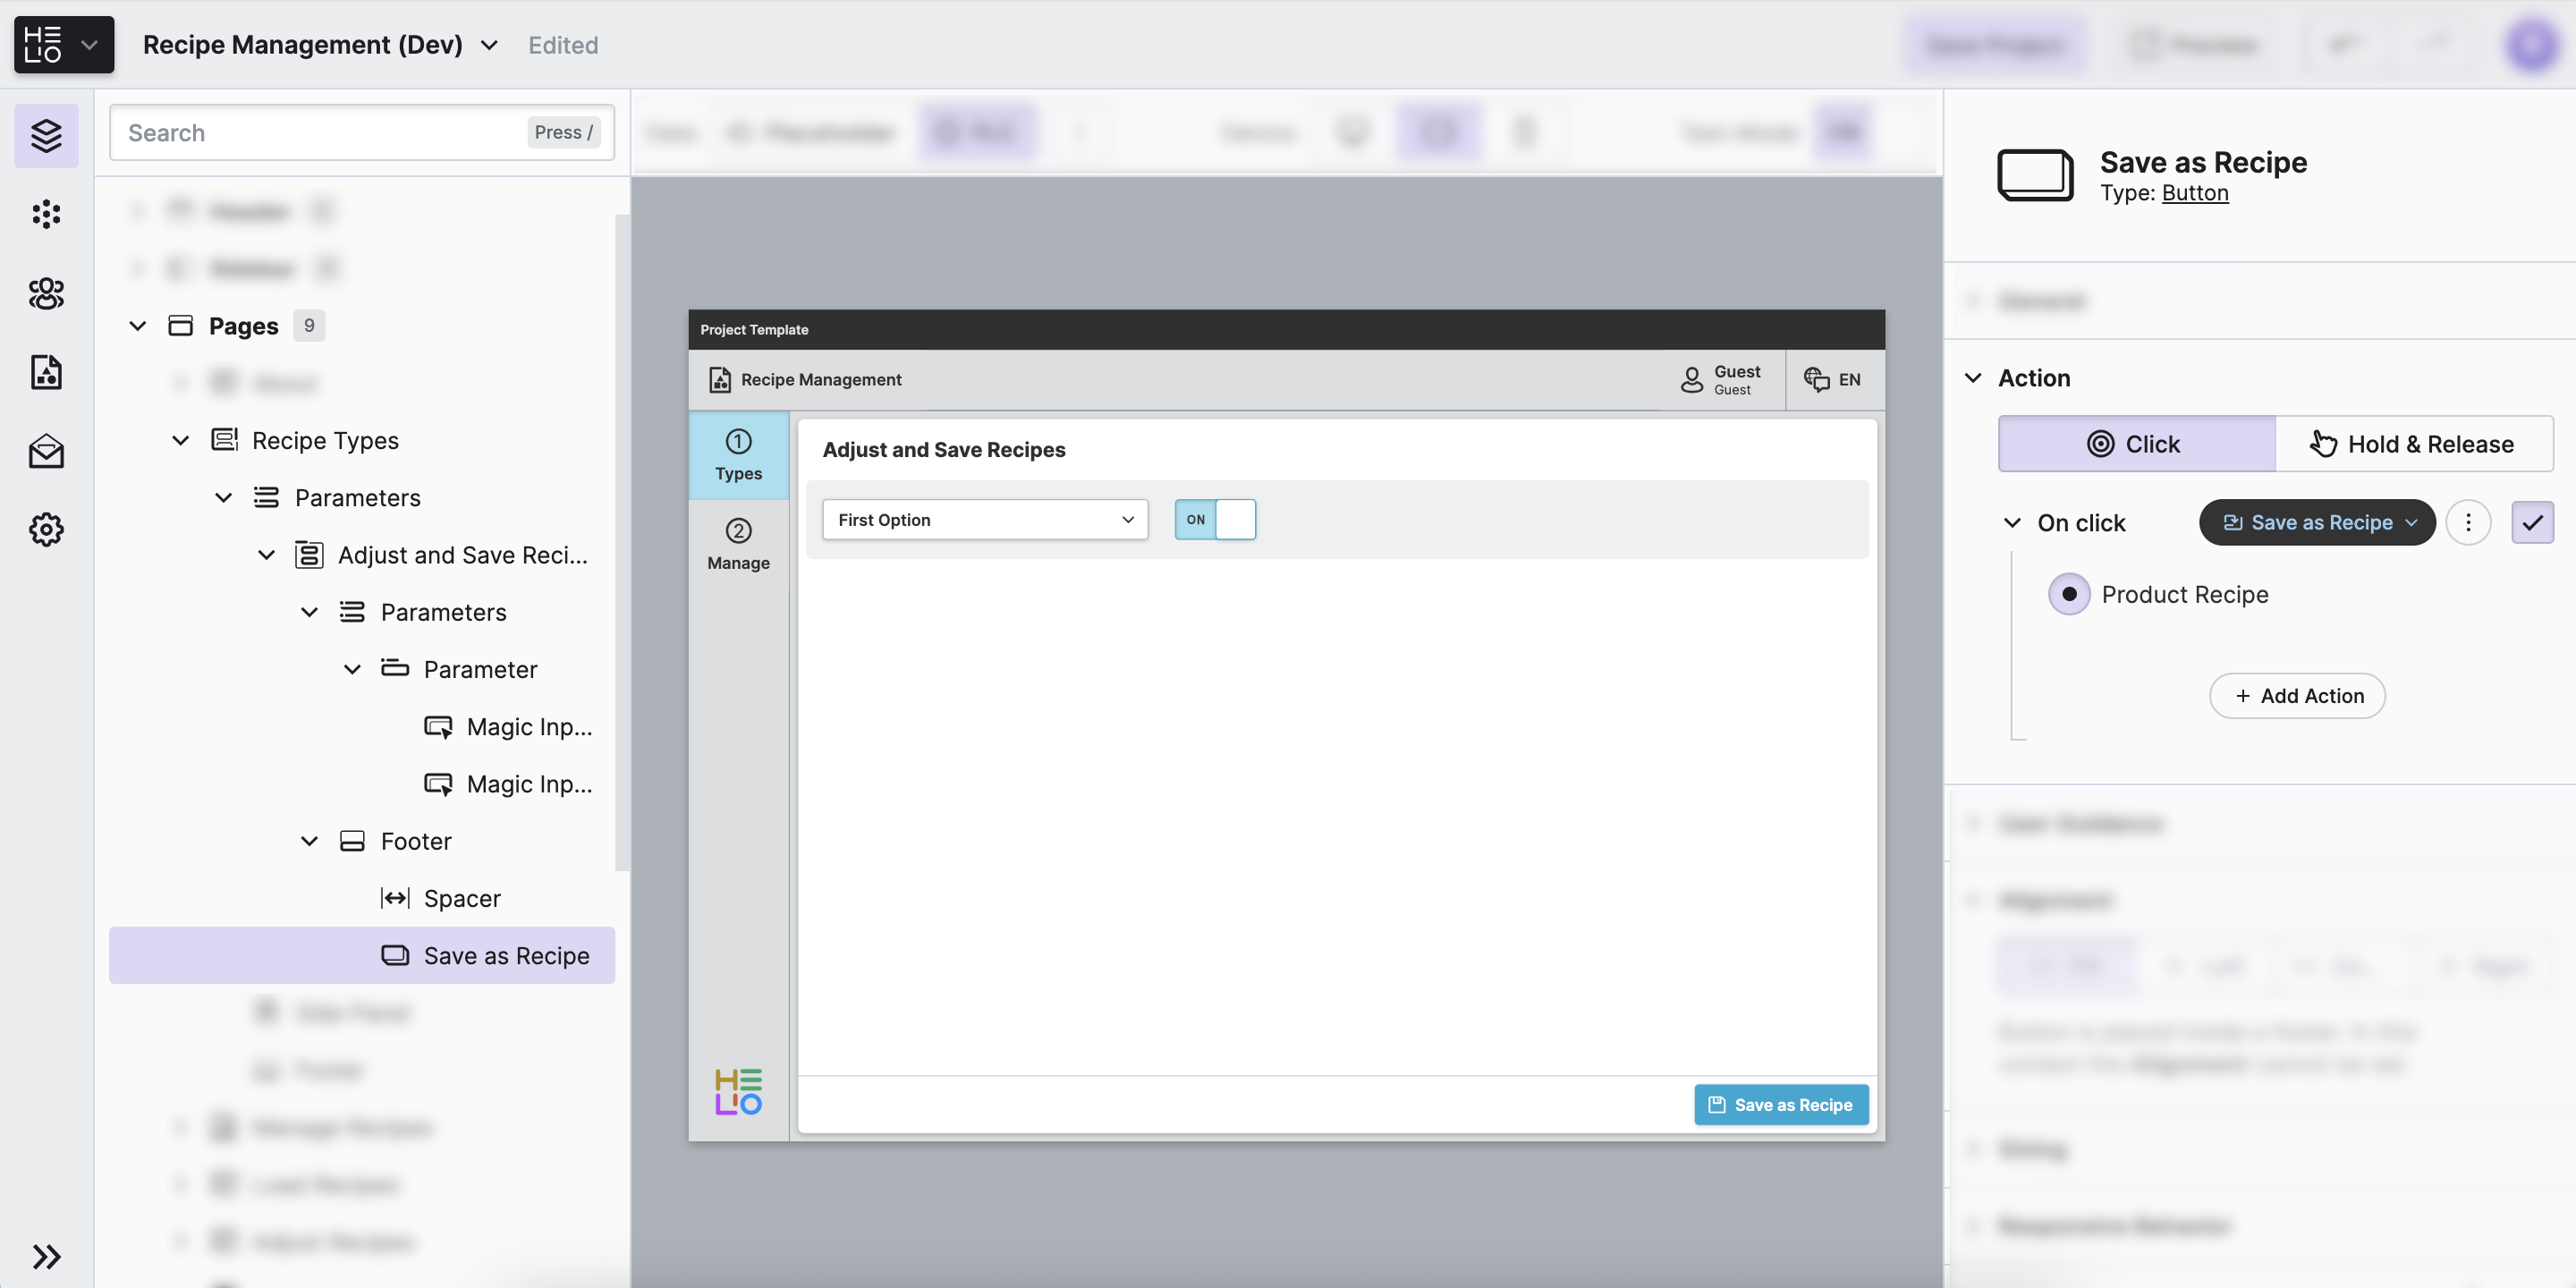
2. Save Your First Recipe
Create a Parameter Page with all the values of our recipe type and a Save as Recipe Action button so that you can actually create different recipes with different settings quickly.
In a real world scenario, the parameters of a recipe type might actually be scattered all over your HMI and you may want to add a Save as Recipe Action button to your header or footer.
- Add a Parameter Page
Navigate to the Content View and:
- Add a Parameter Page and give it a descriptive name.
- Add a Parameter with a Magic Input for each of our recipe parameters.
- Add a Button to the footer of the page, set its action to Save as Recipe Action,
and select our
Product Reciperecipe type.
- Save A Recipe
Use the HMI Preview Panel and switch to Test mode.
- Adjust some recipe values and save the current state as recipe.
- Provide a name, for example
Recipe 1, and save it.

- Save Another One
Hey, could you save another recipe with different values? That'll help us compare our first recipe to something else.
We've got some reusable recipes saved for later, and we'll learn how to load them next.