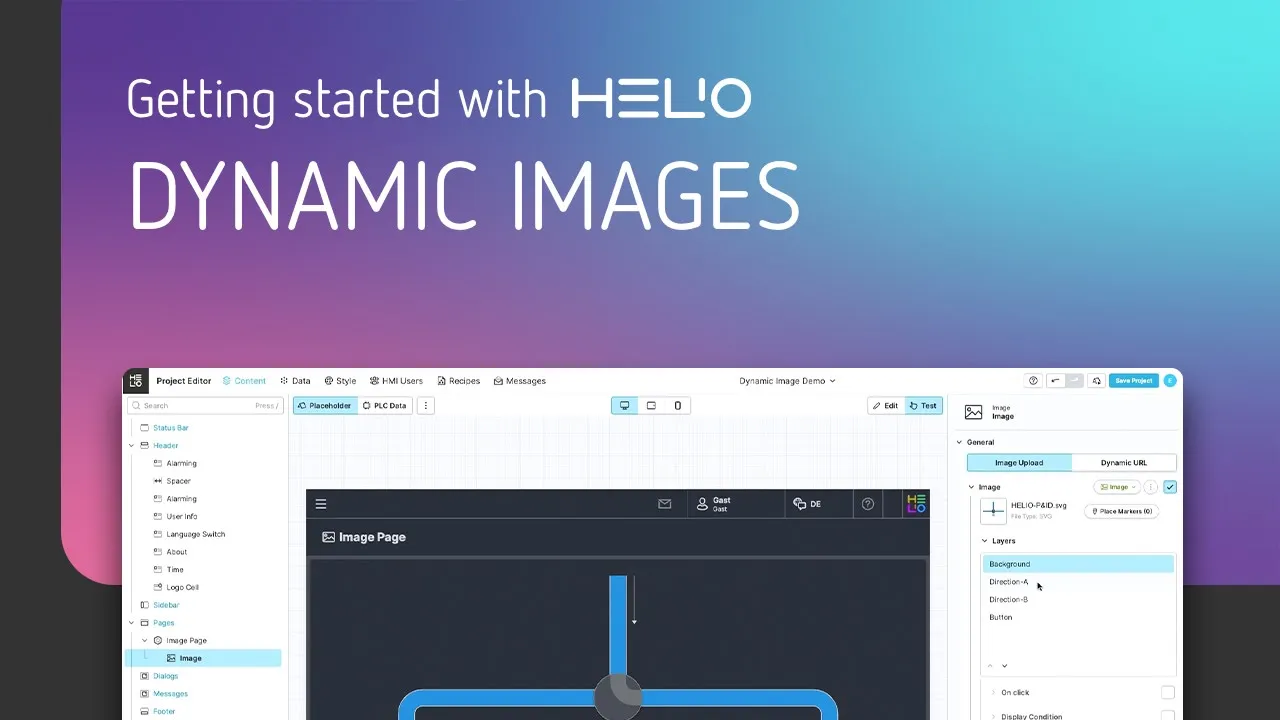
Dynamic Images Using SVGs
HELIO can help you add more dynamics to your images. You can use it to show the status of a part of your machine within an illustration or to emphasize certain parts of your illustration. HELIO uses SVG images and their layers for this purpose.
Let our team member Johannes guide you through the necessary steps or read on.
To watch this embedded YouTube video, you need to accept the marketing cookies.
First, let's learn how to set up and export your SVG image so that HELIO knows which layers to make available in the IDE.
1. Basics: How Does HELIO Analyze SVGs?
SVG images can have many layers and odds are, you really don't need to address all of them within HELIO. So, the first thing we need to do is tag those layers.
How HELIO Analyzes Your SVG
- HELIO looks at the
idattribute of each element in your SVG - If this
idstarts withhelio:, you're basically telling HELIO to make this layer available for editing
2. Create Your Illustration
- Figma
- Text Editor
- Inkscape
- Create an Image
Figma Design is one of the go-to tools for designing web-based user interfaces. So tt's likely that you and your team are using it to create your illustrations. If you do, just create your illustration in Figma Design, just like you normally would.
New To Figma?
You might want to check out this introduction video to get started with the tool:
To watch this embedded YouTube video, you need to accept the marketing cookies.
- Prefix Your Layers

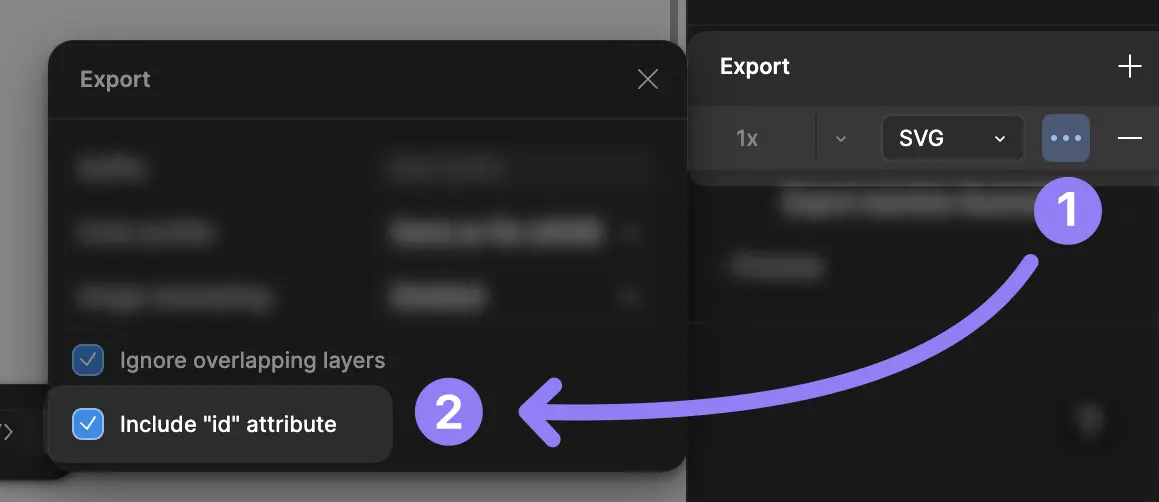
- Export With IDs
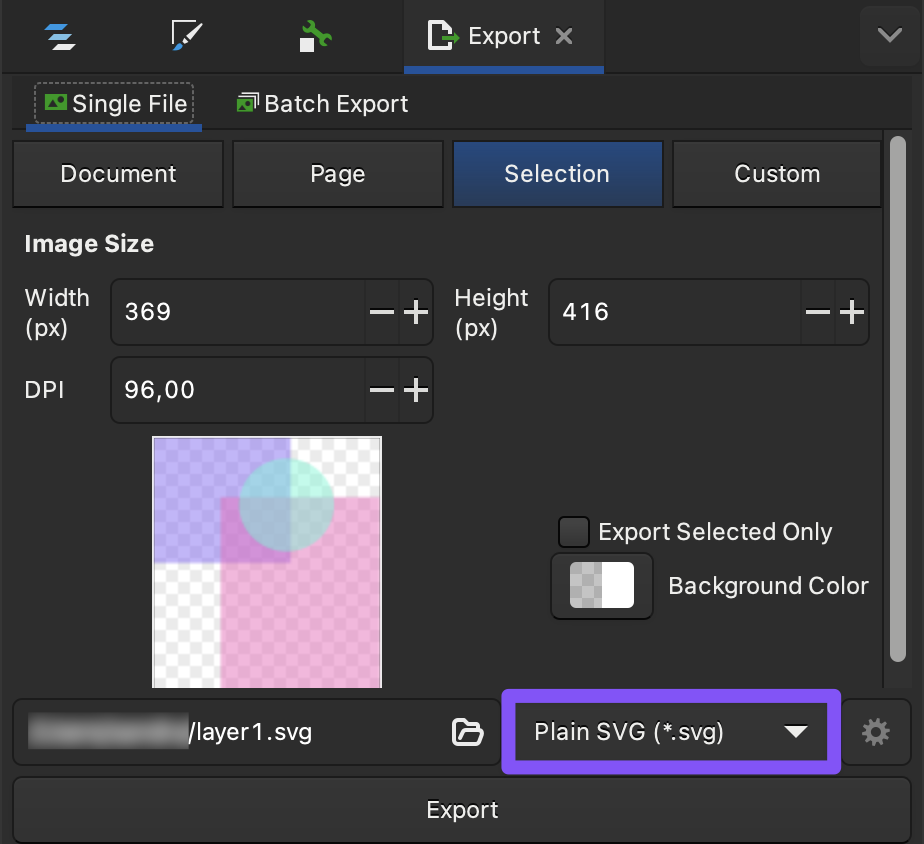
Export the SVG and make sure to include the 'id' attribute in your export. Otherwise the tags will be ignored and HELIO won't know which layers to address:
- Create Your Image
Create your illustrations using the design tool of your choice that supports SVG export.
- Prefix Layers Using a Text Editor
Simply use the text editor of your choice to add the ids manually
to the SVG elements. Make sure to use the helio: prefix.
- Create Your Image
If you prefer working with open-source tools, Inkscape is a great alternative to Figma for creating SVG-based dynamic images.
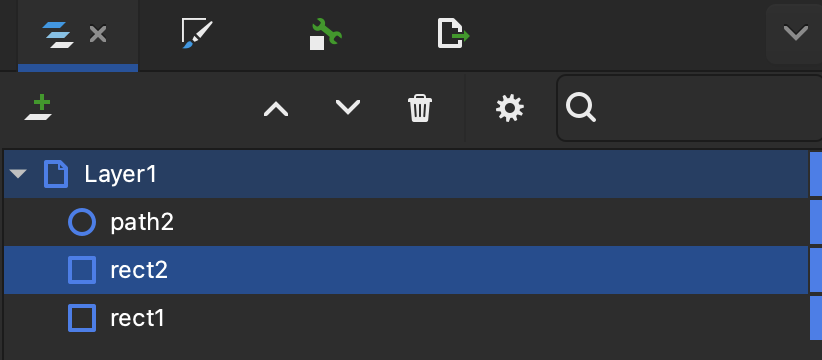
The overall idea stays the same: every element you want to control later in HELIO needs a unique id. Inkscape gives you multiple ways to assign and edit these IDs.
- Select Your Element
- Prefix the ID of Your Element
With your element selected, you have two options for how to change its ID:
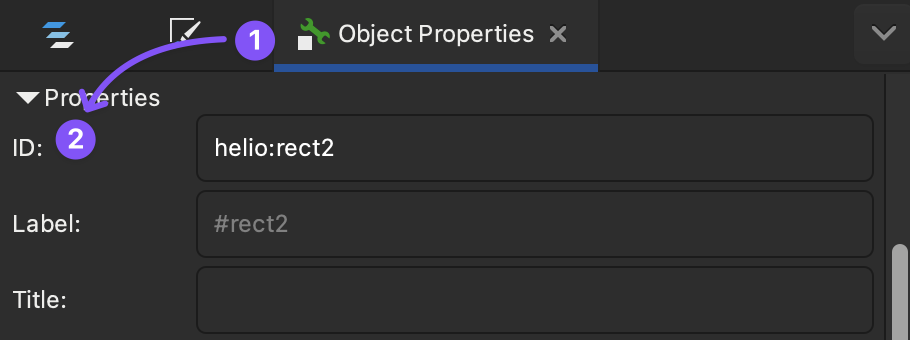
Using Object Properties (Recommended)
This is the easiest and most straightforward way using the
Object Properties panel. Use it to enter helio:[object name] into
the ID field of the element you want to make available in HELIO.
Using the XML Editor (Advanced)
If you want full control over the SVG structure, you can edit elements directly.
Open the XML Editor and the selected element will be highlighted in
the XML tree. On the right, you'll see its attributes.
Go ahead and add helio:[object name] to the ID field of the element
you want to make available in HELIO.
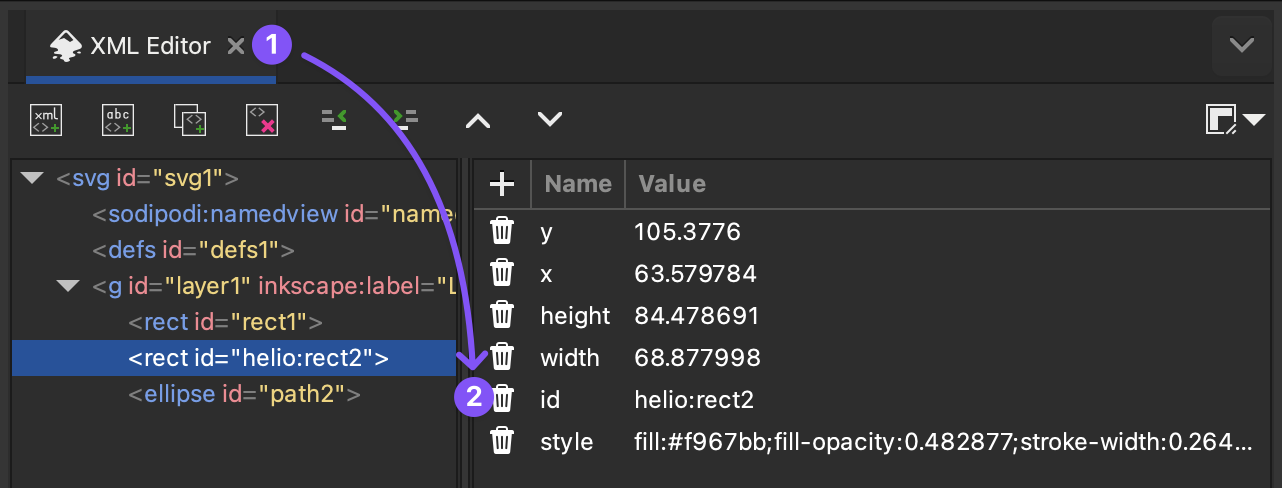
This approach is especially useful when working with more complex SVG structures or debugging.
- Export
3. Make It Dynamic
- Add an Image Page
Switch to the Content View of the HELIO IDE and:
- Add an Image Page to your HMI
- Upload the exported SVG
Tip: other ways to add image elements to your HMI?
There are other ways to add images to your HMI, like:
- Add an image to the
Side Panelof a Parameter Page. - Place an Image on your Dashboard Page.
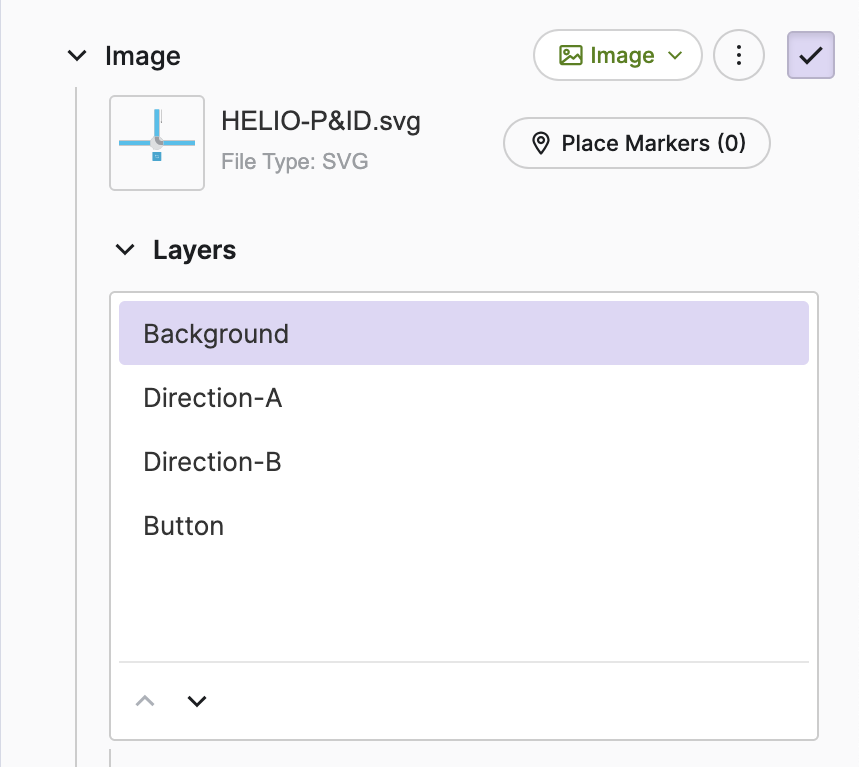
- Upload the SVG
Once you import an SVG image with prefixed layers, HELIO will make the layers accessible within the Properties Panel of the Image element like in this example:
- Define Local State Using a Component and
We want to allow operators to switch the direction
of a pipe using our illustration. So before we actually configure those
Layers, we need a way
to keep track of this state.
In a real-world situation, this state would probably be controlled by your PLC. And we'd be using a Data Variable (Dynamic Property) to access and and toggle it.
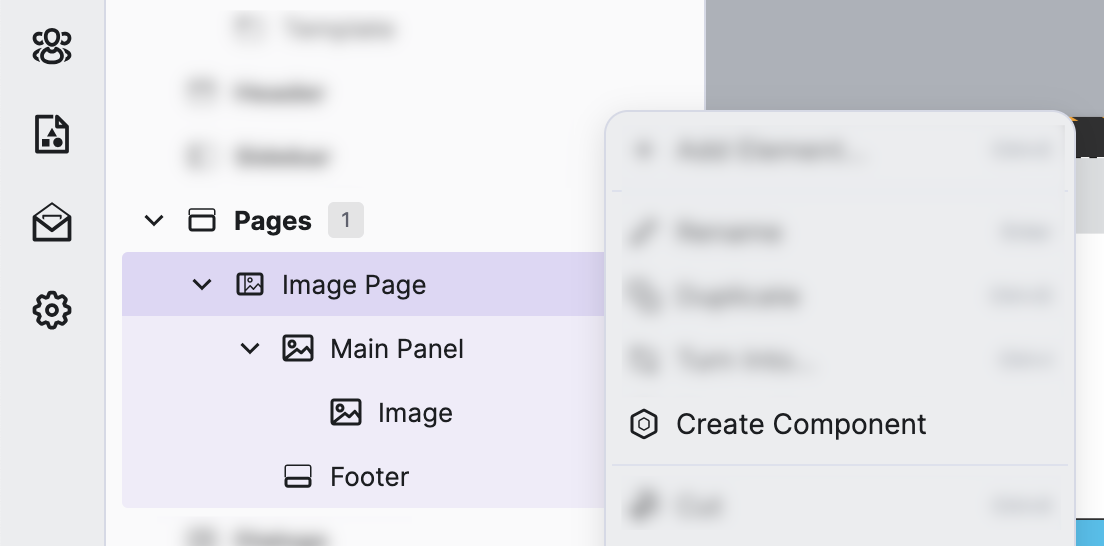
For this very simple test page, however, you can quickly turn the Image Page into a Component.
This allows you to add a Component Property to it. And you will be using this property to store the state of the illustration element.
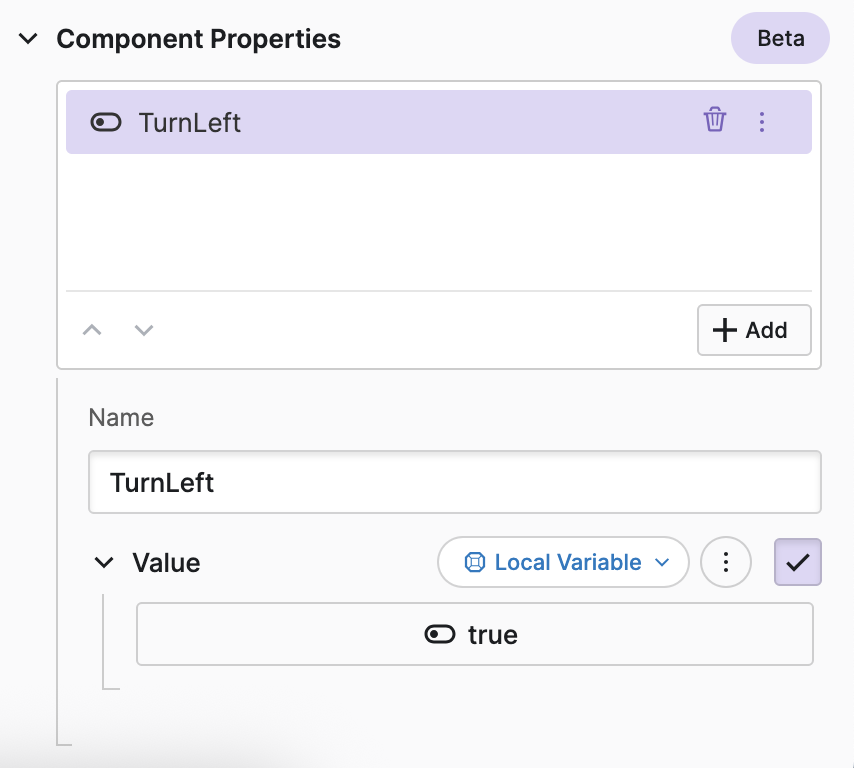
So, use the Component Properties section of the new component to:
- Add your first property called
TurnLeft - Set its type to
Boolean
- Show and Hide Layers Conditionally
As we've tagged our SVG's layers correctly, they will appear
in the Layers property of the image. For each of these layers, you
are now able to define an On click action or manipulate its
Display Condition.

Use the TurnLeft
Component Property for setting
the Display Condition property of the first layer called
Direction-A.
This will show the first layer when the TurnLeft value is true.
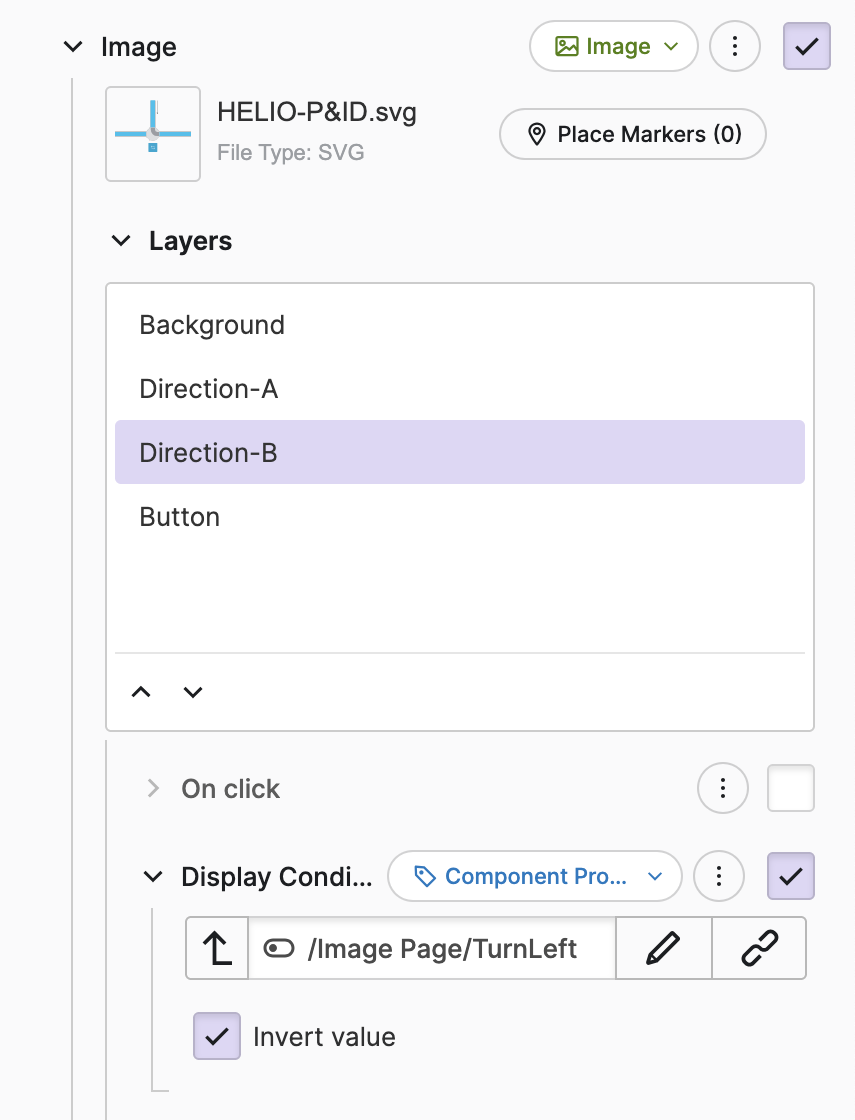
Do the same for the Direction-B layer, but make sure to invert
the
Display Condition.
This will hide the second layer when the TurnLeft value is true.
- Toggle Visibility
The takeaway message from the previous step is that only one of the
layers can be visible and you can use the property TurnLeft to
toggle the visibility between the two layers.
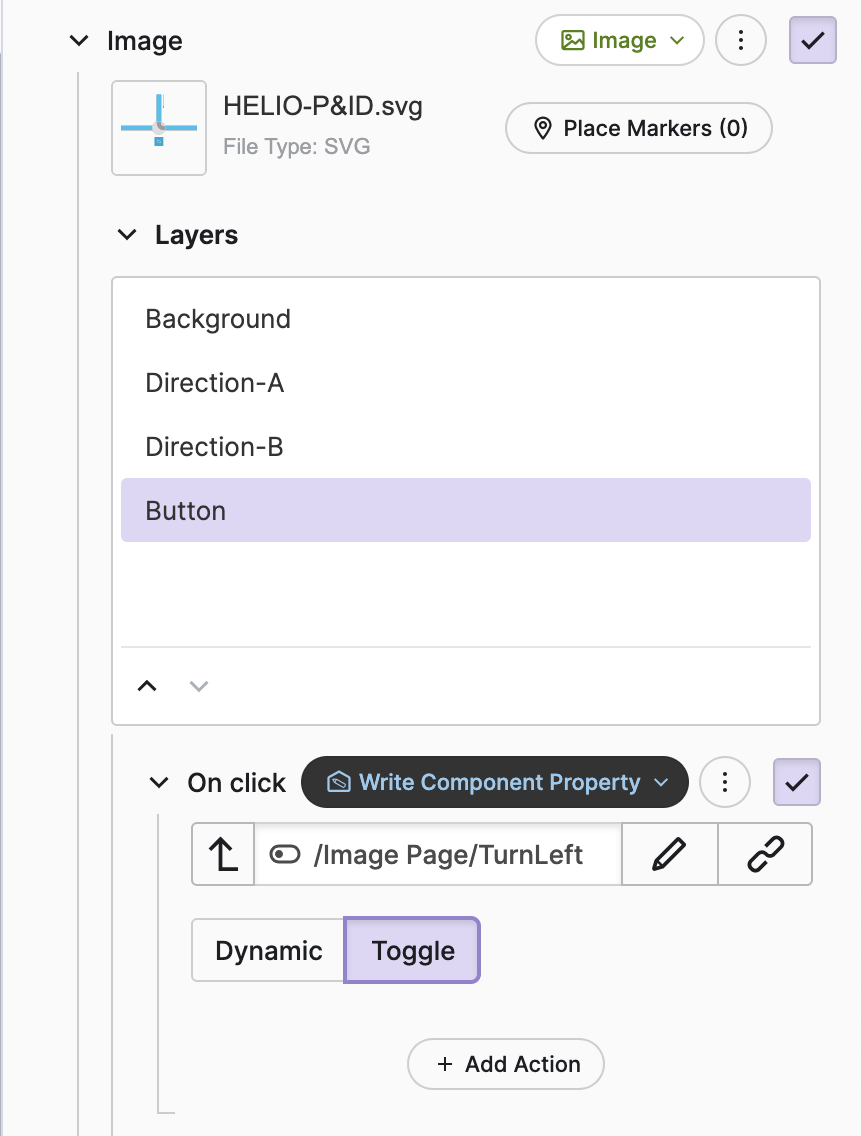
As a final step:
- Add an
On Clickaction to theButtonlayer - Choose Write Component Property as the action type
- Choose the
TurnLeftproperty to be toggled whenever operators click this button
Give It a Try!
Now it's time to test our dynamic image. Simply switch over to Test mode
and click on any layer of your
SVG that you've
added an On click action to, and watch what happens.
If we press the Button layer in our example, HELIO will switch between
the Direction-A and Direction-B layers and we are able to display
the flow direction within our image. Isn't that nice?
Now that you've got the basics covered, go wild with SVGs.