3. Set Up a Parameter Page
Great work so far! You have created your first Dashboard page. Now let's keep working on your HMI. In this step we will be adding a Parameter Page where you will be able to view and edit your HMI's parameters.
3.1 Create a »Vacuum Parameters« Page
- Add a new page
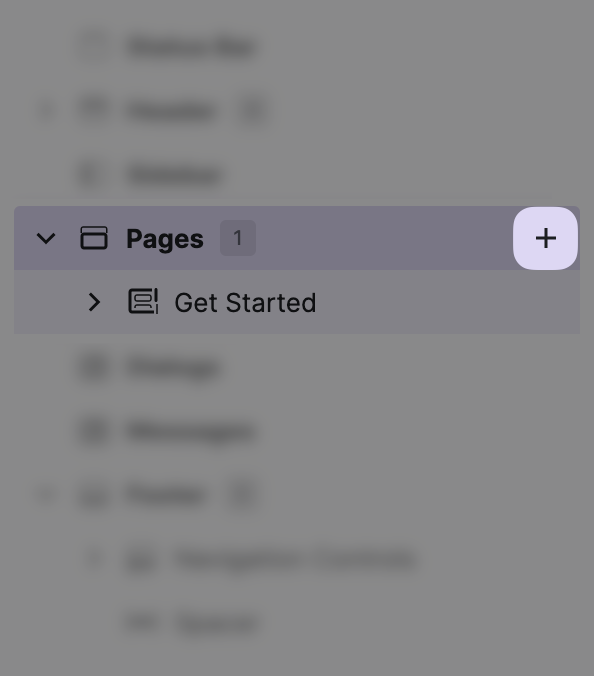
Select the Pages slot in the
HMI Content Tree and click the + button to bring
up the Add Element dialog:
- Choose page type
Choose Parameter Page from this list to add a new page to your HMI.
- Rename page
Since we want to edit some vacuum parameters on this page, rename the page
to "Vacuum Parameters". You can either do that in the content tree or
within
the General section in the page's
Properties Panel.
- Challenge
Goal: Change the Page's Icon
We would like to use a more fitting icon for this page. So try and set the page's icon to the "Vacuum" icon!
3.2 Add Your First Parameter
Let's add some parameters our operators need to be able to edit.
What Is a Parameter?
A parameter is a container that can hold a series of inputs and outputs that are used together to configure a specific setting on a machine. It has a label that explains the context to operators.
- Delete predefined content
Just like the Dashboard Page in the previous step, the Parameter Page comes predefined for your convenience. That's why your page already contains one parameter, with a default Magic Input. For the purposes of this tutorial, we will simply delete it and start from scratch.
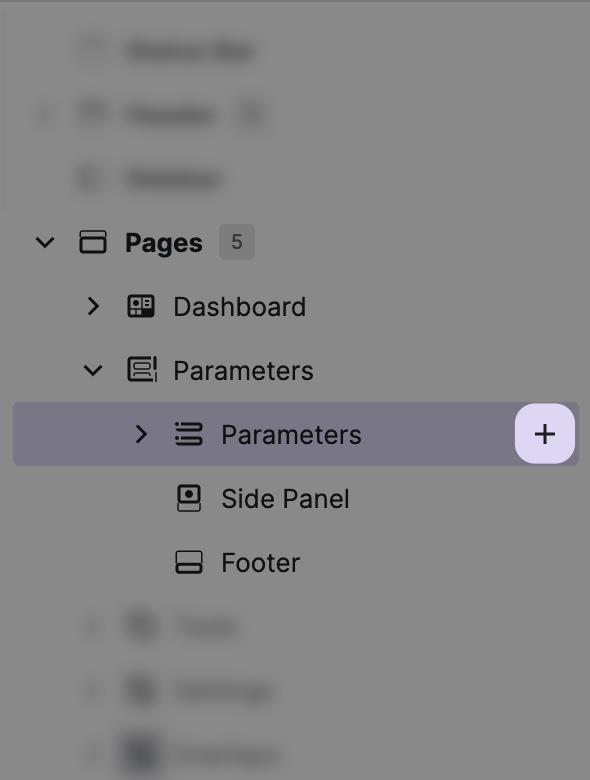
- Add a new parameter
Within the
HMI Content Tree, locate the Parameters child
node of your page and click the + button.
This will bring up the Add Element dialog, which shows you a list of
elements that can be added as parameters.
For now, we only want do add a single parameter to our page, so choose
the Parameter Element from the list.
- Rename the parameter
Rename your parameter to "Pre-delay" using the HMI Content Tree.
- Add an input to the parameter
Within this parameter, we want our operators to be able to edit the the
Quickstart > Moulding > Vacuum > PreDelay variable. For this case, our
UX experts have chosen to use a numeric stepper, so let's add it:
- Locate the parameter in HMI Content Tree and click
the
+button on the right side of it - In the
Add Elementdialog, chooseNumeric Stepper - This brings up the
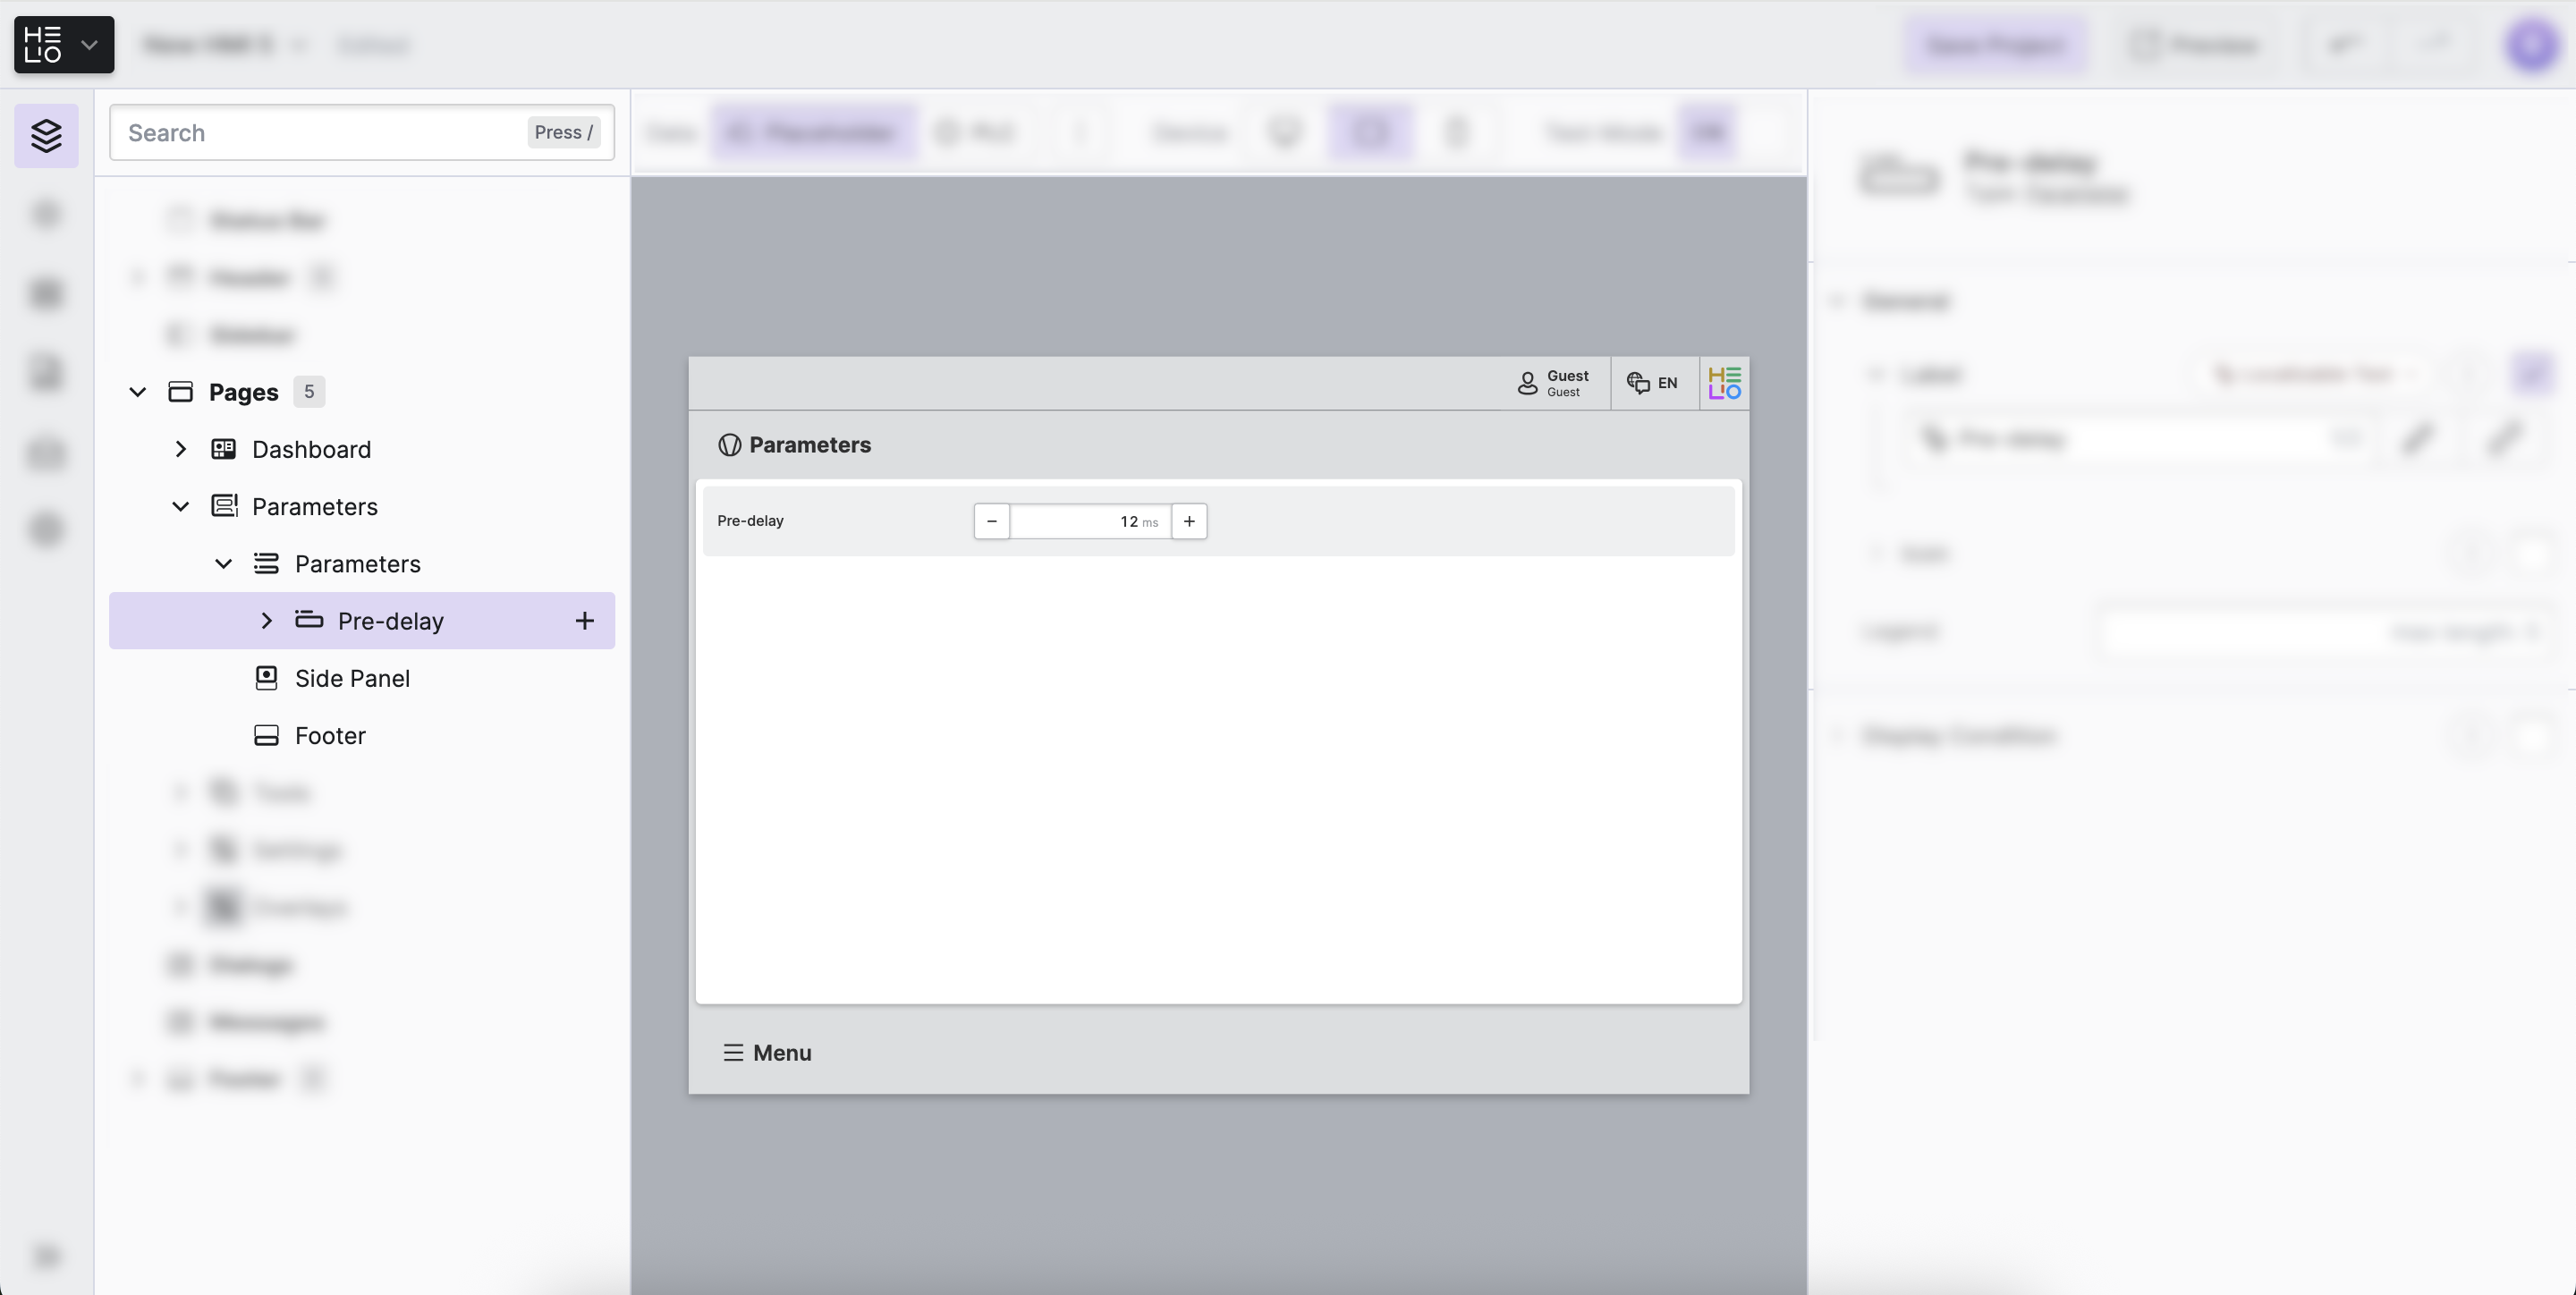
Choose Data Recorddialog, which lets you choose the variable this stepper controls. - Locate and select
the
Quickstart > Moulding > Vacuum > PreDelayvariable.
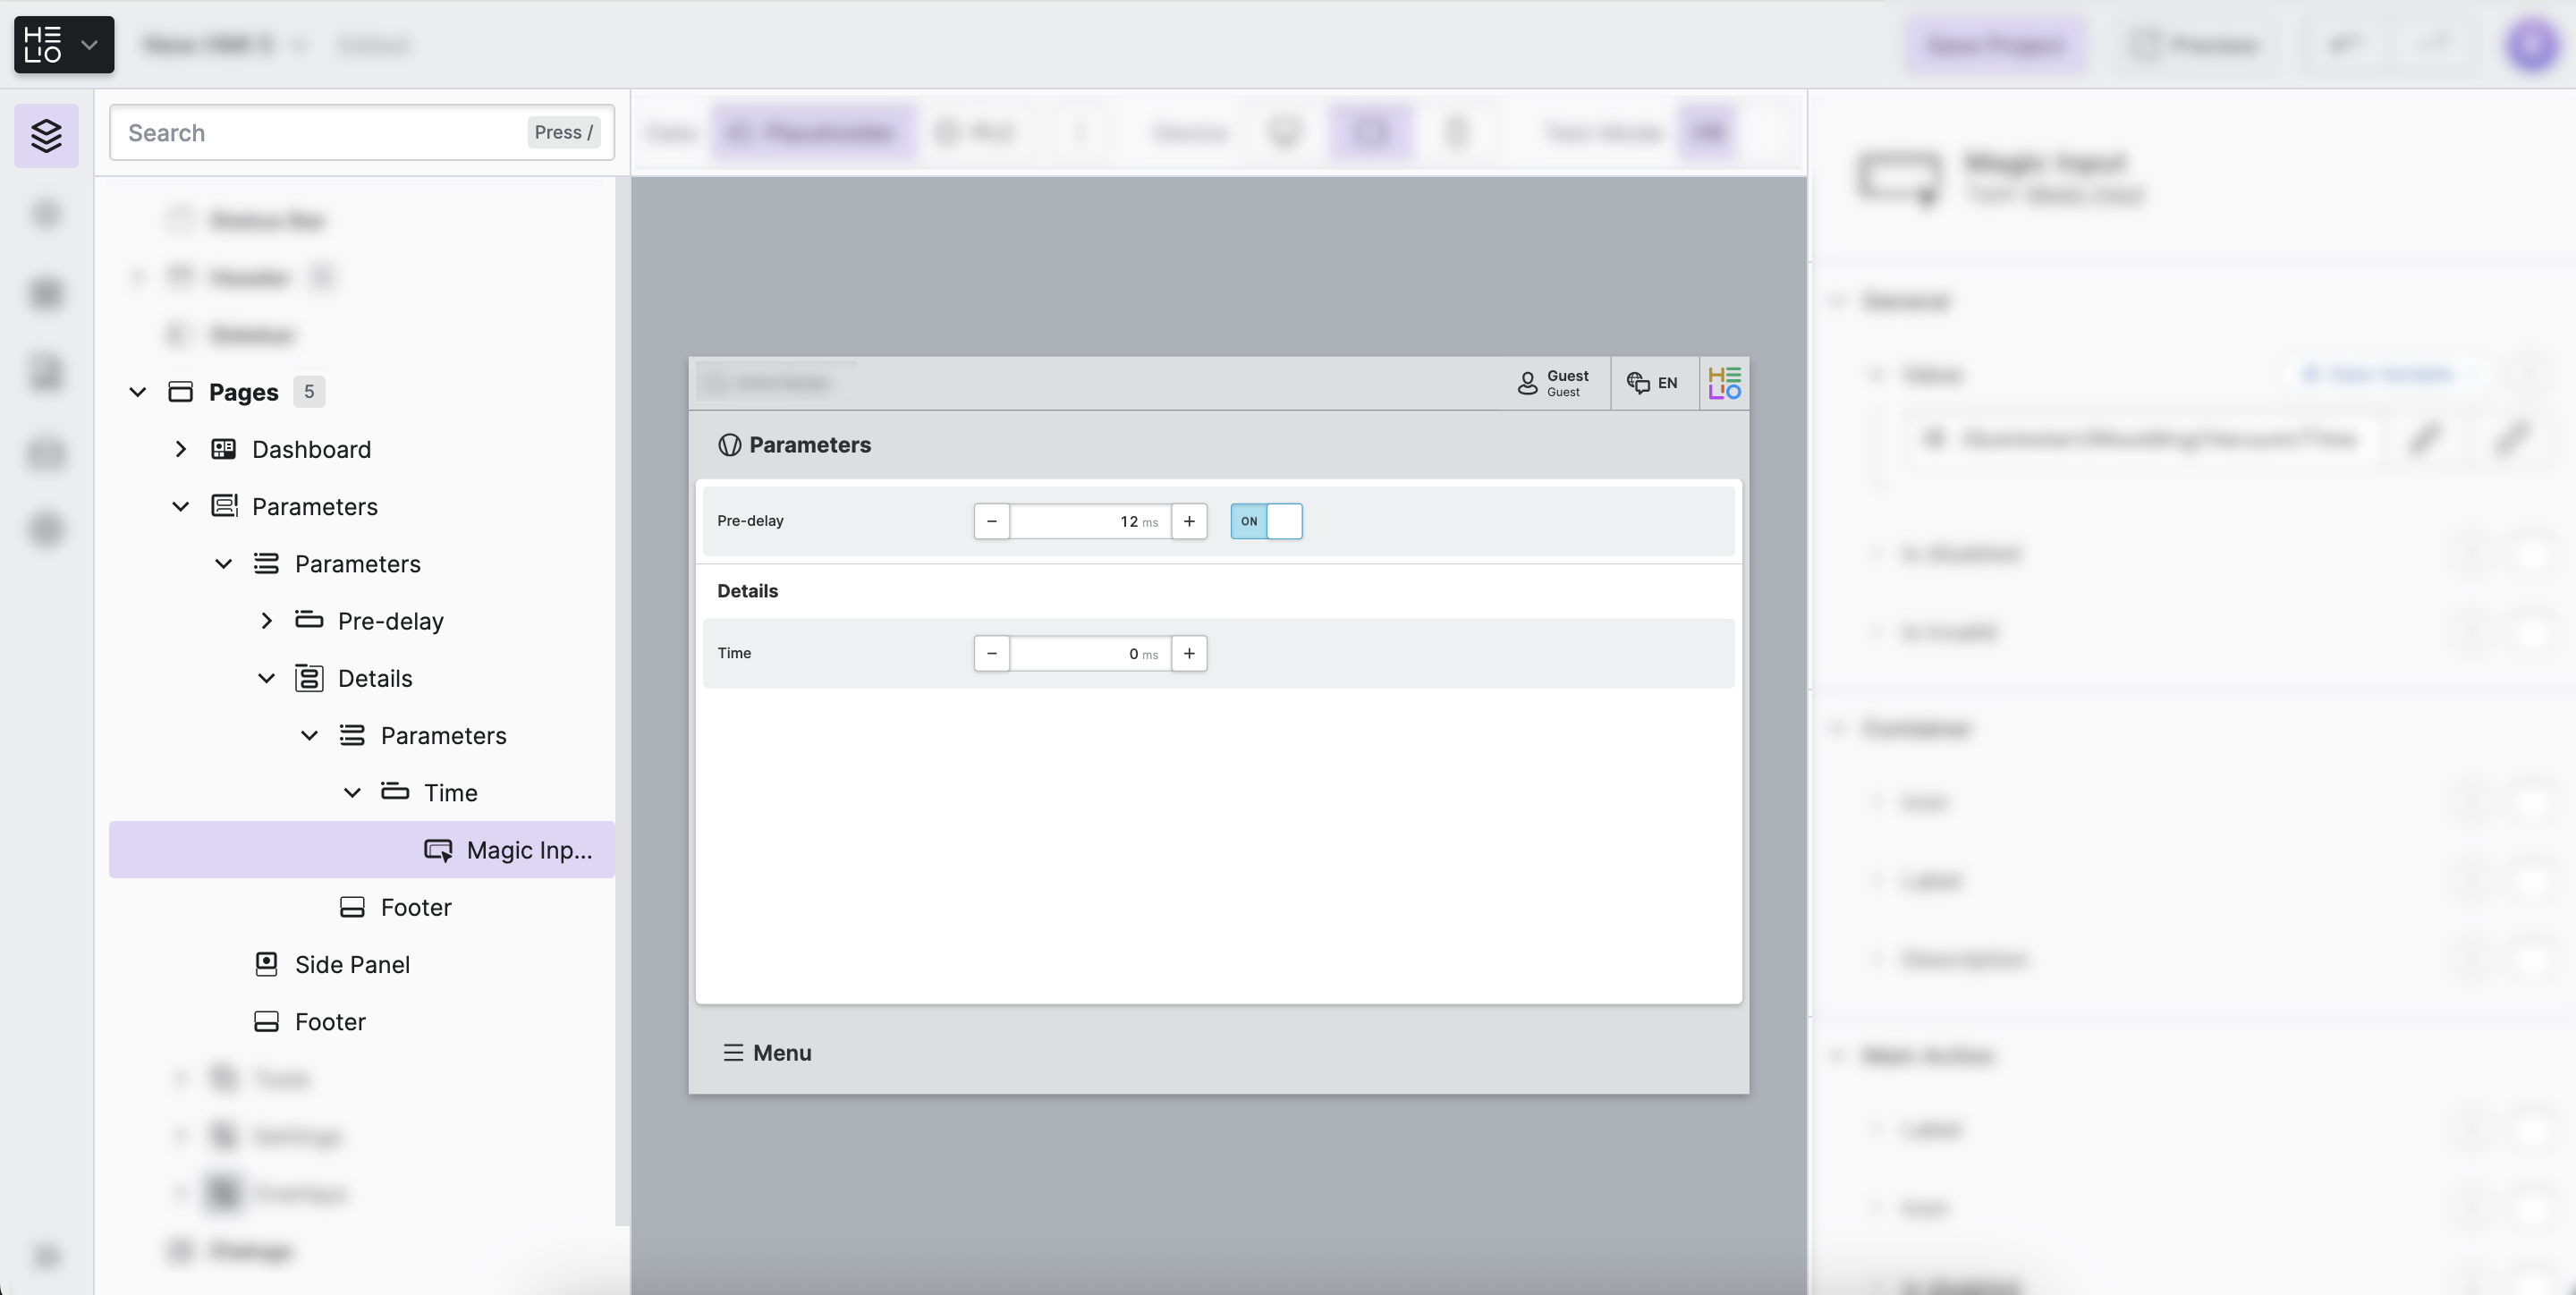
Your page should now look like this:
- Challenge
Goal: Add a Second Input to the Parameter
Our operators should also be able to edit another variable called
PreDelayActive that controls whether or not the delay is active.
It's located in the same directory as the PreDelayvariable.
Add a second input element and connect the PreDelayActive variable
to it!
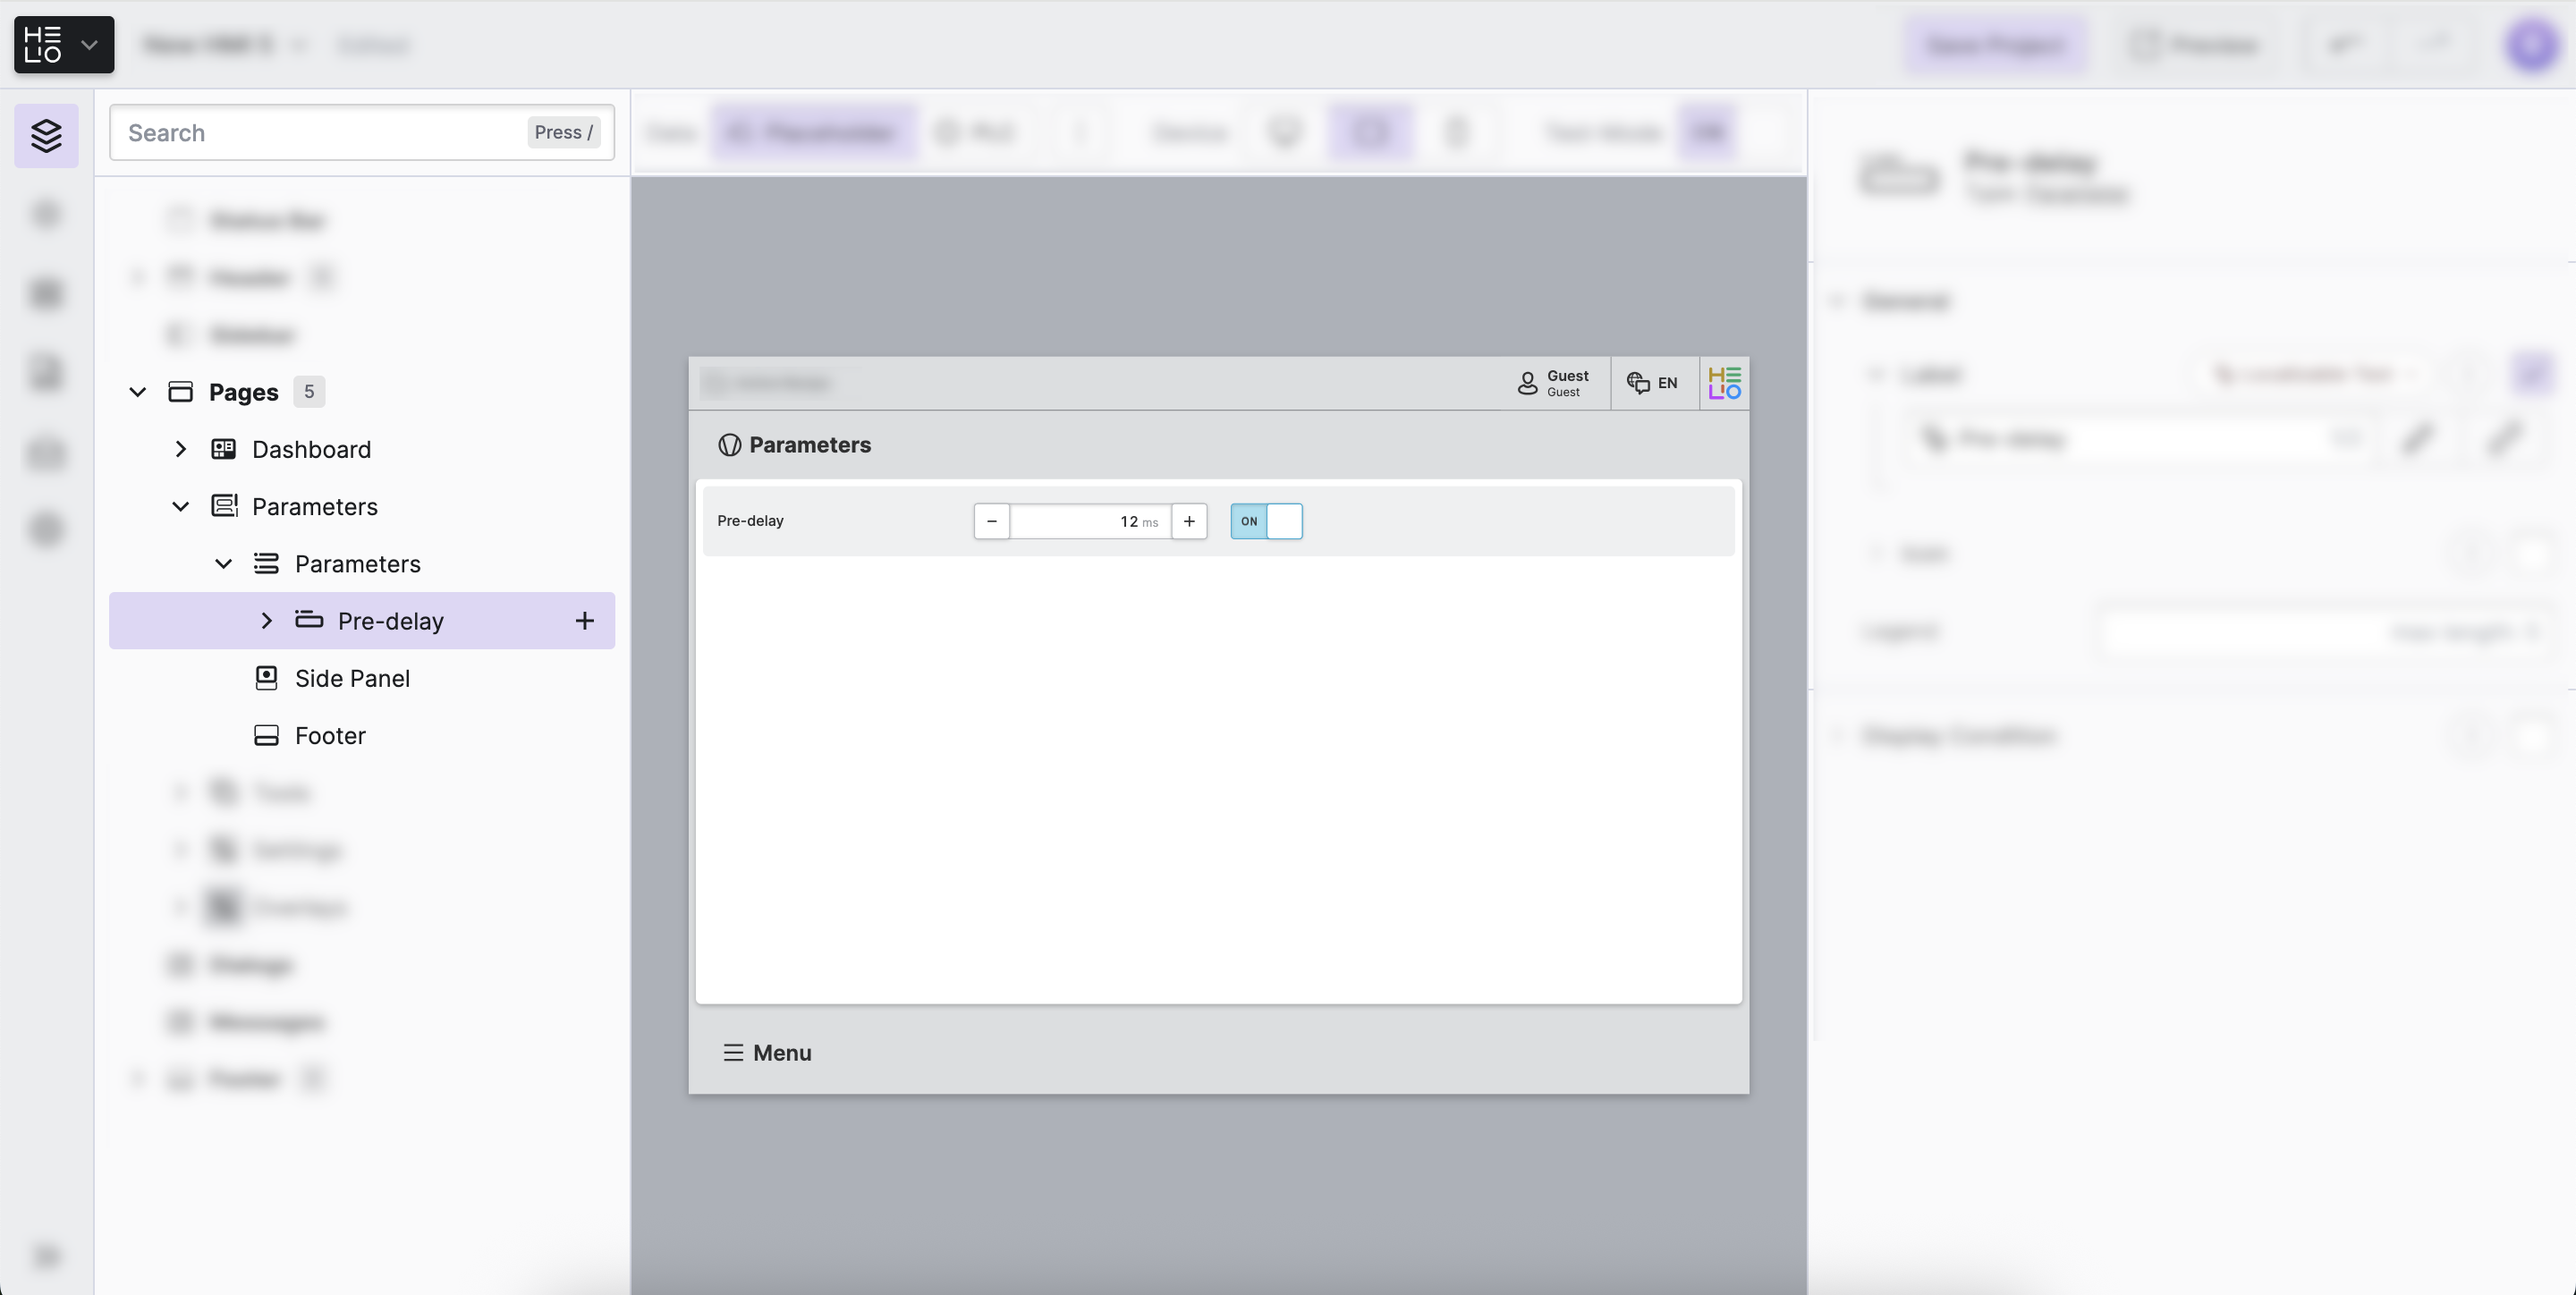
Solution
Did you choose a Magic Input or Switch element for this use case?
Perfect! Your page should now look like this:
3.3 Add Your First Parameter Group
Create The Group
Sometimes you'll want to group multiple parameters together. For example, you could put more advanced or detailed settings into a separate section. Parameter Groups are really handy here because they give a visual hierarchy plus you can collapse them.
- Add a parameter group and name it
Within the
HMI Content Tree, click the + button next to
the Parameters node of the page, choose the Parameter Group element,
and name this new group "Details".
- Add a parameter to the group
Go ahead and add a "Time" parameter to your new group. Next, add a
Magic Input element within this new "Time"
parameter to let our operators edit the
Quickstart > Moulding > Vacuum > Time variable.
Note: Don't remember how to do all that? No problem at all. Just repeat what you did for the "Pre-delay" parameter and you'll be set!
Once finished, your page will look like this:
Add a Reset Button
After editing the "Time" Data Variable our operators may need to reset the variable, we will achieve this by adding a button to the parameter.
- Add a button and name it
Within the content tree, click the + button next to your "Time"
parameter and choose the Button element and rename it to "Reset Time".
- Set the button's alignment
We also want this button to be a bit bigger, so navigate to the
Alignment section within the button's Properties Panel
and choose the Fill option.
- Locate the button's
On clickfunction
Now let's take care of our button's functionality, since all it can do right now is display a warning and that's not what we want!
Navigate to the On click property of our button within it's
Properties Panel and click the
drop down next to it. This will open the Select Action
dialog.

Note: There are a lot of different Actions and you will learn more about them later. Or if you can't wait just try them out right now!
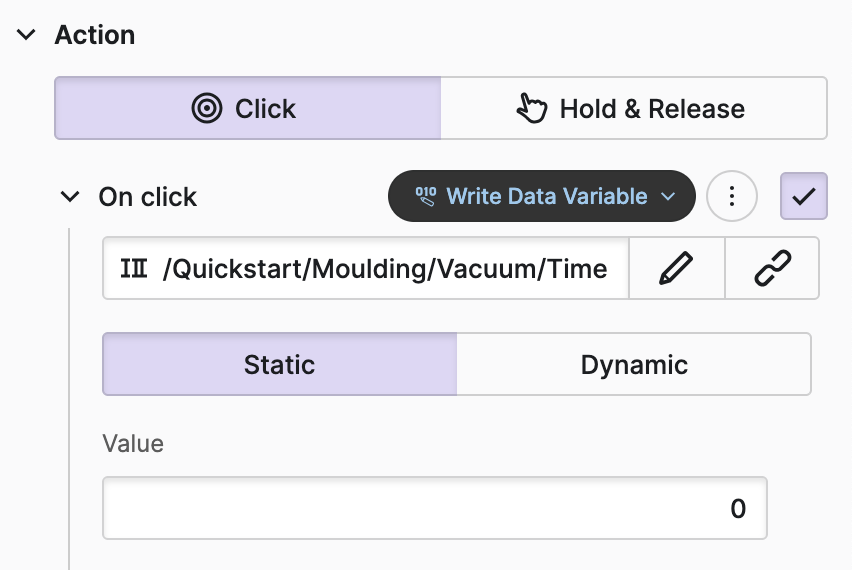
- Set the button's
On clickfunction
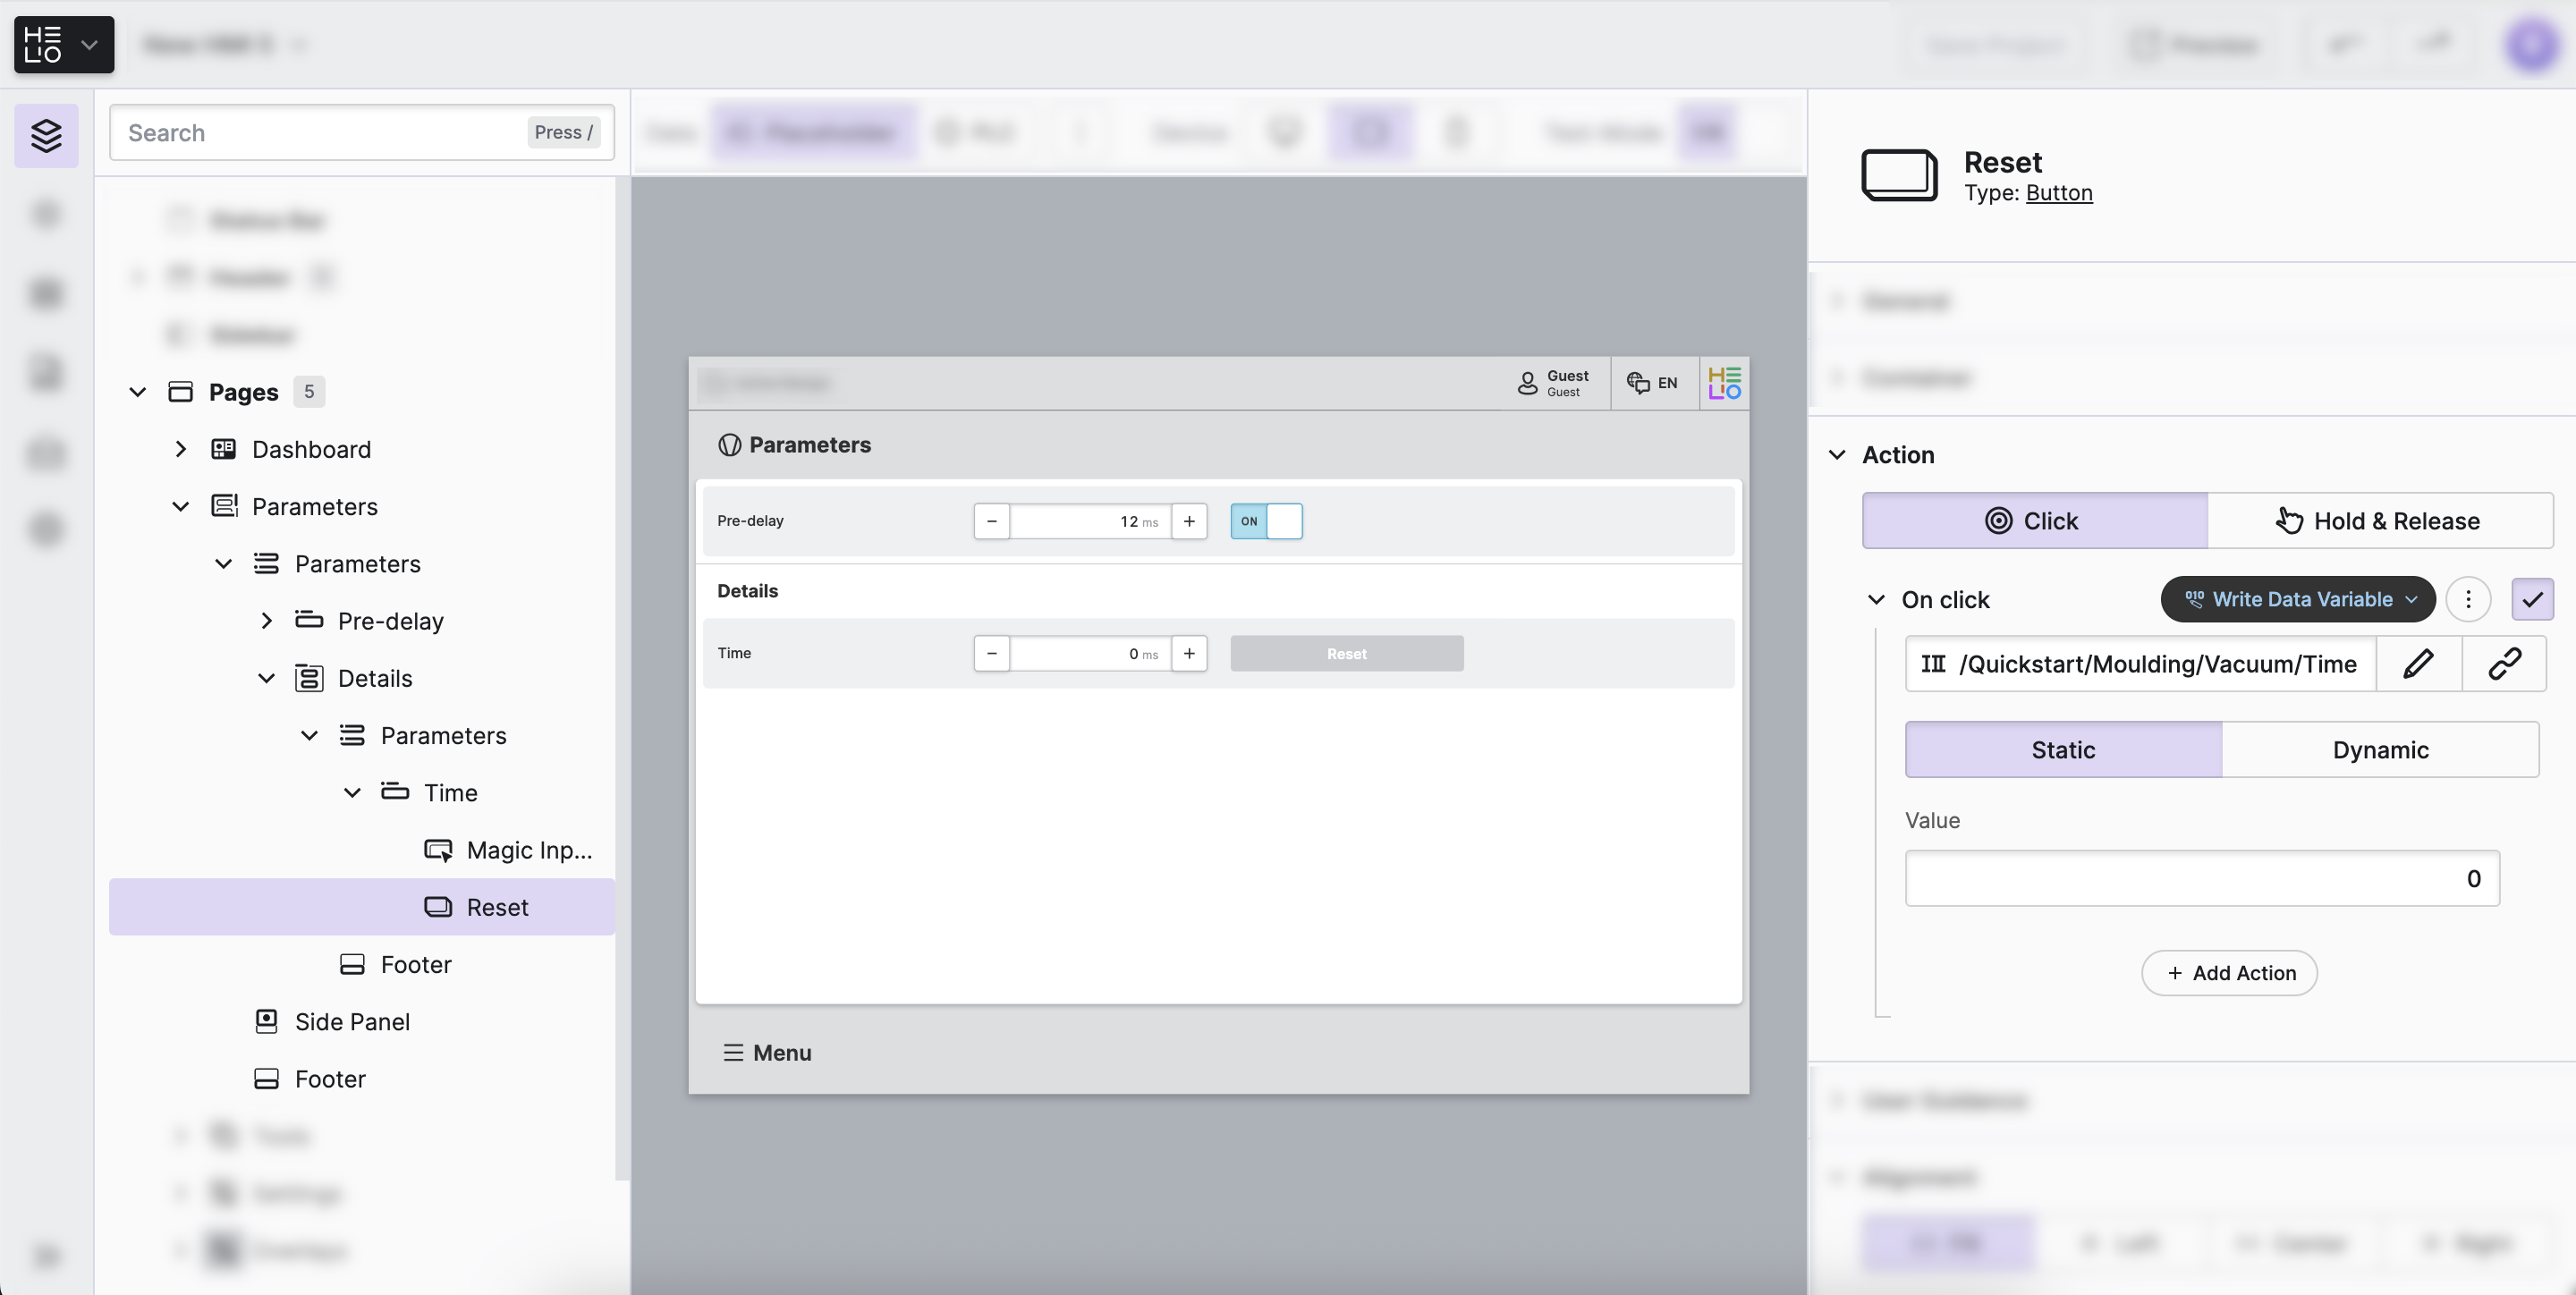
- Set reset value
- Let’s try out your new reset button!
Activate Test Mode
above the HMI Preview Panel
and click the "Reset Time" button! The variable within the
Numeric Stepper of your "Time" parameter should
now be "0".

Try manipulating the "Time" variable using the Numeric Stepper and
resetting your changes with our brand new reset button.
Is it working? Amazing! 🤩
- Challenge
Goal: Make your parameter group collapsible
Our operators won’t need to edit these details all the time, so we want to safe some space on the parameter page and make this group collapsible.
So, set the "Details" parameter group to collapsible!
Tip: You might want to have a look at the parameter group’s Properties Panel!
Note: When a parameter group is collapsible, our operators will be able to expand or collapse the parameters within that group at will.
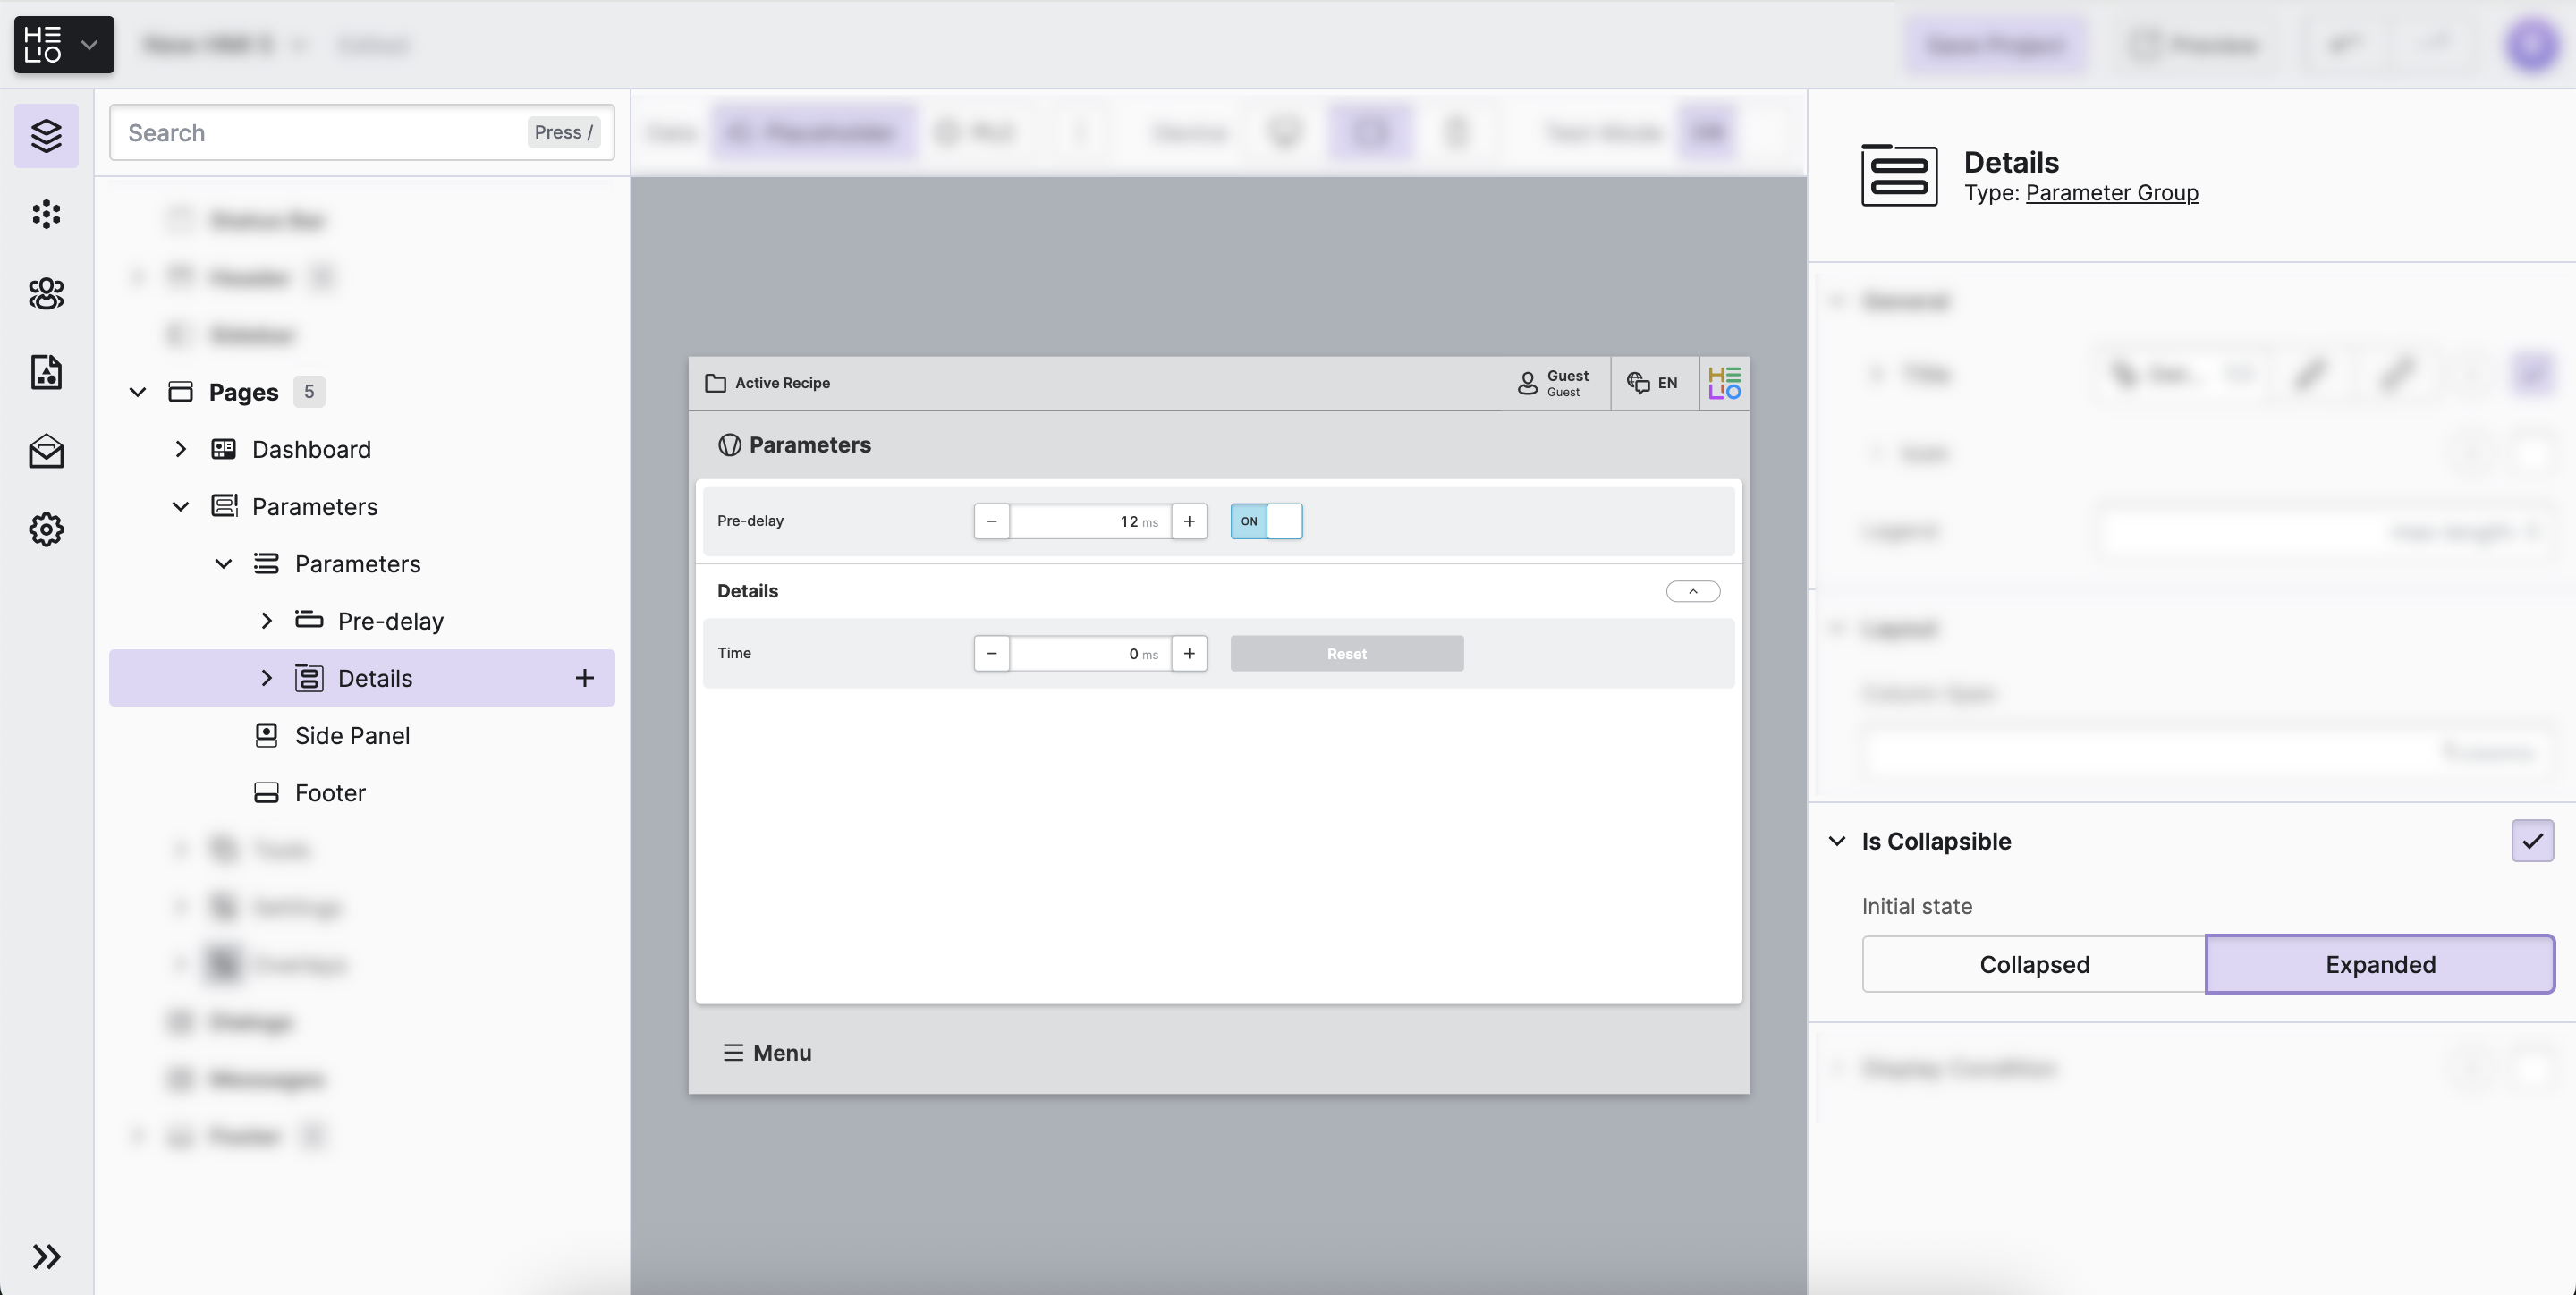
Check Your Result
Time to validate your own result against this screenshot. Make sure that you have included all the necessary elements in your HMI. 👉
You're ready to move on to the next step!