5. Connecting to a PLC
5.1 Create a New PLC Connection
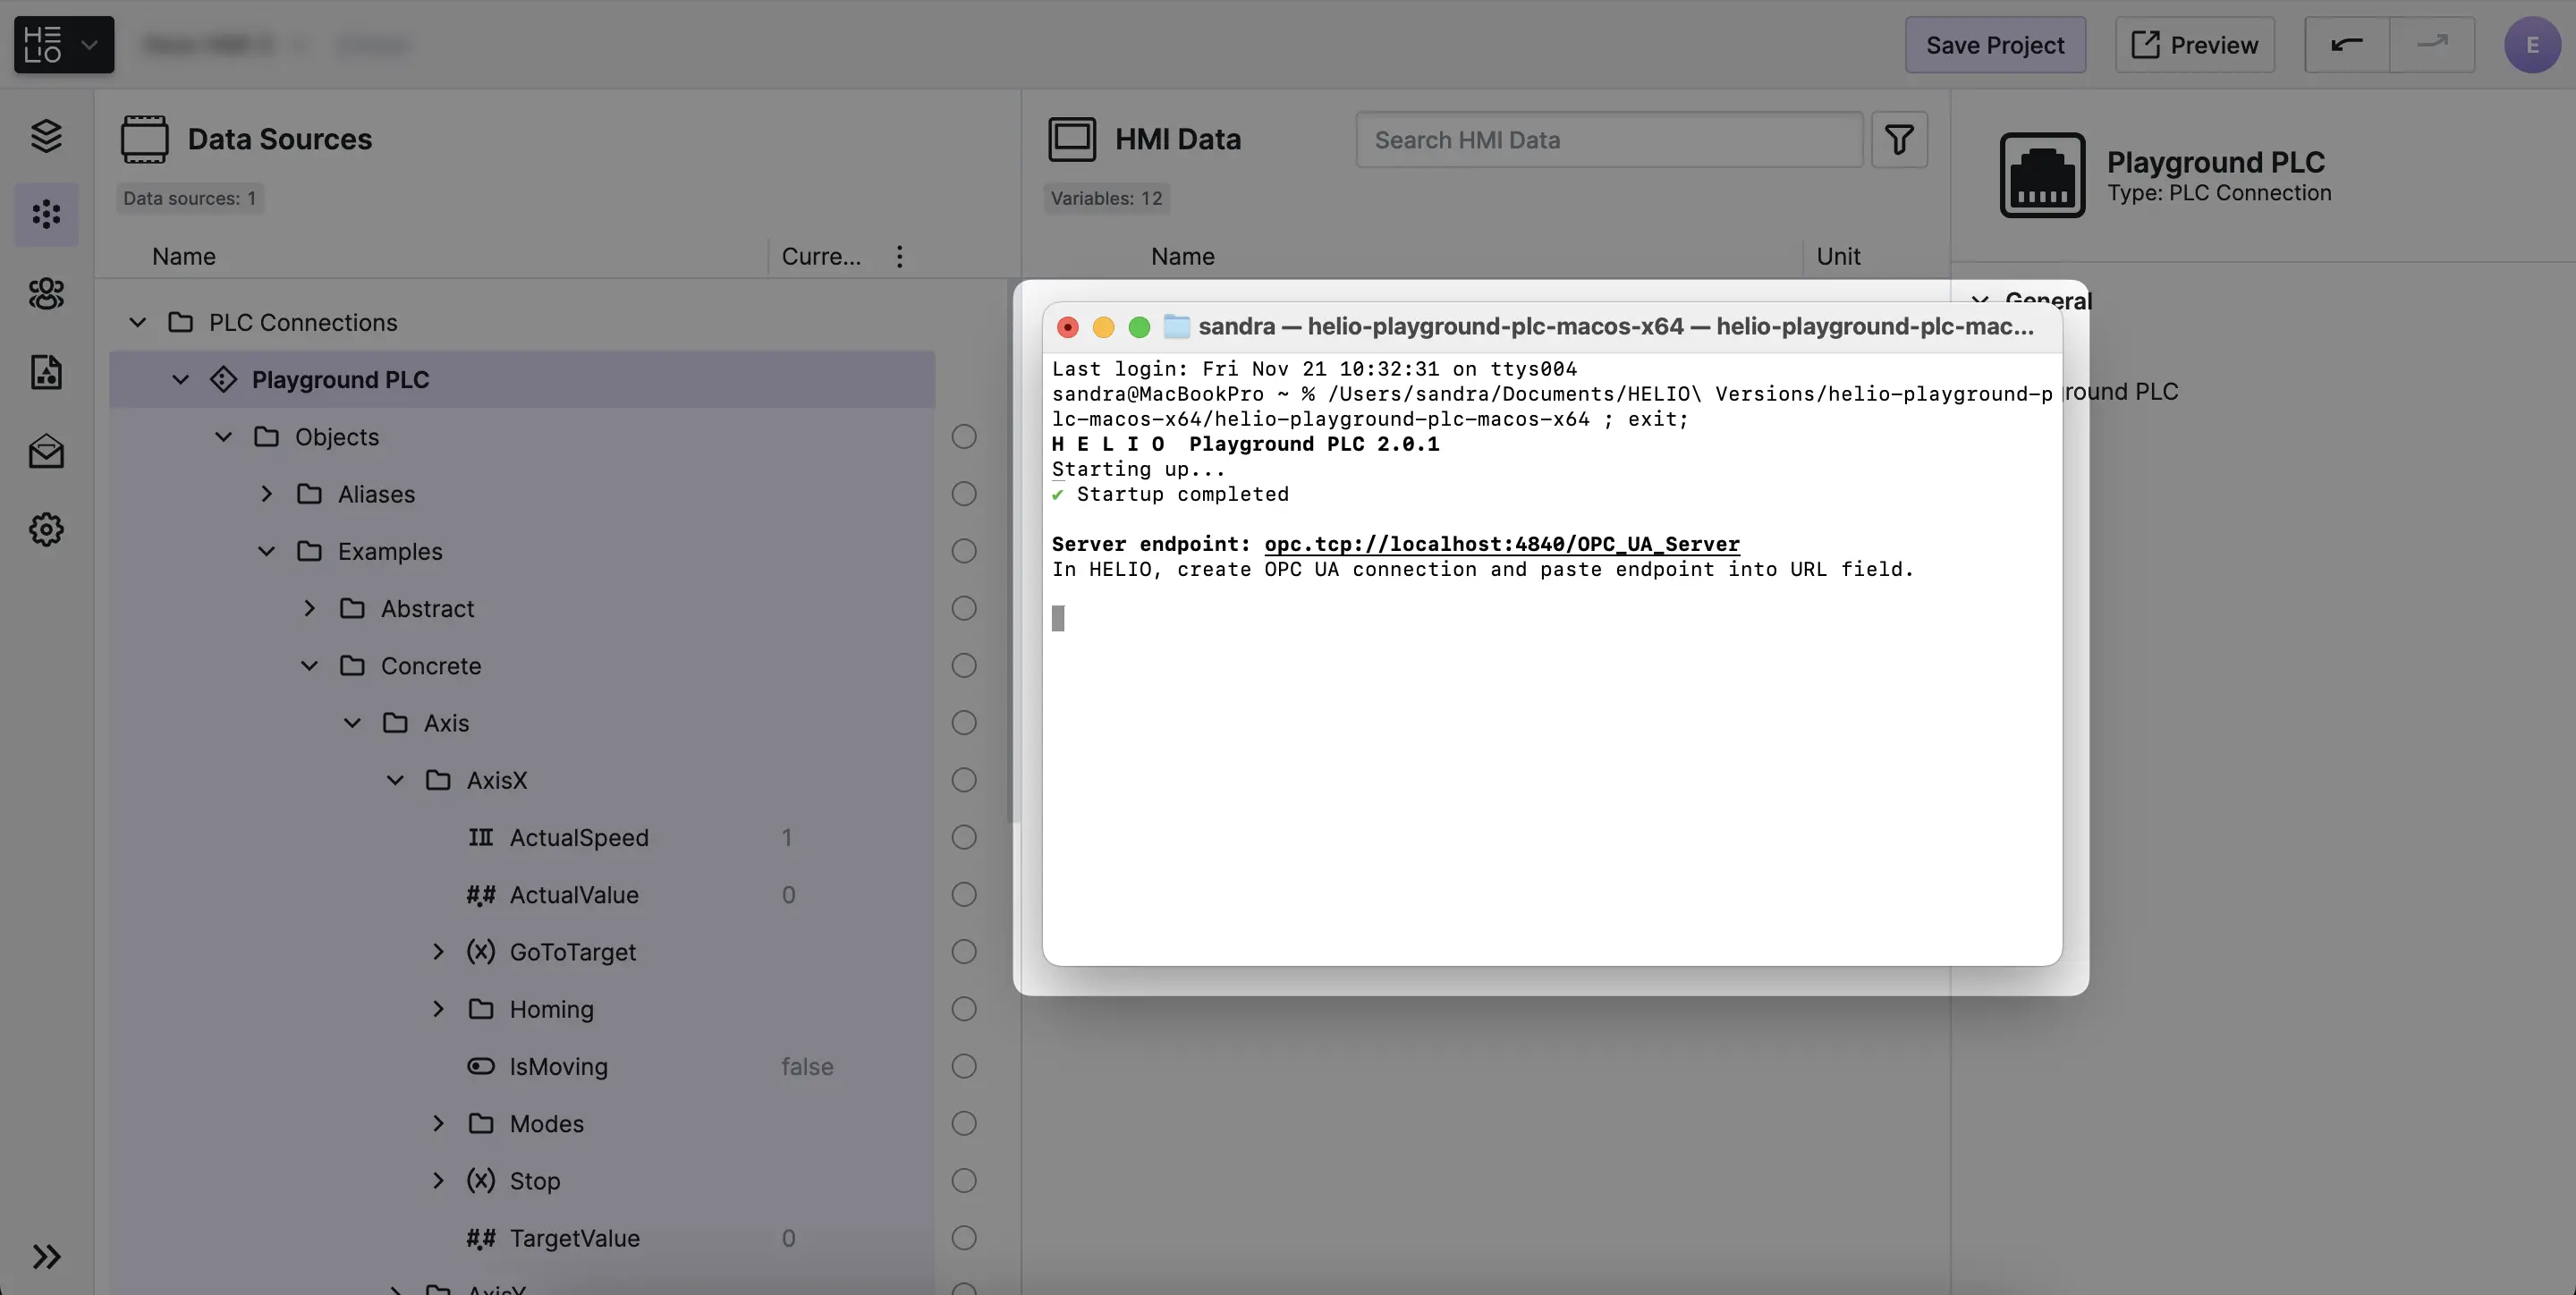
- Download & Start the
Playground PLC
Setting up a PLC that we can connect to sounds pretty complex, right?
The HELIO Playground PLC Has Got Your Back
It's a software-based demo PLC that you can download for free and run on your development computer right away. A handy tool when you want to learn how to connect HELIO to an industrial machine that communicates using OPC-UA.
→ Download the latest version and start it.
- Add the Connection
Good job on getting the PLC set up and running. Let's keep going:
- If you haven't set up a new project just yet, now is a great time to Create a New Project.
- Open your new project in the Project Editor and switch to the Data View.
- In the Data Source Explorer, add a new OPC UA Connection using the default settings.
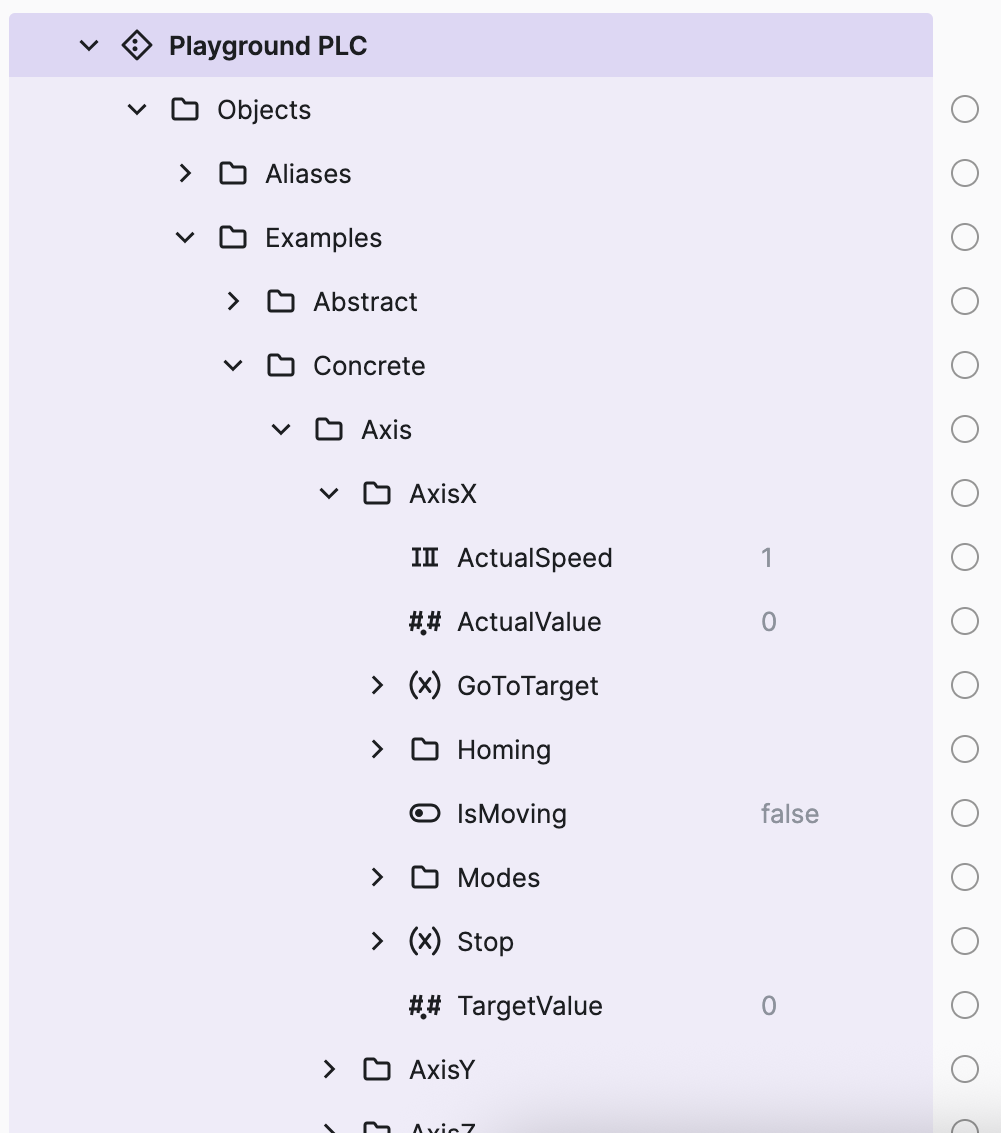
- Explore the Structure
5.2 Connect PLC Data with HMI Data
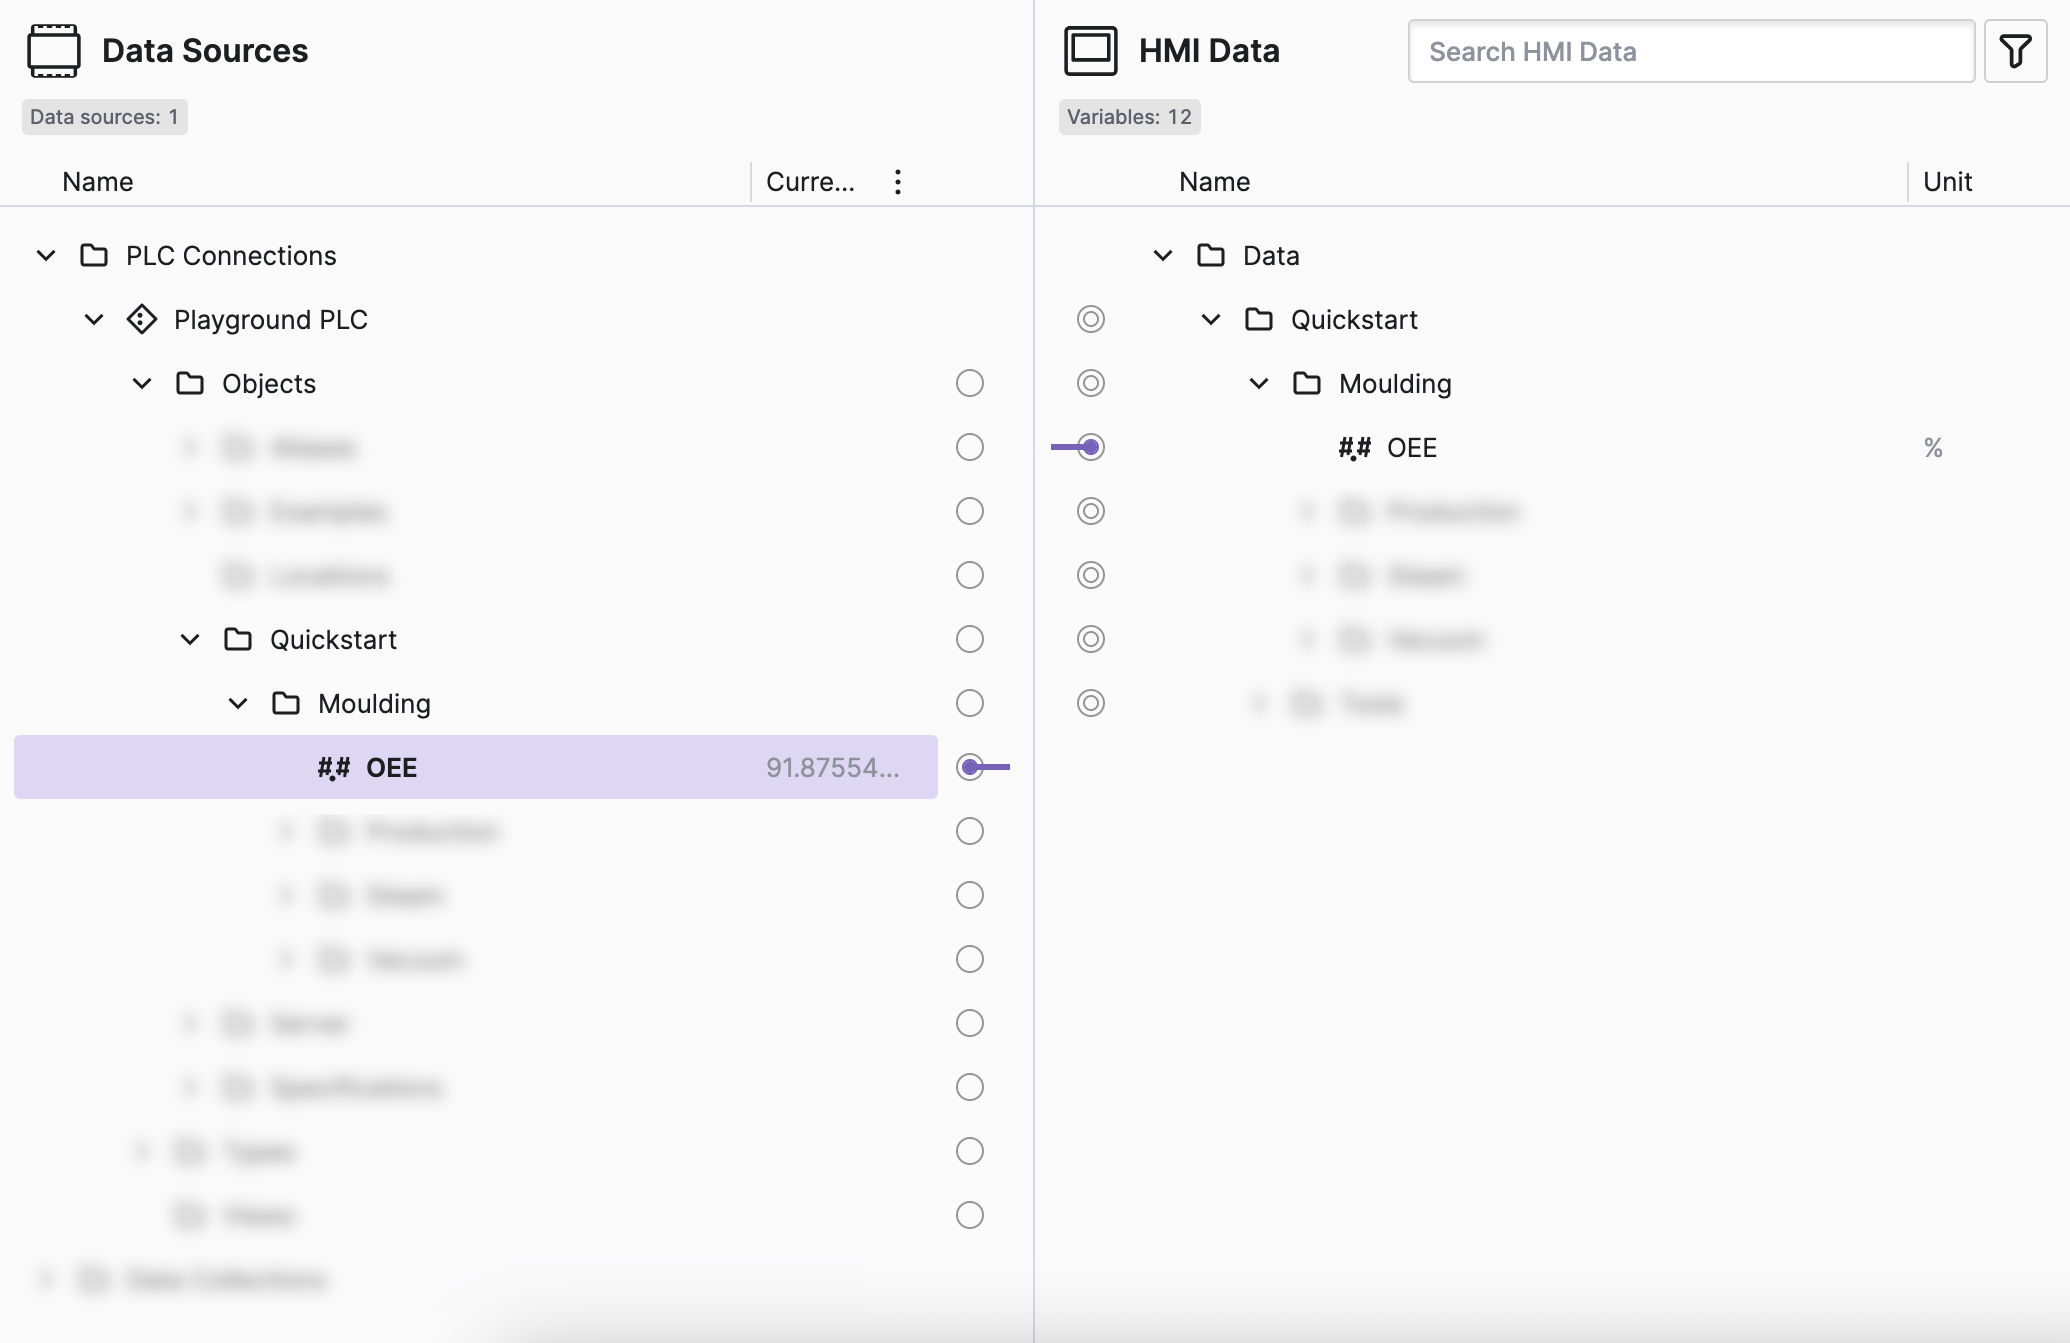
- Locate both
OEEvariables
First, let's look for the OEE variable in the
Data Source Explorer. You should spot it under:
PLC Connection > Playground PLC > Objects > Quickstart > Molding.
And now it's time to locate the OEE variable within the
HMI Data Explorer. You'll find it under
Data > Quickstart > Molding.
- Start connecting
Click the circle on the right of the "OEE" variable within the Data Source Explorer to start a new connection.
- Finish connecting
Click the circle on the left of the "OEE" variable within the HMI Data Explorer to connect the two values.
You successfully connected the OEE variable to the PLC, good job!
- Challenge
Connect all the dashboard data
Now lets connect some more data points to really bring our HMI to life!
Navigate through the Quickstart folder within the Playground PLC
and connect each value you find to its corresponding HMI Data value.
5.4 View Live PLC Data in Your HMI
- Switch to the Content View
…and navigate to the dashboard page we created in a previous step.
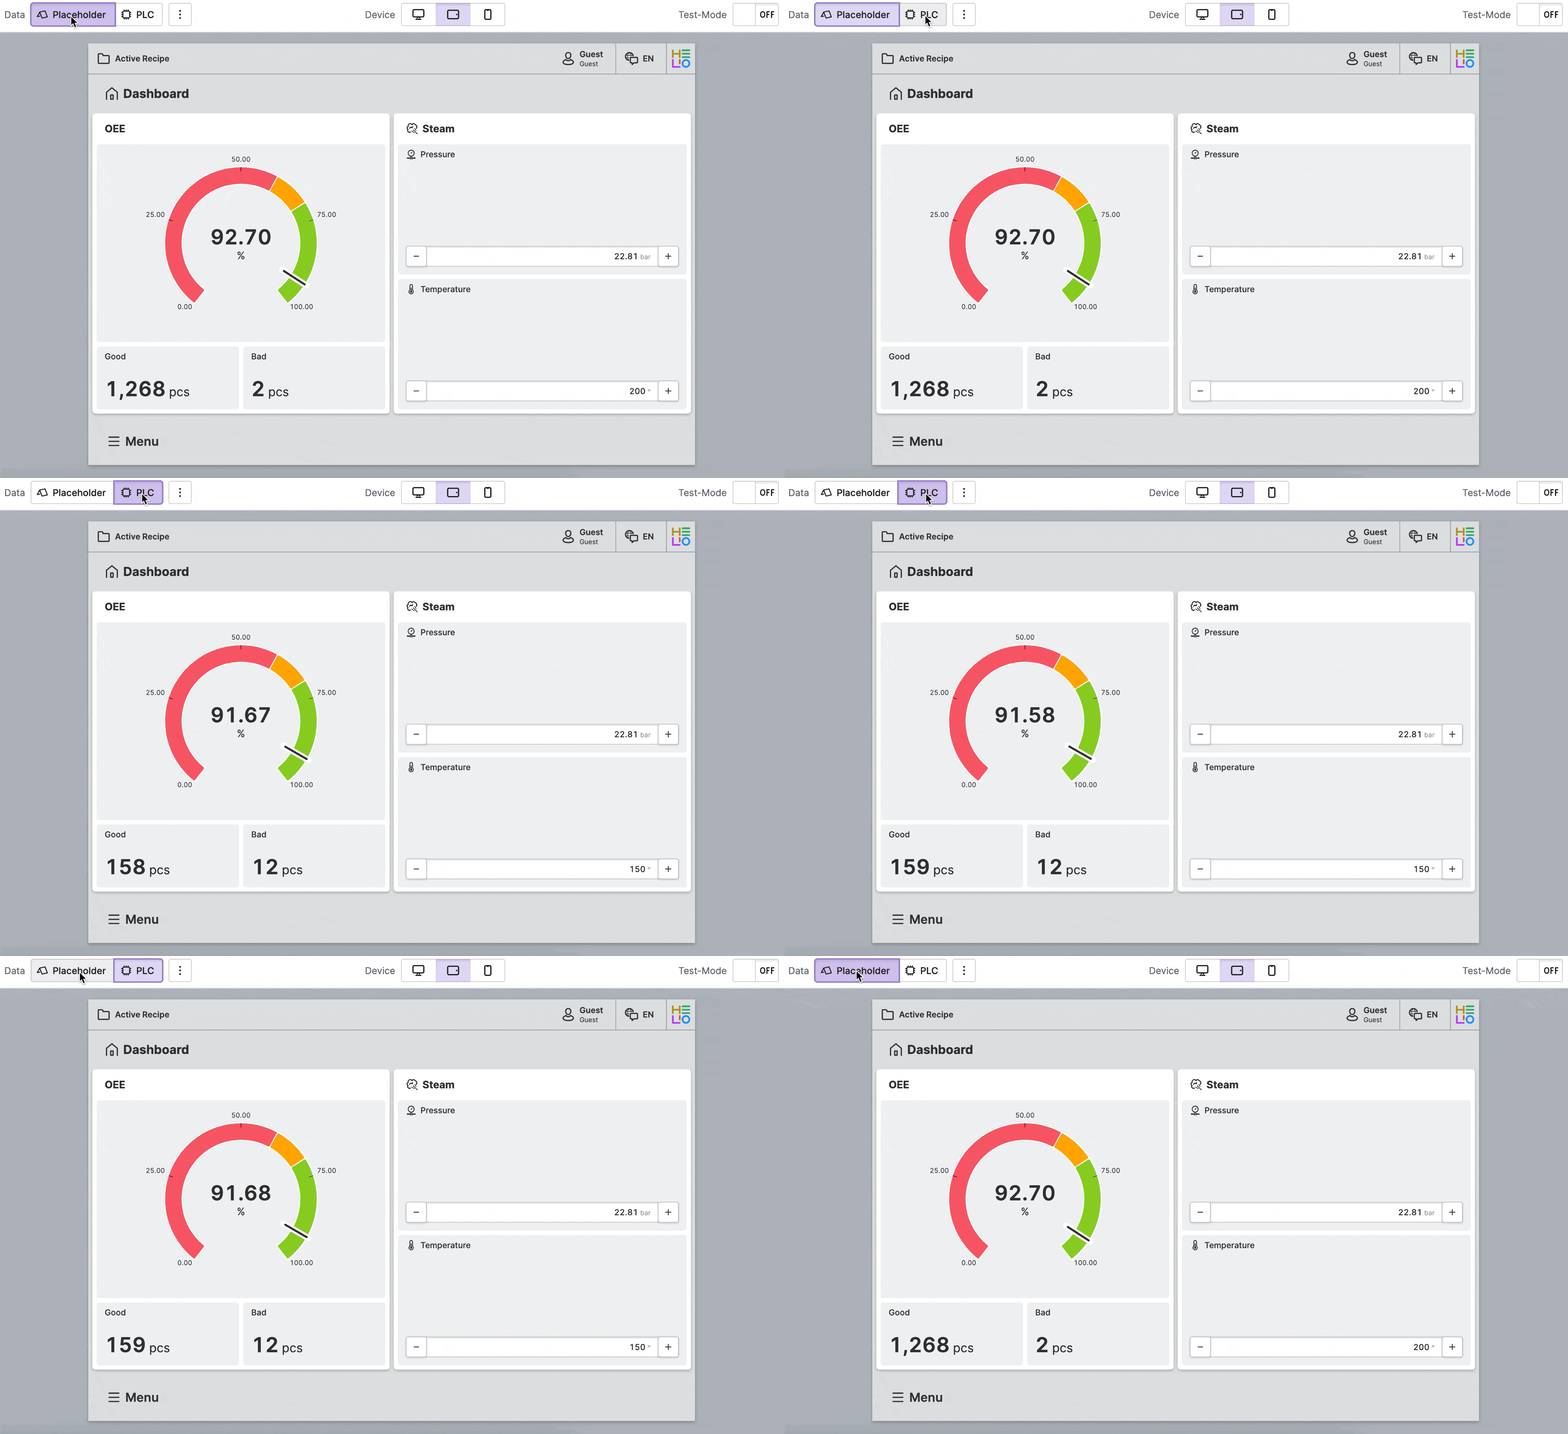
- Switch to PLC Mode
Switch from Placeholder mode to PLC mode using the buttons above the HMI Preview Panel.
- Explore PLC Mode
You finished the entire quick start guide like a boss!
Learn more with the following resources:
- Visit our Guides


