4. Previewing Your HMI
Now that we've added a Parameter Page, our HMI is looking pretty good
already. But we haven't really previewed and tested it yet, so let's do that
now! In this step you'll learn to save and preview your project and edit placeholder
data.
4.1 Save and Preview
- Save your Project!
Just a Heads-Up: Helio Doesn't Automatically Save Your Changes
If it did, any changes you make to your HMI would be live right away. So, remember to save your work regularly, especially once you've reached a point where you want to preserve what you've done.
HELIO helps you remember to save your project as it'll color the Save Project button blue whenever there are unsaved changes. You'll also get
a reminder to save when you close the browser or navigate back to
another website.
- Preview your HMI
Everything saved? Great! Now let's click the Preview button right next to
the Save Project button! This will open a preview of your HMI in another
tab.
Try out your new HMI! You can use the menu in the lower left corner to get to the "Tools" pages and edit one of the tools. For example, by changing the name.
4.2 Switch between Placeholder and PLC Mode
You may often need to work on an HMI without access to the actual PLC. However, you still want to be able to view the pages and elements of your HMI as if they were populated with data. Placeholders let you define fallback values that will be displayed when Placeholder Mode is active.
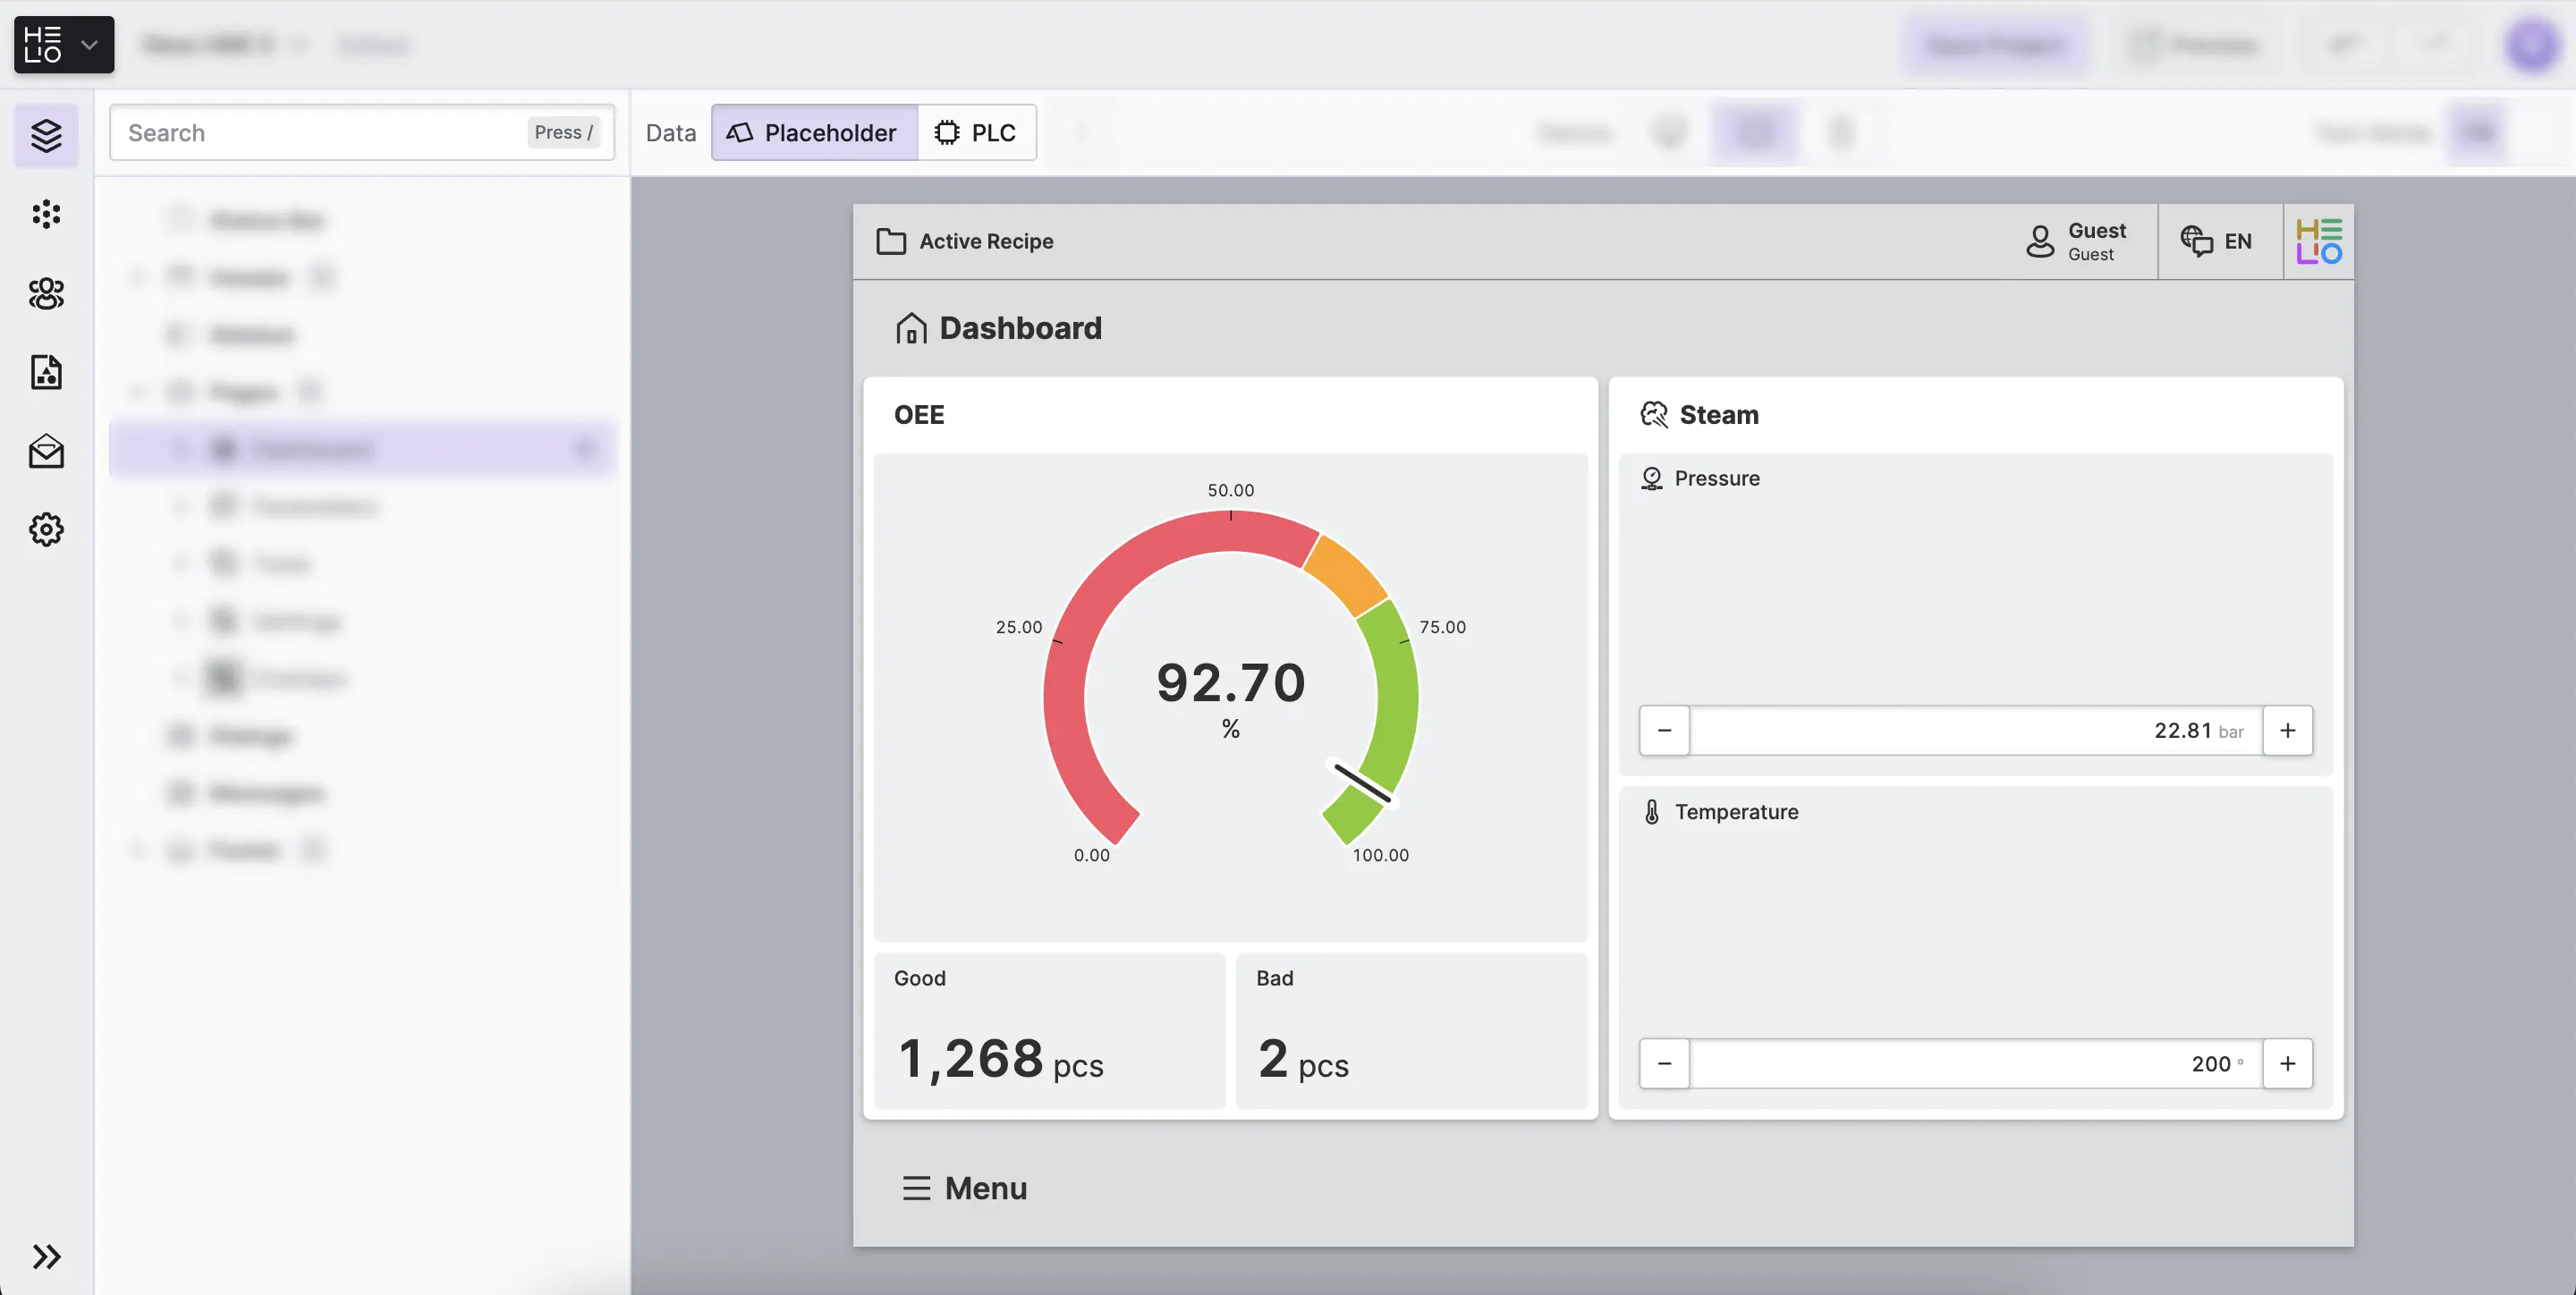
- Review your Dashboard in Placeholder Mode
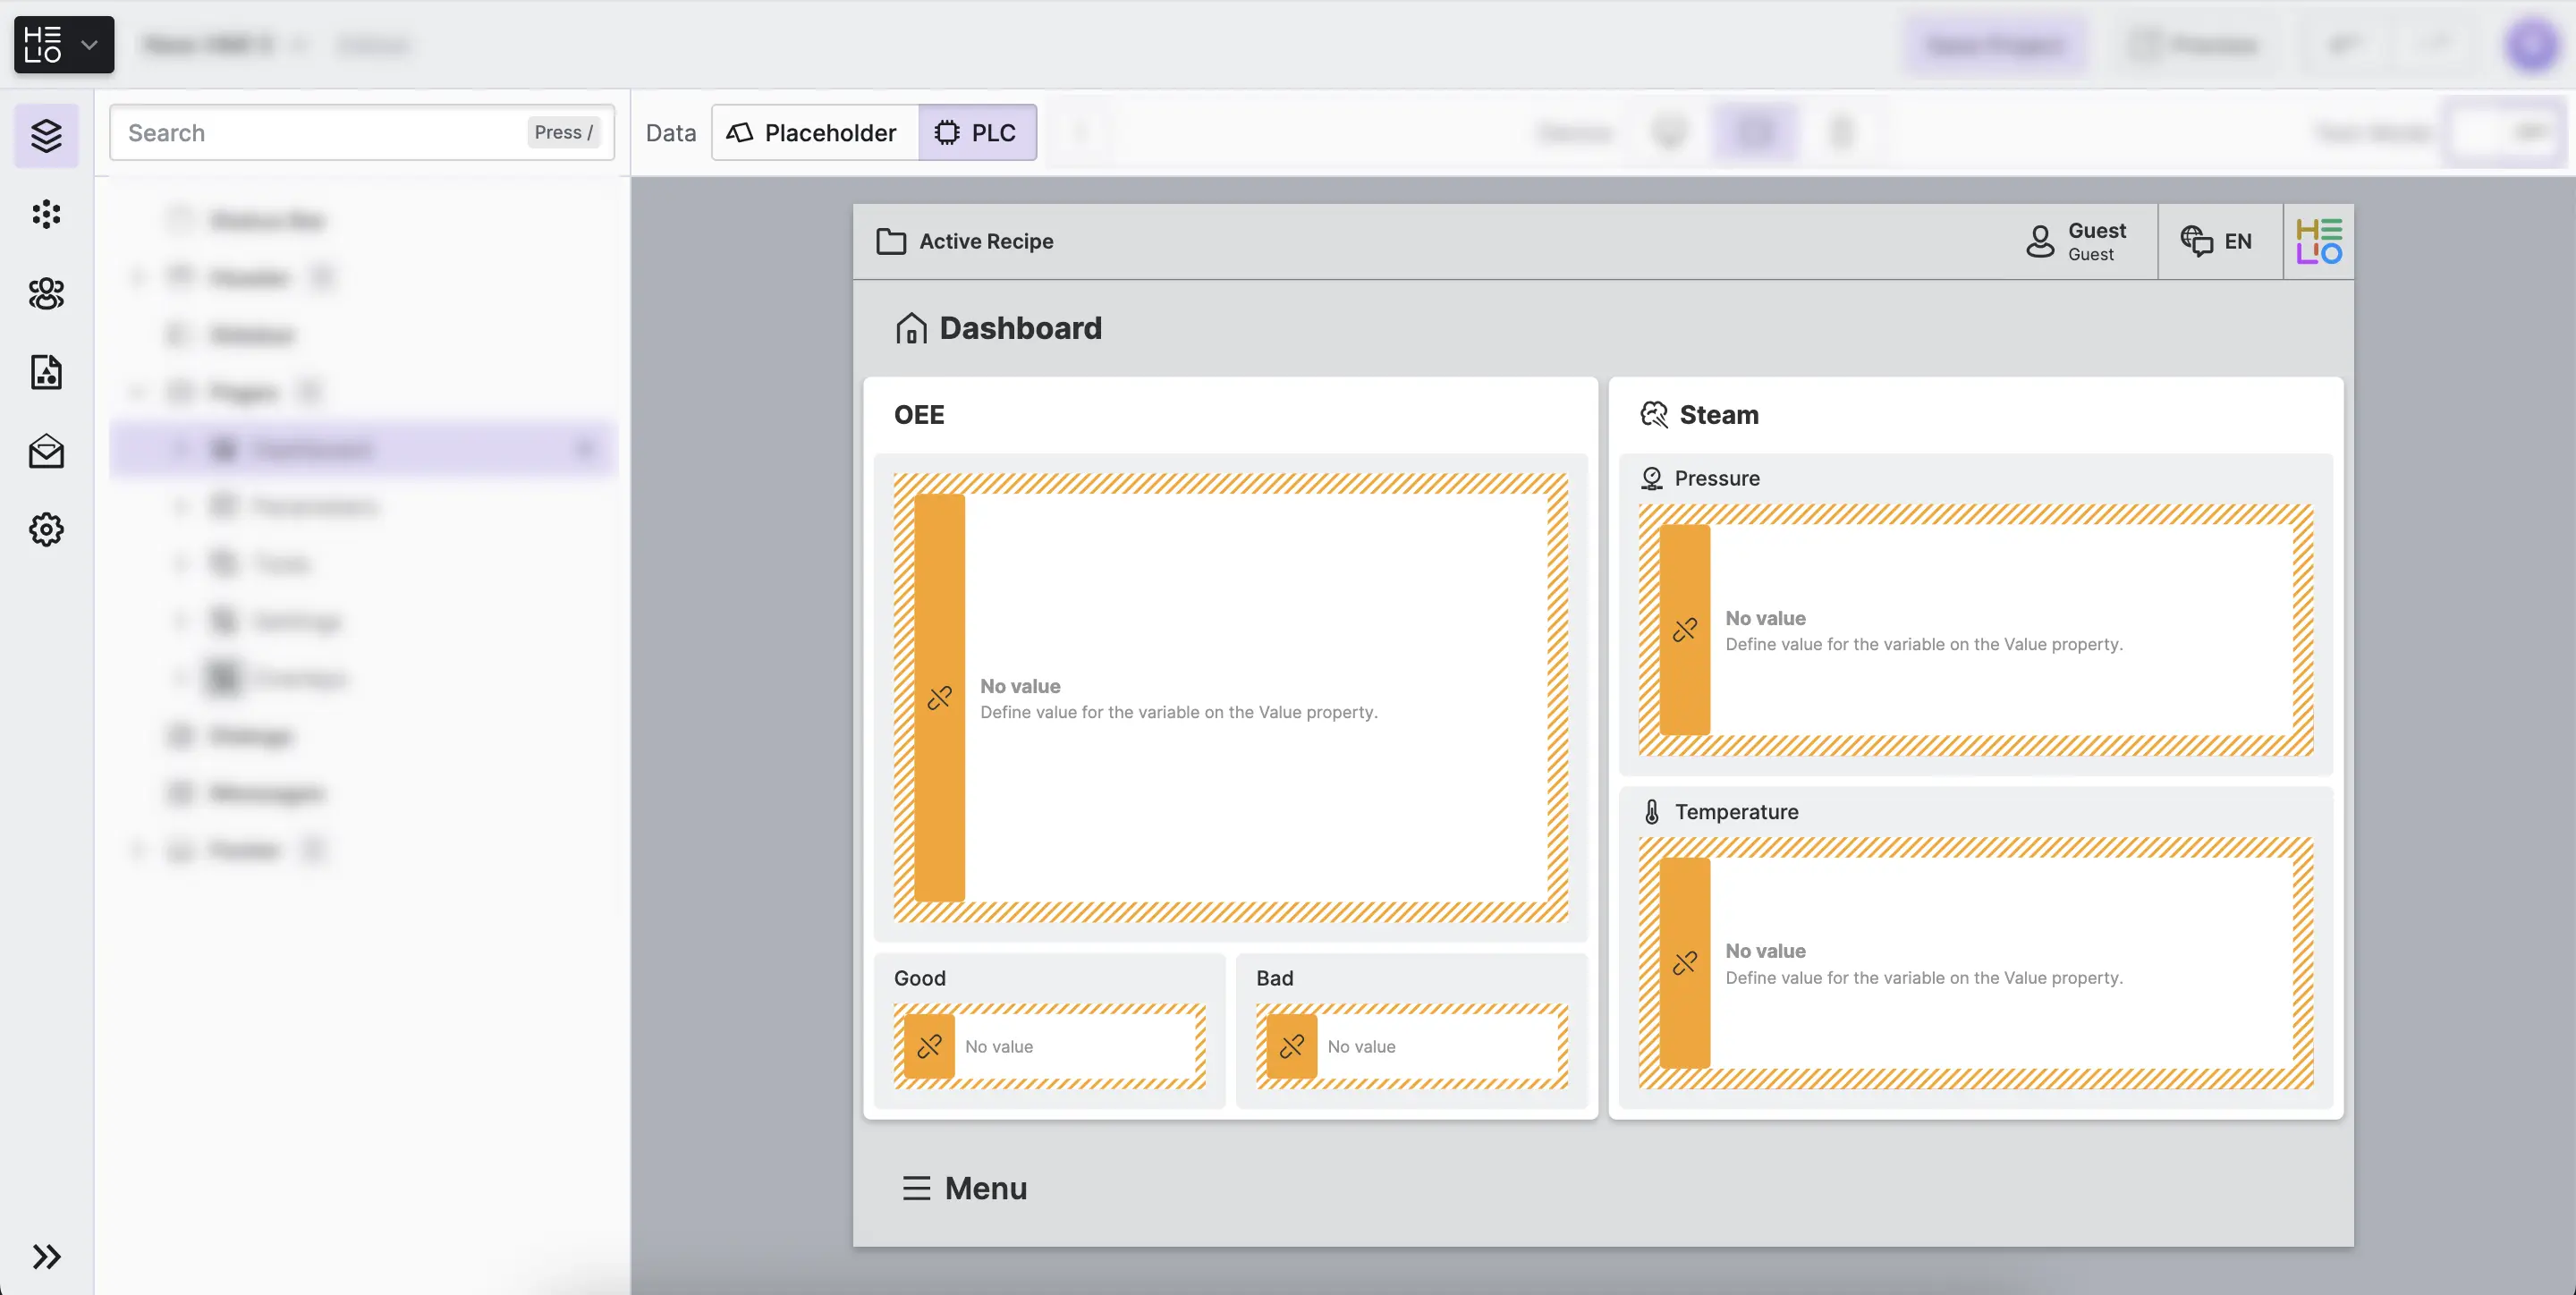
- Switch to PLC Mode
Now your Dashboard should be filled with orange boxes instead of our Gauge, inputs and outputs. These boxes are a way for HELIO to show you that you still need to connect data to your Elements.
The Preview Tab Will Use the Same Mode
Still got that Preview tab open? Perfect! The Preview will react to whichever mode you have chosen in the IDE.
So, choose PLC Data-Mode and switch over to your HMI-Preview tab. Looking pretty empty right now, right? This is what our operators would see if there were no data connected to our HMI.
Let's go back to the IDE tab and switch back to Placeholder-Mode. Much better, isn't it?
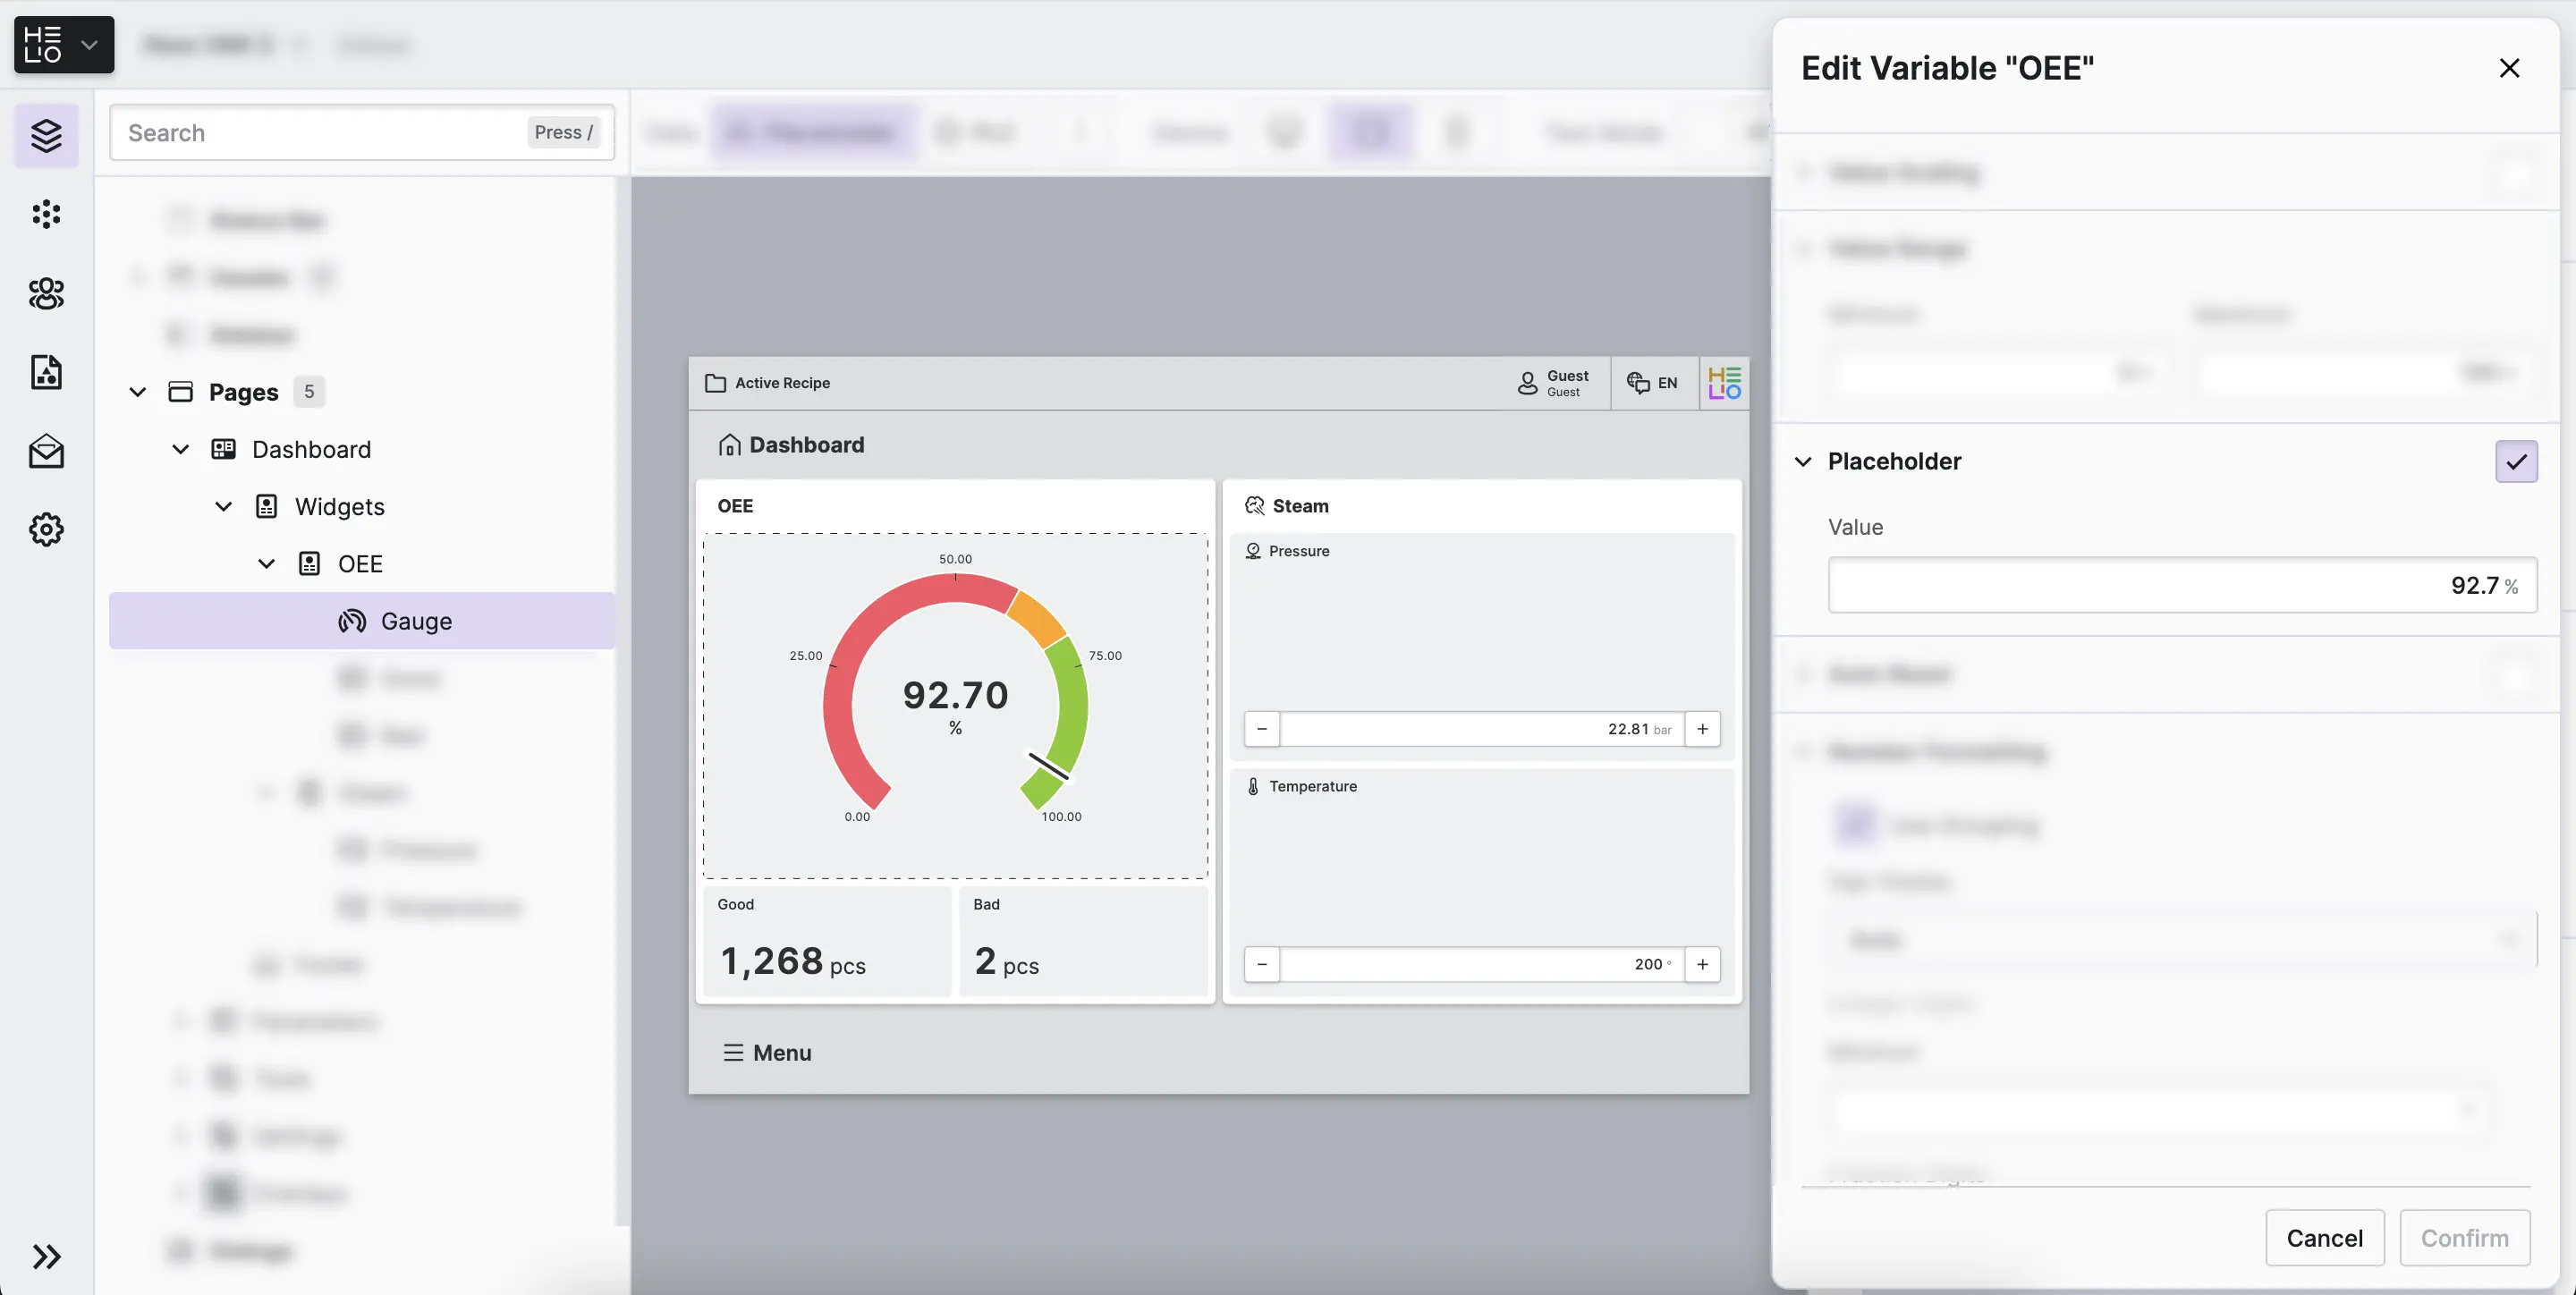
4.3 Edit Placeholder Values
Our Placeholders are great, but we want to know what our OEE-Gauge would look like if it was in a critical range. So, let's edit the Placeholder of our OEE variable.
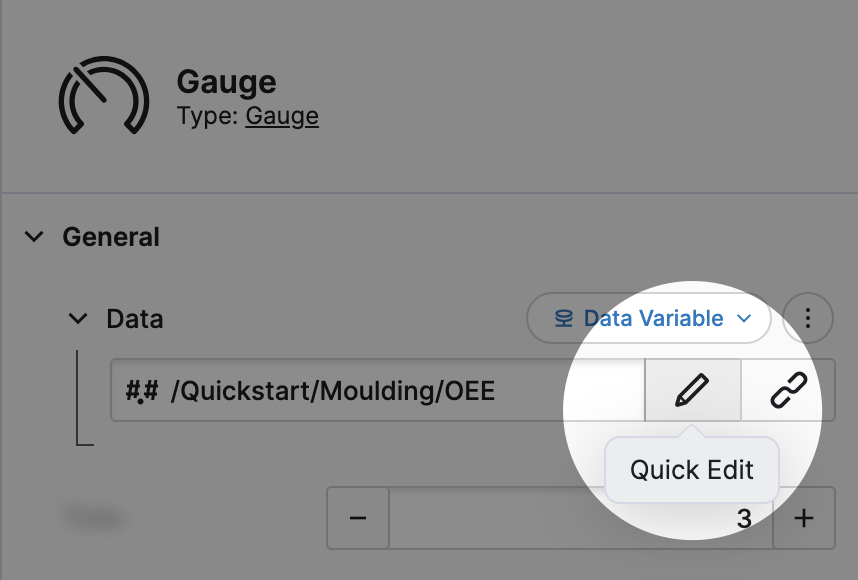
- Edit the variable linked to the
Valueproperty of theGauge
Select the Gauge and click the Quick Edit button in the
Properties Panel, which is right next to our Data Entry.
- Activate the placeholder
Navigate to the Placeholder section of the dialog. Now set
a new placeholder that would be in the critical range, for example 50% and
click Confirm.
Great work! You can now edit placeholders as you like!
Note: When the Placeholder property of a Data Variable is disabled,
HELIO will try and auto generate a fitting placeholder for you!
You've finished the entire tutorial and are now be able to:
- Create Dashboards, Parameter Pages, Collection Pages
- Preview your HMI
- Edit Placeholders
Learn more with the following resources:
- Define Placeholders for Lists
- We're continually updating our documentation, so be sure to check back regularly for the latest information.
- Visit our Guides
Like To Learn How to Setup a PLC Connection?
Lucky you! There is an optional step to this guide which will show you just how to do that!