Define HMI User Roles
In the previous step you've learned how to add and authenticate users. However
if you would like to adjust your HMI to different user roles or personas, we need
to have a look another tool that HELIO provides: User Roles. Because in HELIO
restrictions to data, pages or elements can only be applied to Roles, not Users.
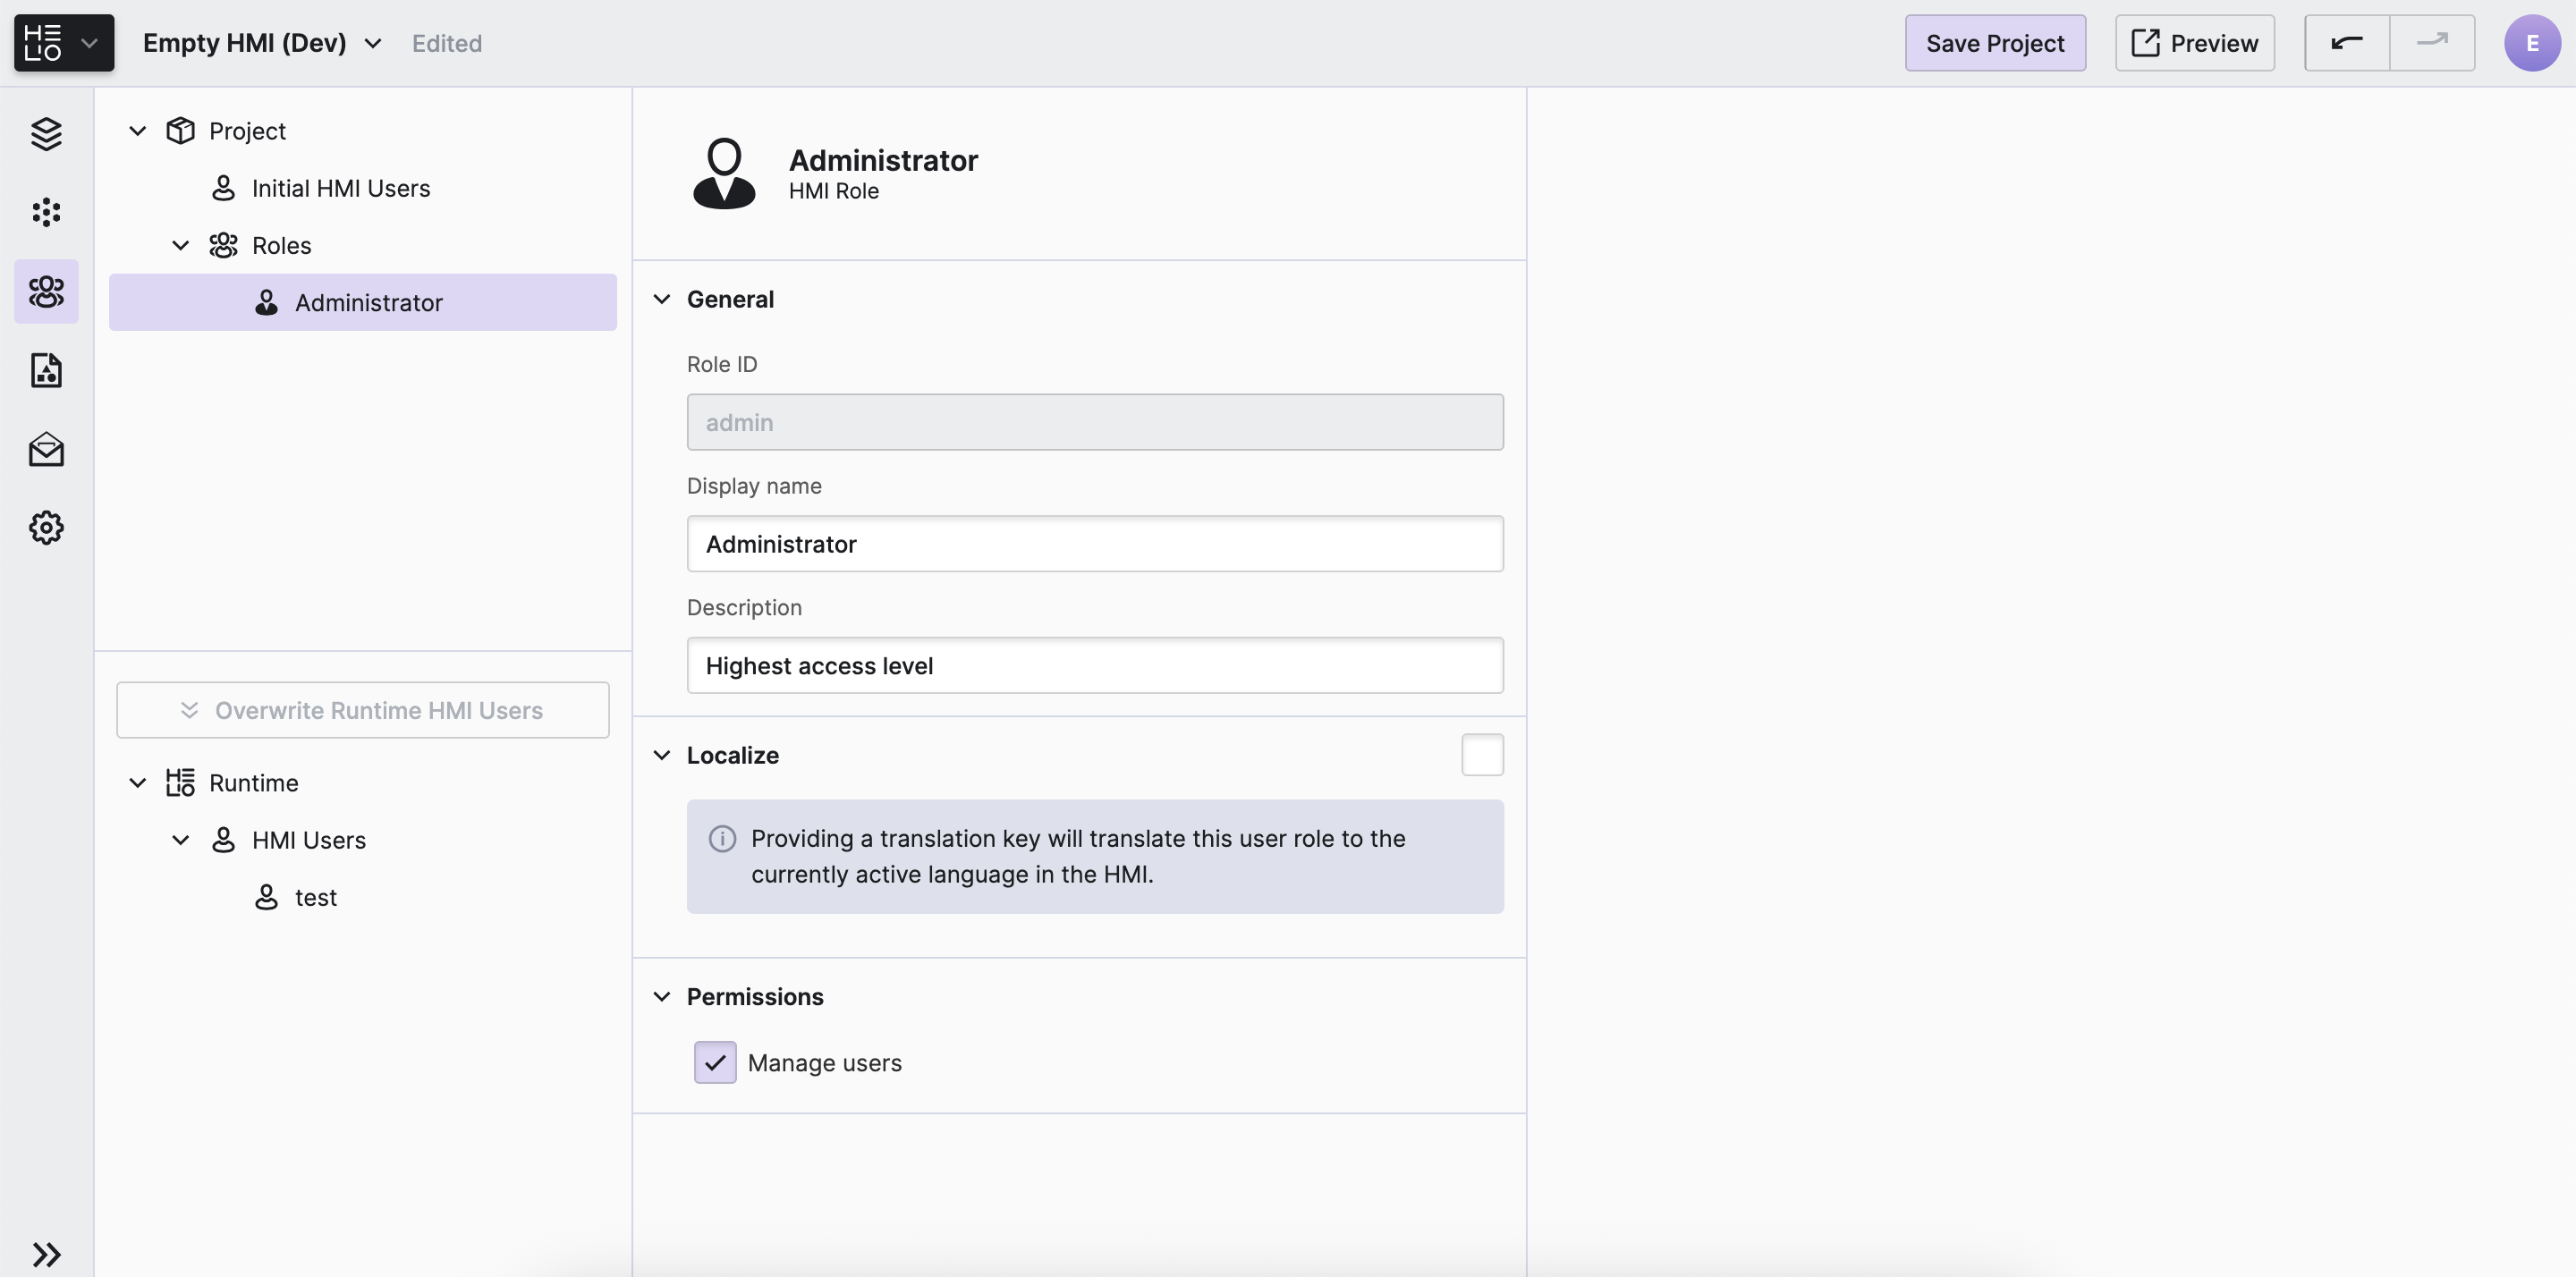
- Navigate to the HMI Users View of the Project Editor
- Add a new role
Select the Roles item in the Project Explorer and use the Add action
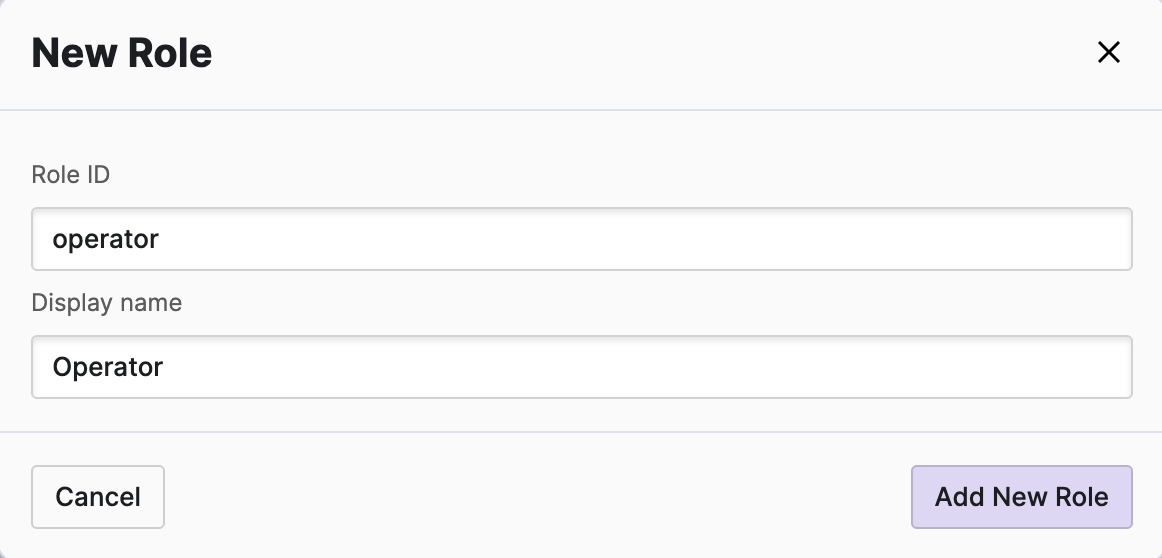
to define a new Role within your project using the following settings:
- The
Role IDis a unique identifier of this group. It cannot be changed later and has to be unique. - The
Display namemight get used within the HMI. It could be displayed in the header cell we've added in the previous step.
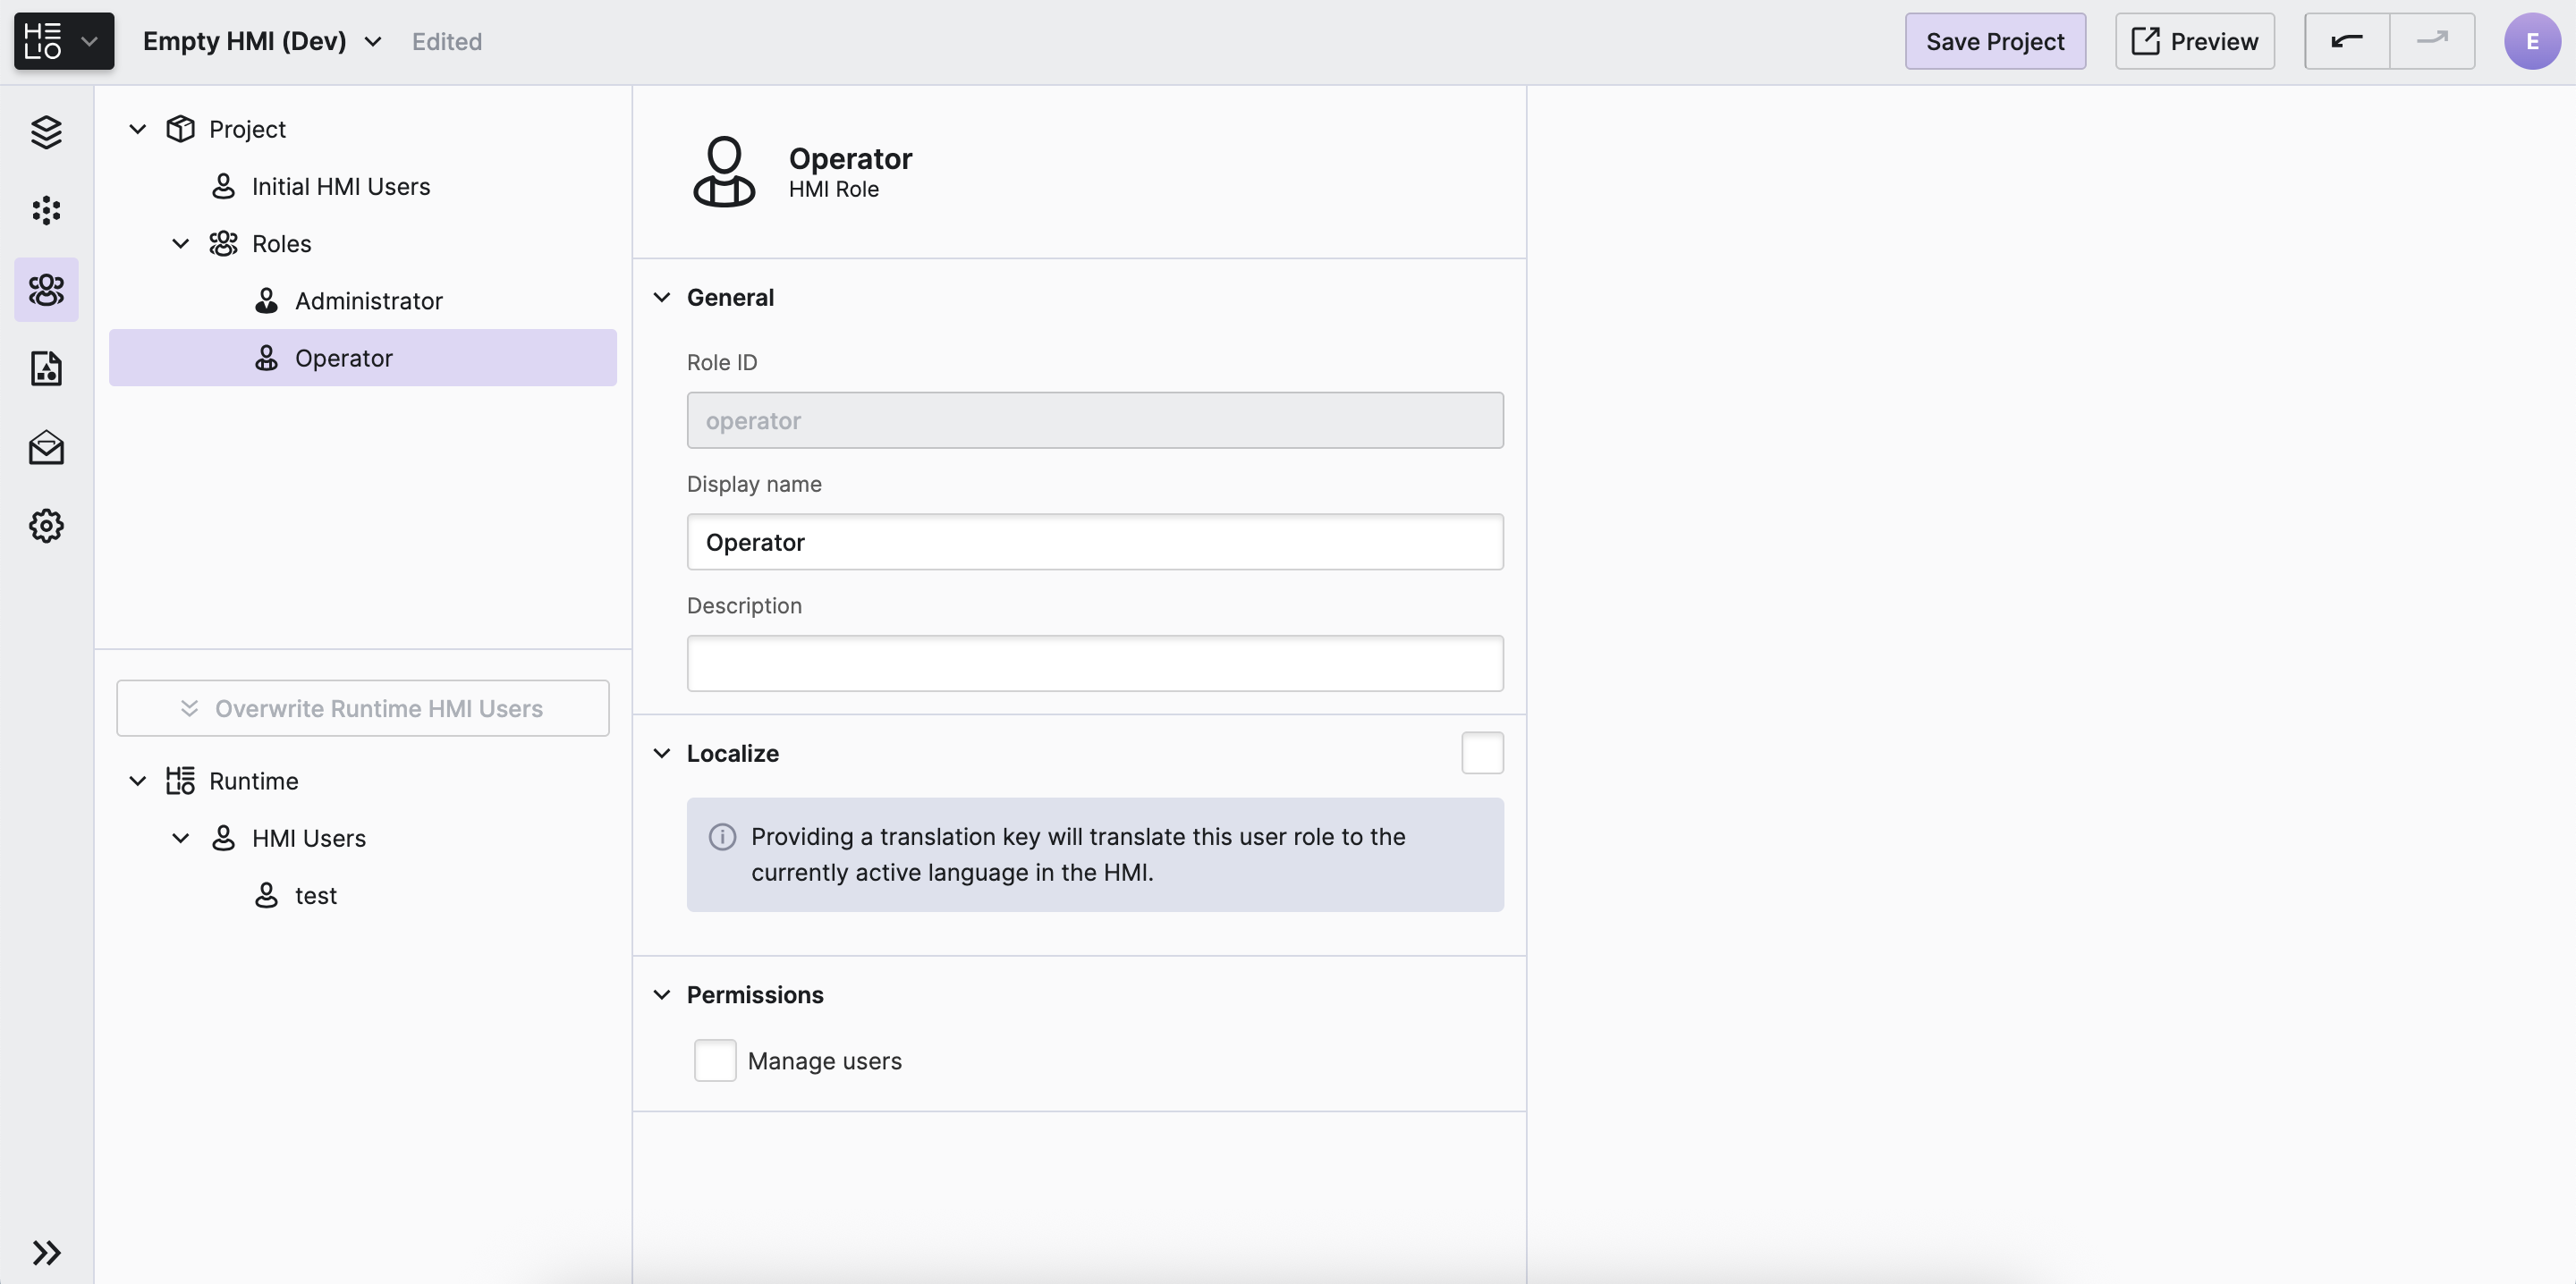
This results in the following Role definition:
Note that we do not give Operators the permissions to Manage users.
This privilege should by limited to administrators only.
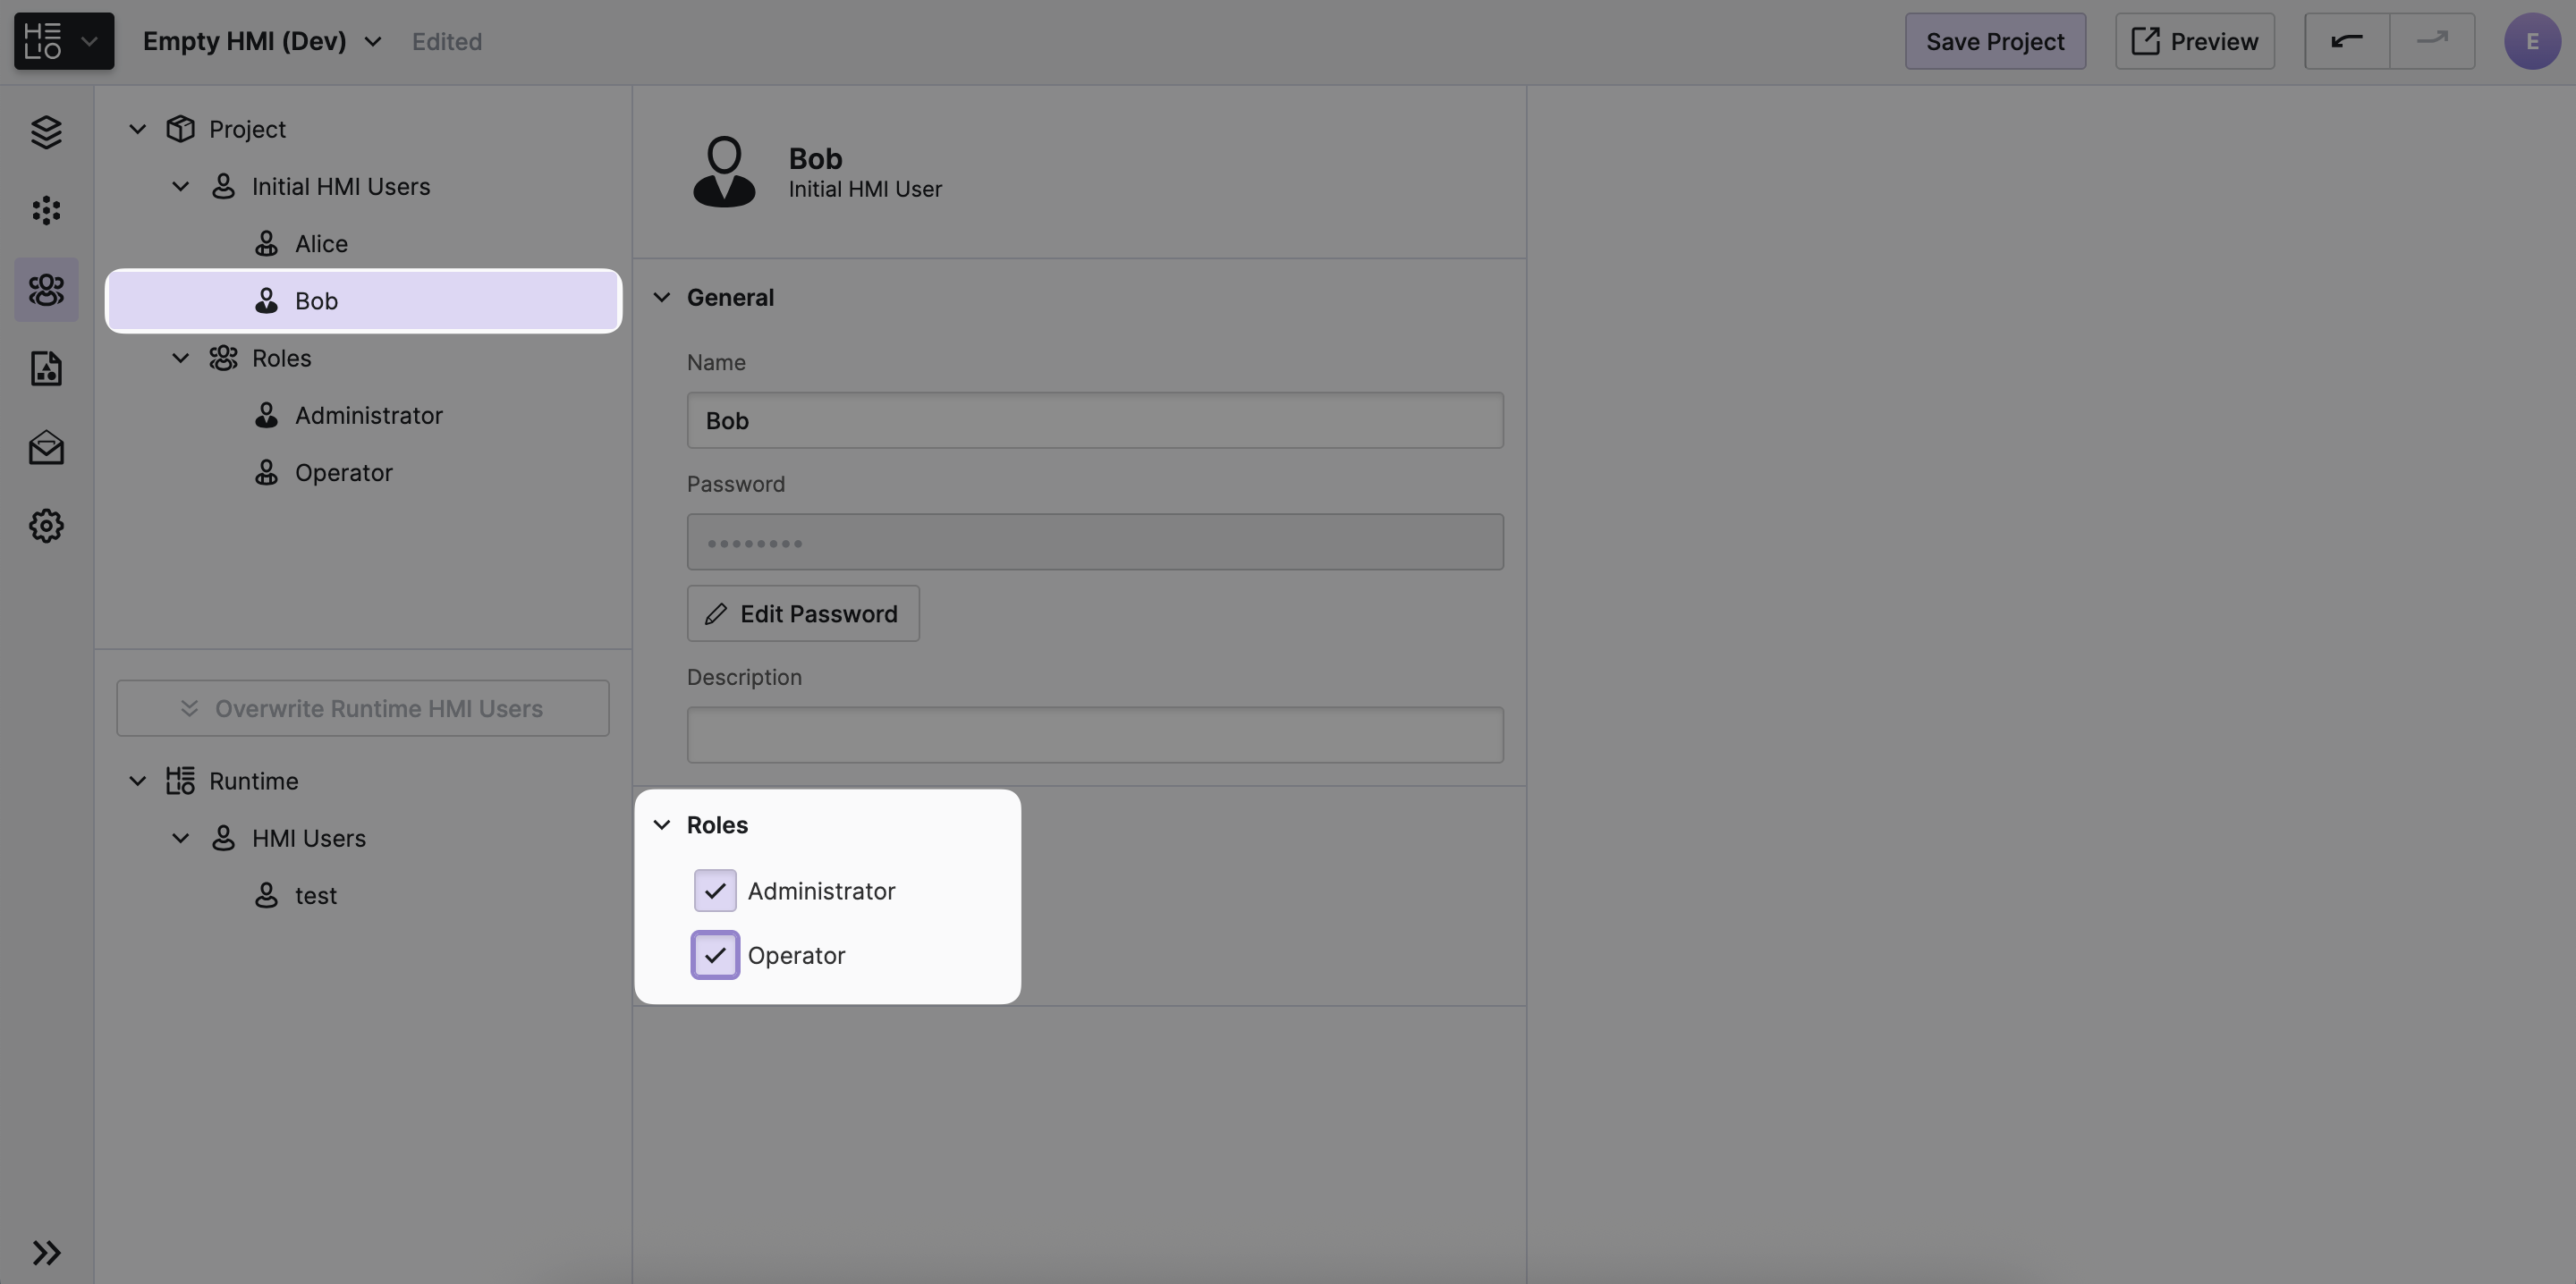
- Apply the new
Roleto our firstUser
- Add and additional
Administratoruser
- Save your project
Do not forget to save the project! Once this is done the users we've defined will be created for us when the project is first deployed on a target device.
- Remember to save and sync new users to the runtime
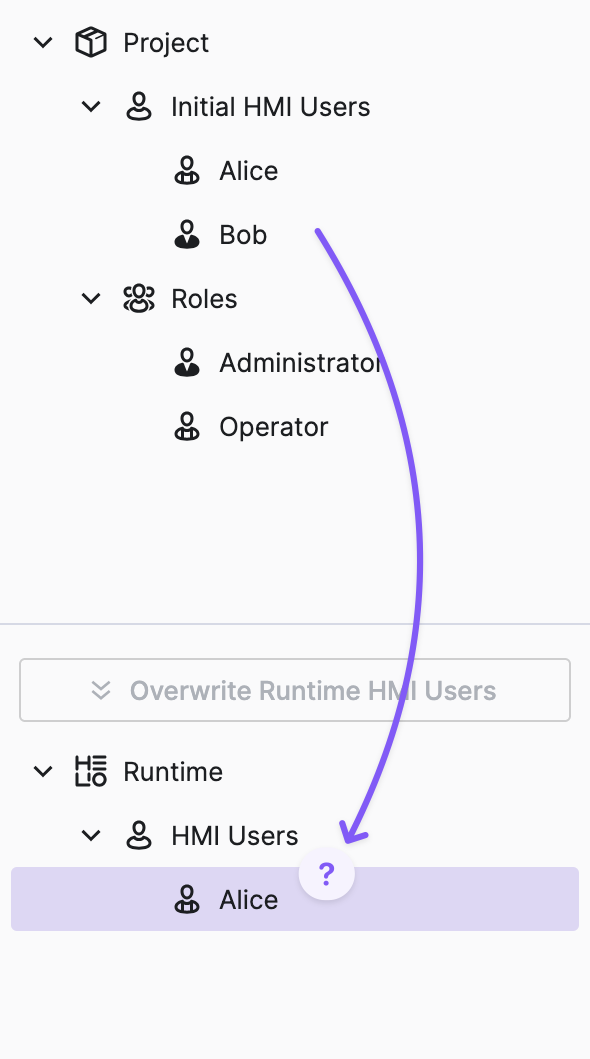
However, there is one more thing left to do! Our user Bob has been
defined as an initial user in our project. But our Runtime database
was already created when we tested the sign-in flow using Alice. As
a result, Bob hasn't been created in our Runtime yet.
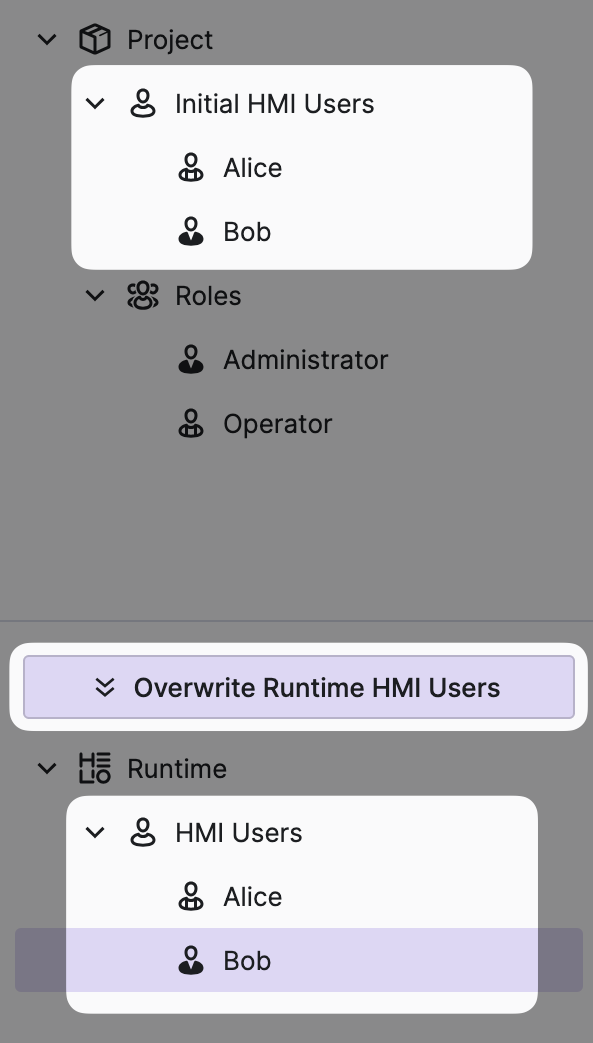
Fortunately, this isn't a significant issue. Simply click Overwrite Runtime HMI Users and confirm the resulting dialog to reset the
user database and reinitialize the all initial users.
