Export from Development Machine
In the previous step we've setup the target device. Now it's time to get back to our development PC and to export and package our project in order to take it to production.
- Export From Dev Environment
Follow all the steps in Export an Existing Project to bring up the export dialog.
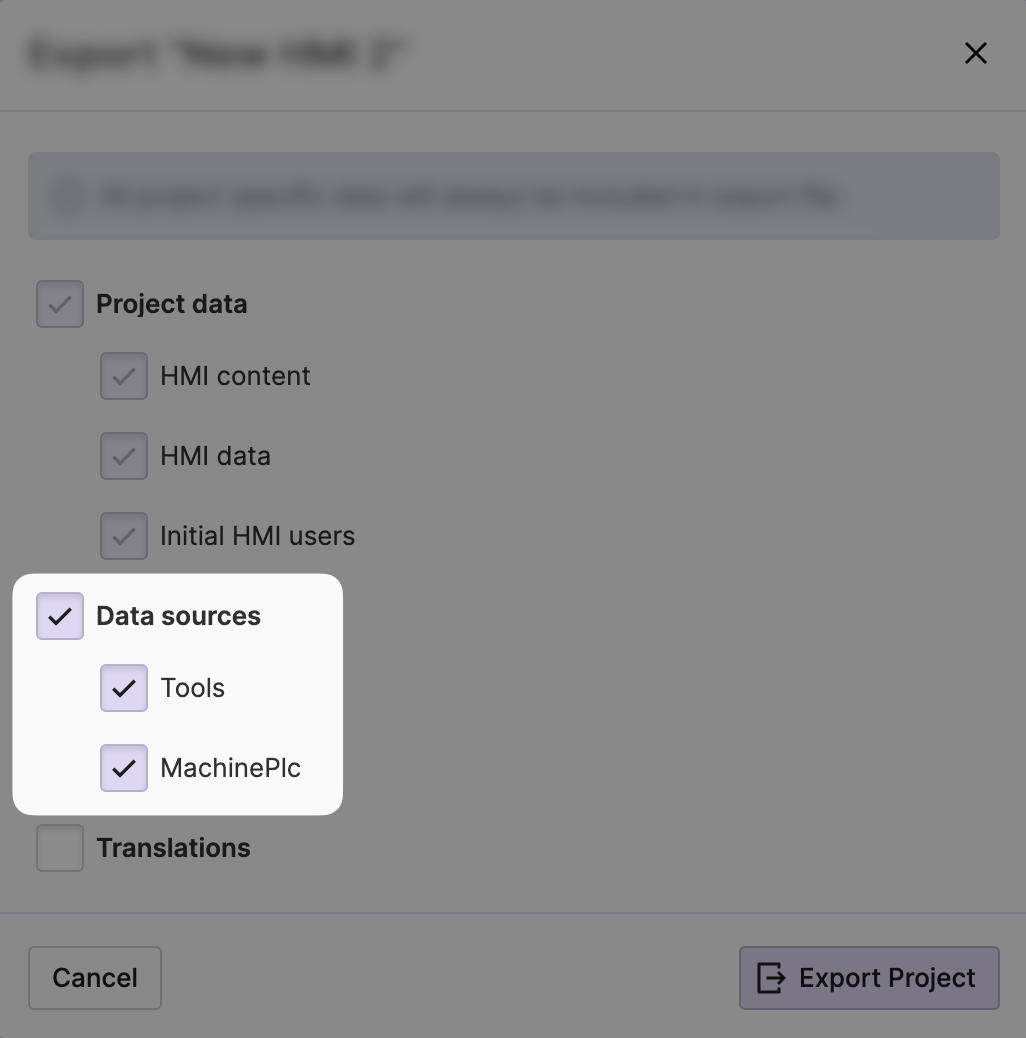
- Include Your Data Sources
Since you want to ensure that the data connections will be transferred to
your target device, check the Data sources checkbox.
In this example we are exporting the definitions for an OPC UA Connection as well as a Data Collection.
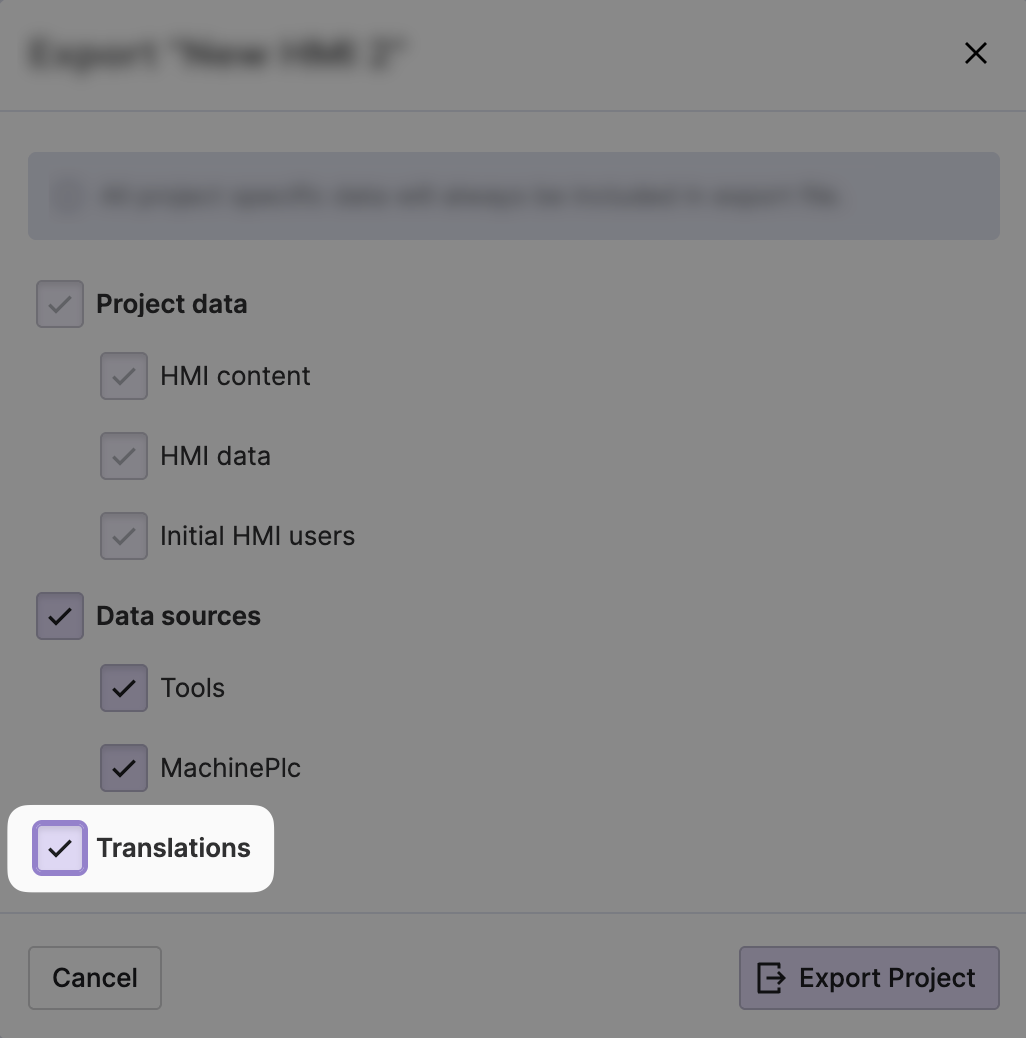
- Include Translations
Mission accomplished!
You’ve exported and packed up your project into a wonderful package. Time to take it onto your target device.