Communicating Machine Status with Clarity
One important task for every HMI is to communicate the status of the machine to its operators.
Meet the Different Status Levels
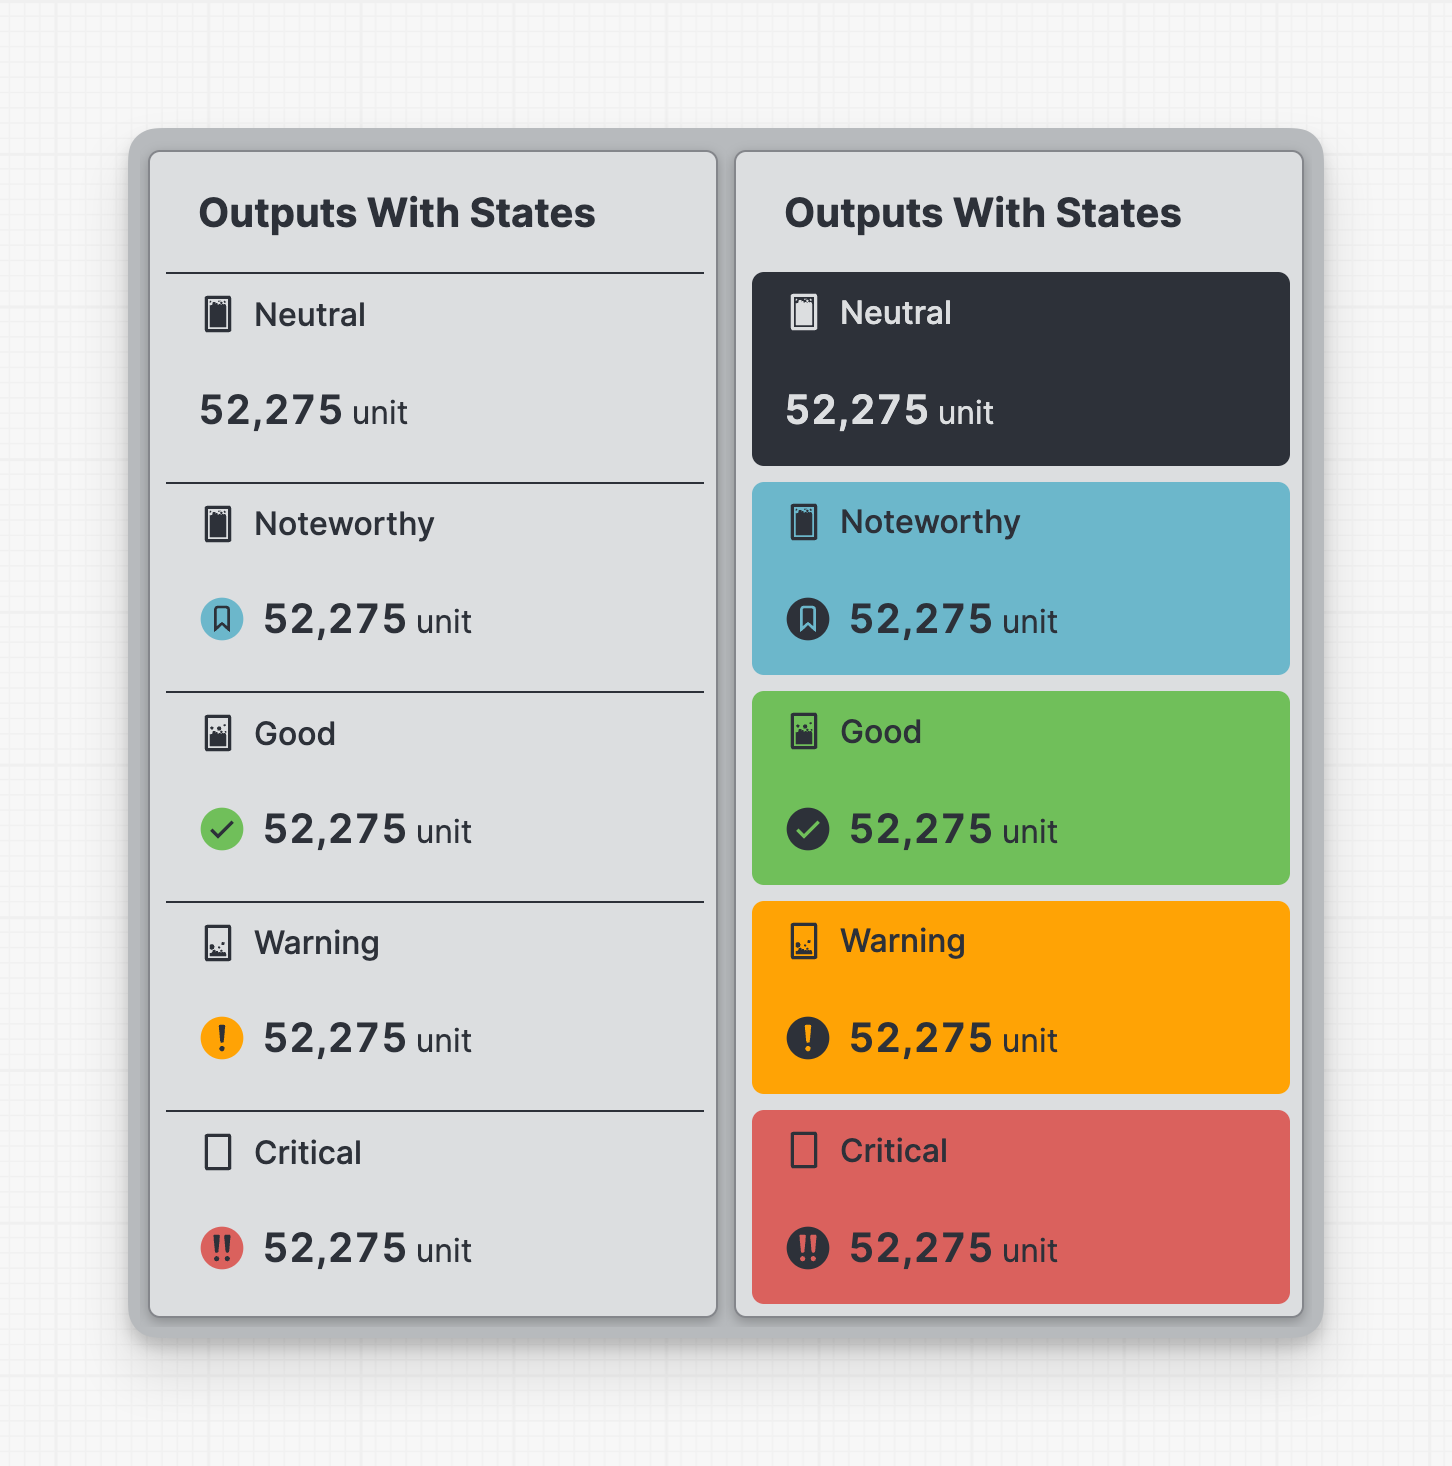
Let us first have a look at and learn about the different levels. Especially at the message you will send to your operators when displaying them in your HMI:
| Type | Description | What It Will Communicate to Operators |
|---|---|---|
Critical | The highest level of negative escalation. | »Drop everything else and check out this element! It is significantly outside its acceptable range! It is crucial to take immediate action to prevent (potentially disastrous) consequences.« |
Warning | The first level of negative escalation. | »This number seems a little off. Take a look just to make sure the machine is working alright.« |
Neutral | The default level. | Although it doesn't communicate any message, this level is important because it allows you to temporarily turn off the status display when applied. |
Good | Confirmation that the element or parameter is within limits and functioning smoothly. | »No worries! Everything is fine!« |
Noteworthy | Suggests that there's a positive aspect that deserves attention or emphasis. Utilize it to highlight supplementary states, such as a "cleaning phase", which are positive yet diverge from the norm. |
|
Ranges: How To Apply Status to Data
»Ranges help operators assess the quality of data.«
One of the easiest things you can classify for your operators are numerical
values from your PLC. This is why numerical HMI Variables provide a property
named Ranges. It enables you to easily assess the quality of variables across
different elements and pages because you apply it to the data, not to the UI
elements.
A Range typically consists of:
- A
Lower Boundwhich sets a minimum value for the range. Only values greater than or equal to this bound will be included. - An
Upper Boundsets the maximum value for the range. Only values that are smaller than or equal to this bound will be included. - A
Statusis used to inform machine operators about the quality of values within this range. Refer to the table below to understand the four different types of statuses and the corresponding messages they send to your operators.
How To Apply Status to Elements
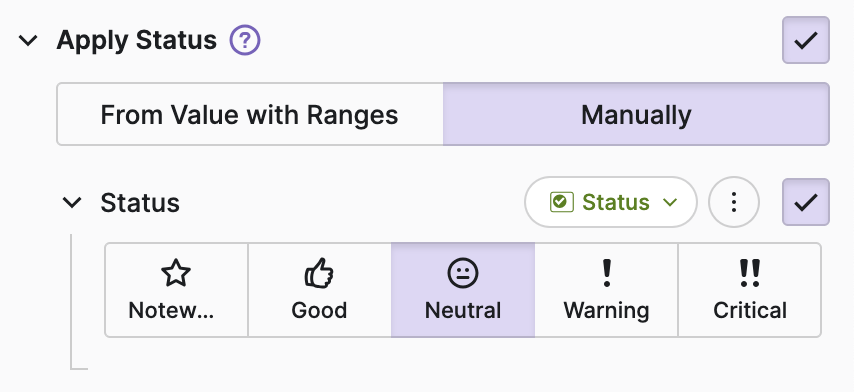
A lot of Elements in HELIO come pre-packed with a property called
Apply status.
In most of the cases there are two ways that you can apply a status to an element:
- From Ranges: You do not apply it manually but get the status from the data linked to this element automatically.
- Manually: There are many special and edge cases when it comes to statuses. If you encounter these, you always have the option to apply the status manually. In this scenario, you can use the Status to select a state manually.
The following elements support this property:
Use It Thoughtfully
Humans have a limited capacity for multitasking. This should be considered when informing about the status of multiple elements.
Do
- Define one central place for overall status - Use the header to display the overall machine status in a central place.
- Use a visual hierarchy - Instead of showing all status details on one page, allow operators to start with an overview and then delve into the details as needed. Tools like the Flow Map Page and the Linear Flow are your friend.
- Promote positivity - While warnings and critical issues are important, it's also essential to give operators a good feeling when things are running smoothly. Ensure that this positive feedback isn't too overwhelming, as it represents the default state.
Don't!
- No need to shout without a good reason! The
Is Highlightedproperty offers additional emphasis for some elements (e.g. the Magic Output). However, remember that the status already visually highlights elements.
Comparable to the primary action of a Button, the blend ofApply StatusandIs Highlightedshould be reserved for a limited number of elements on a single page.


